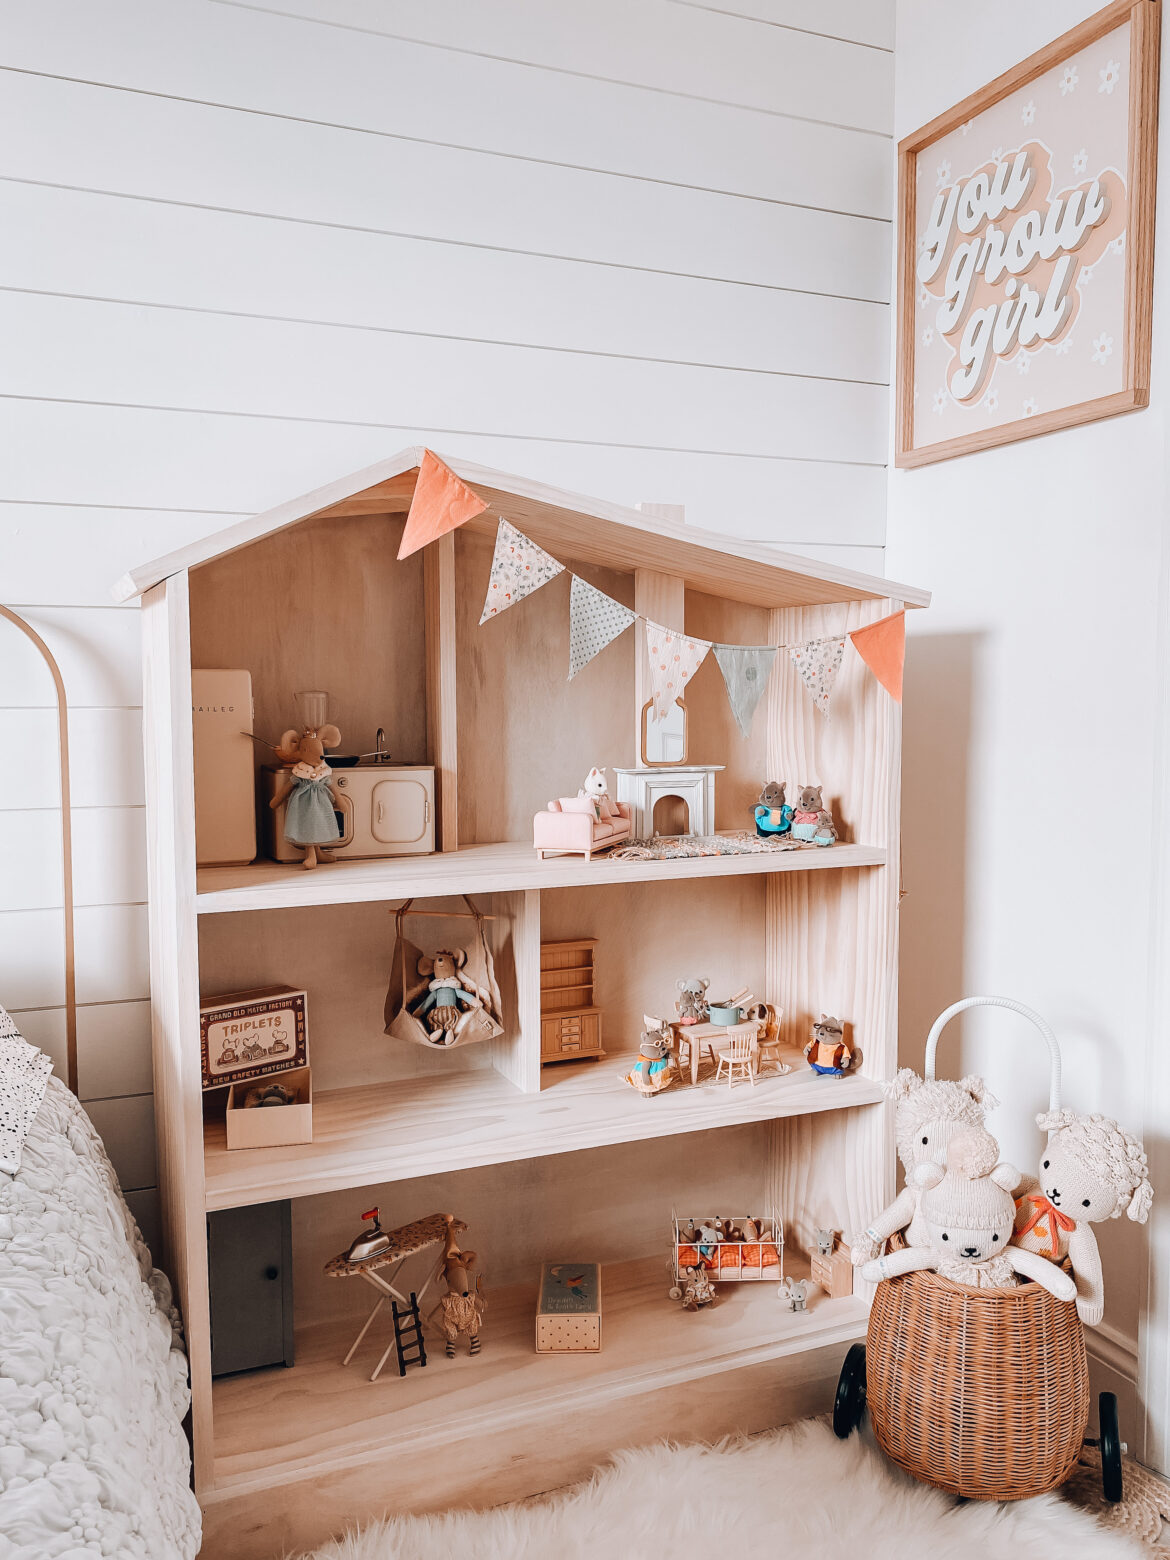
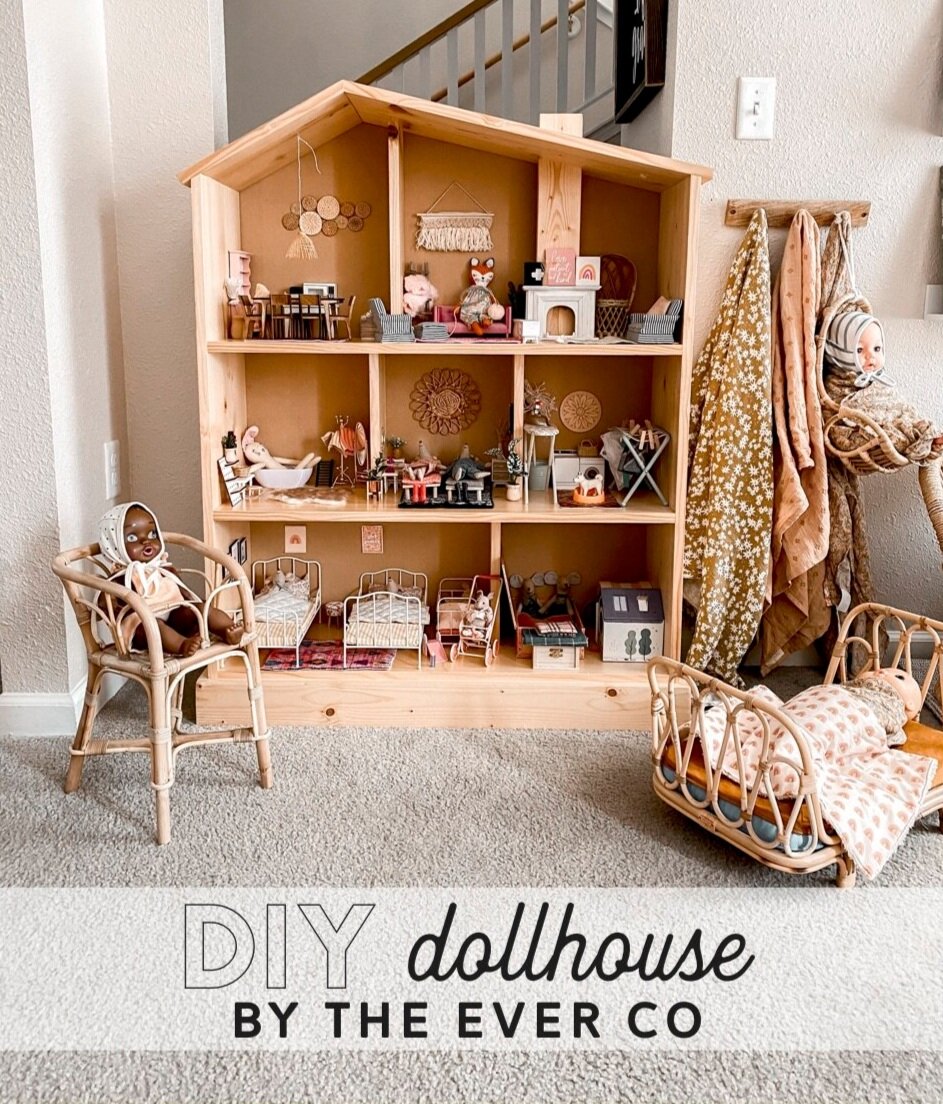
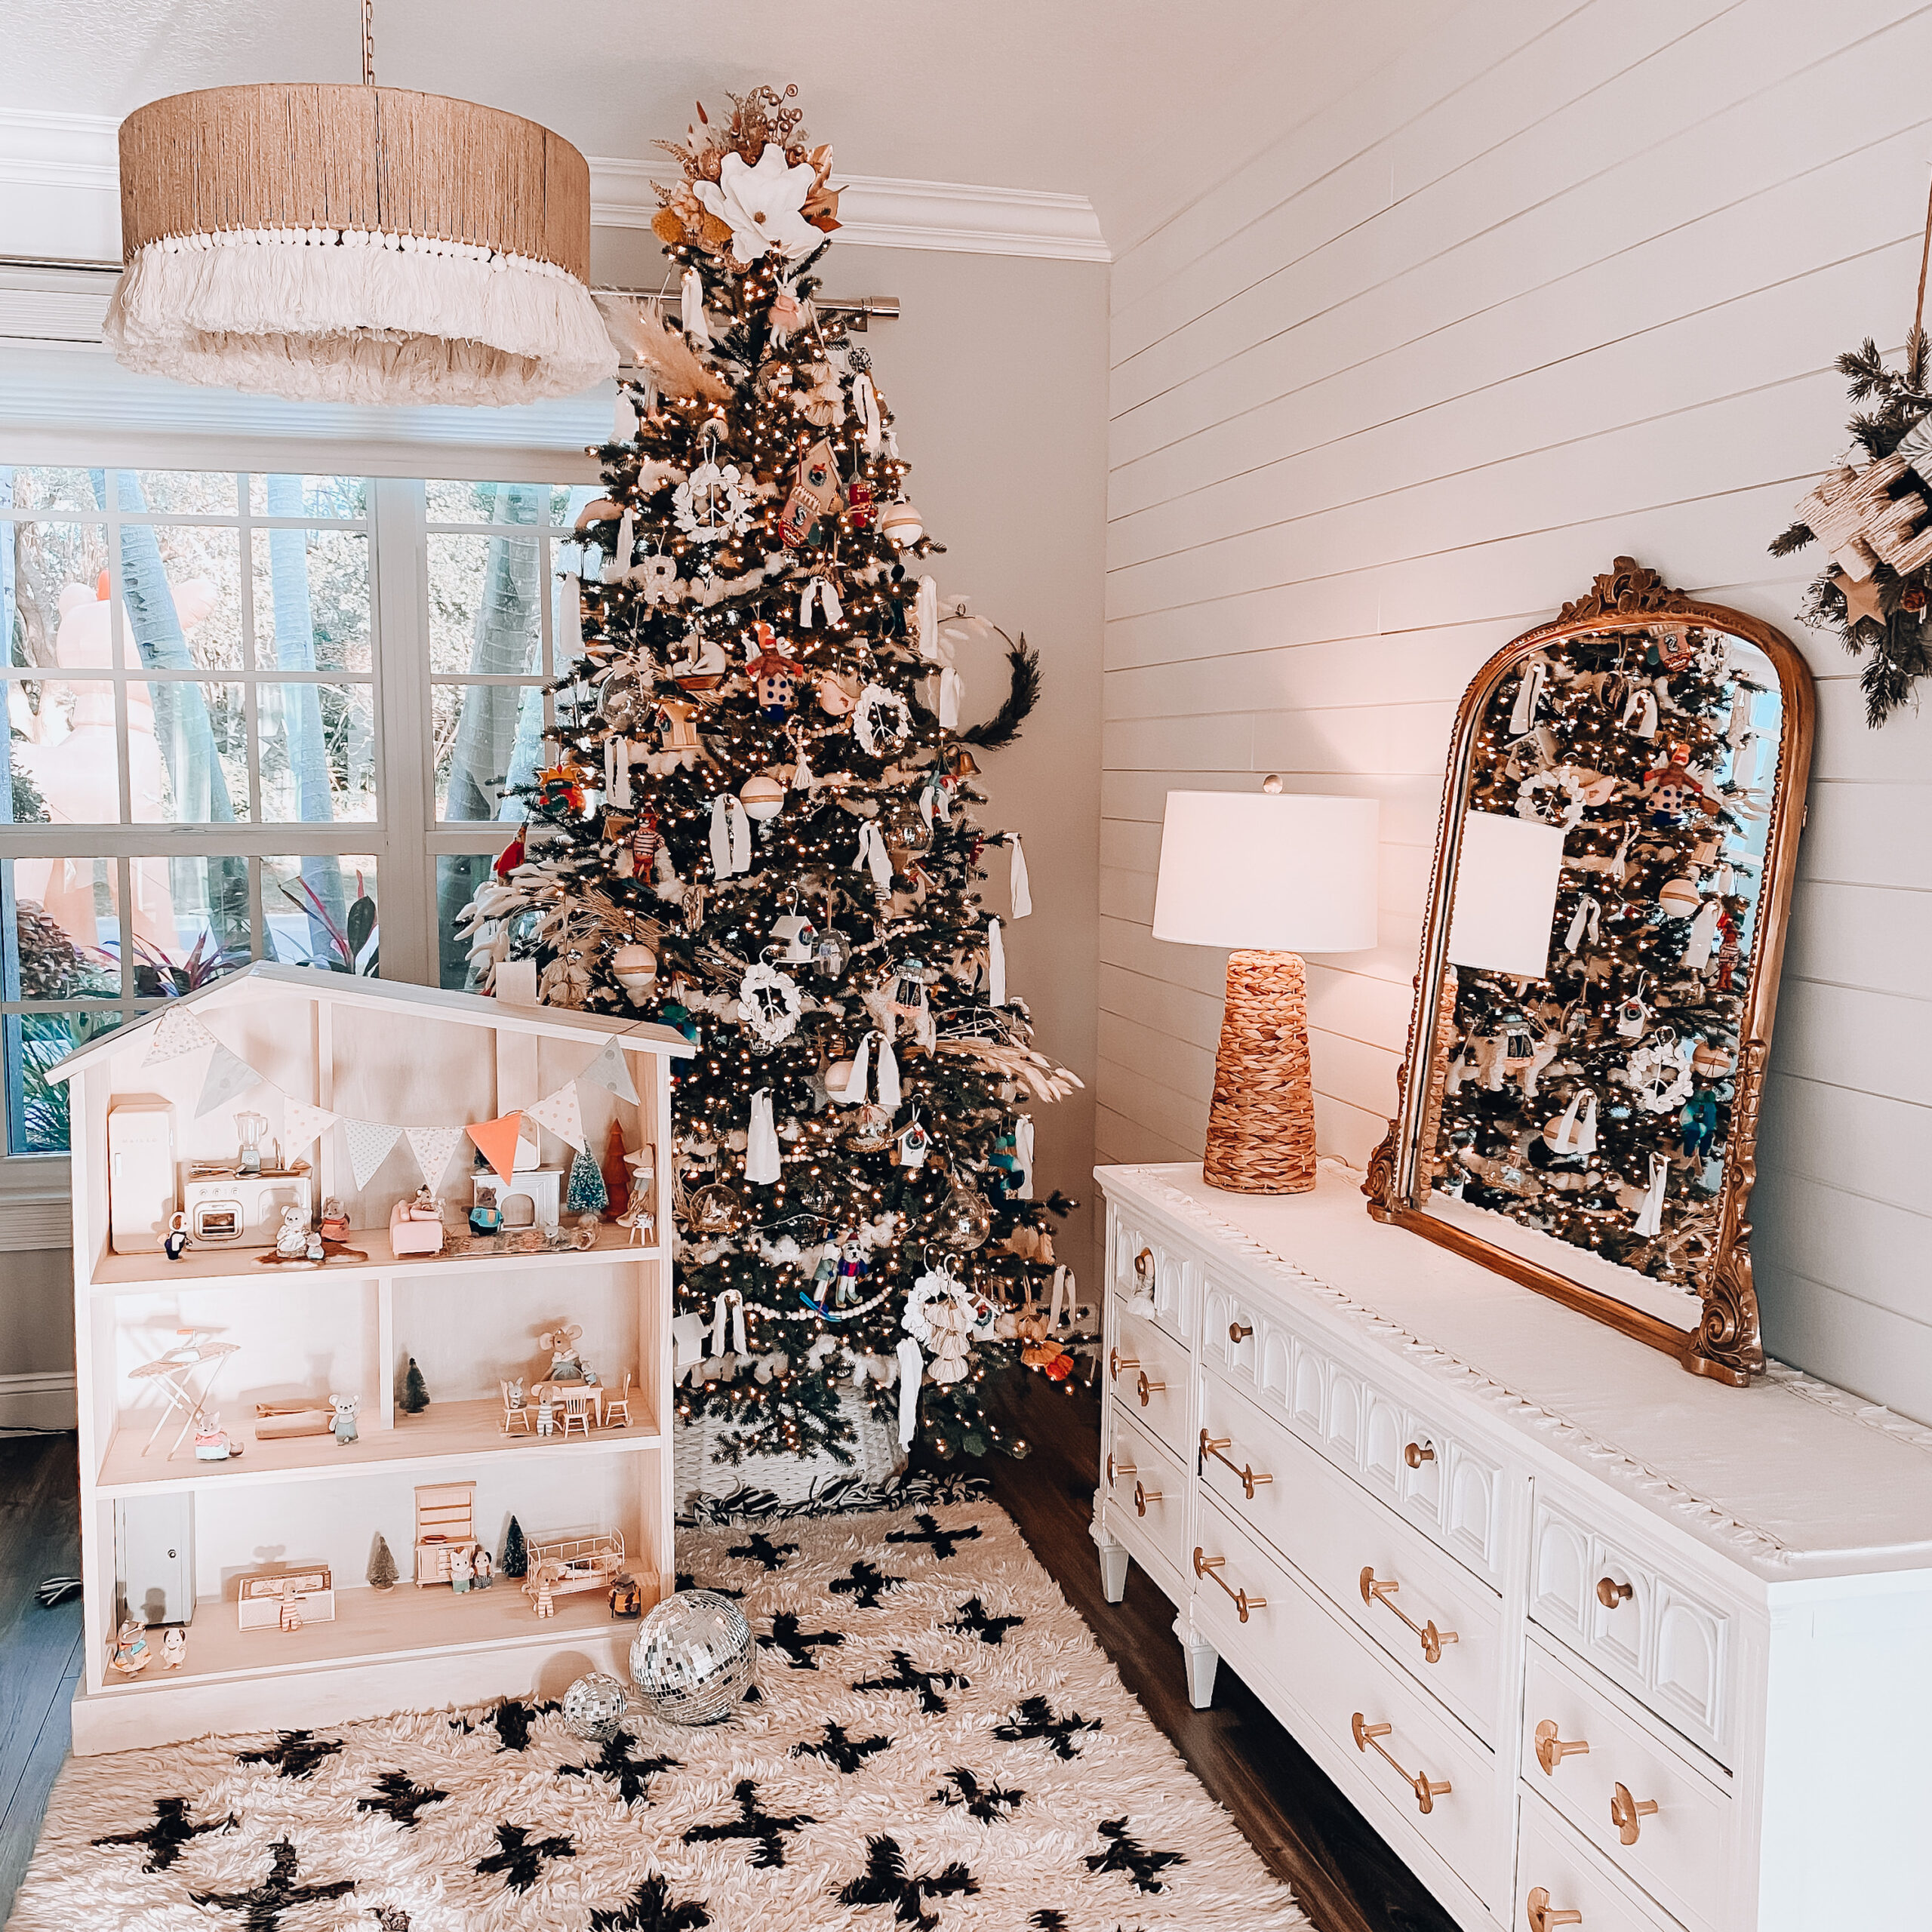
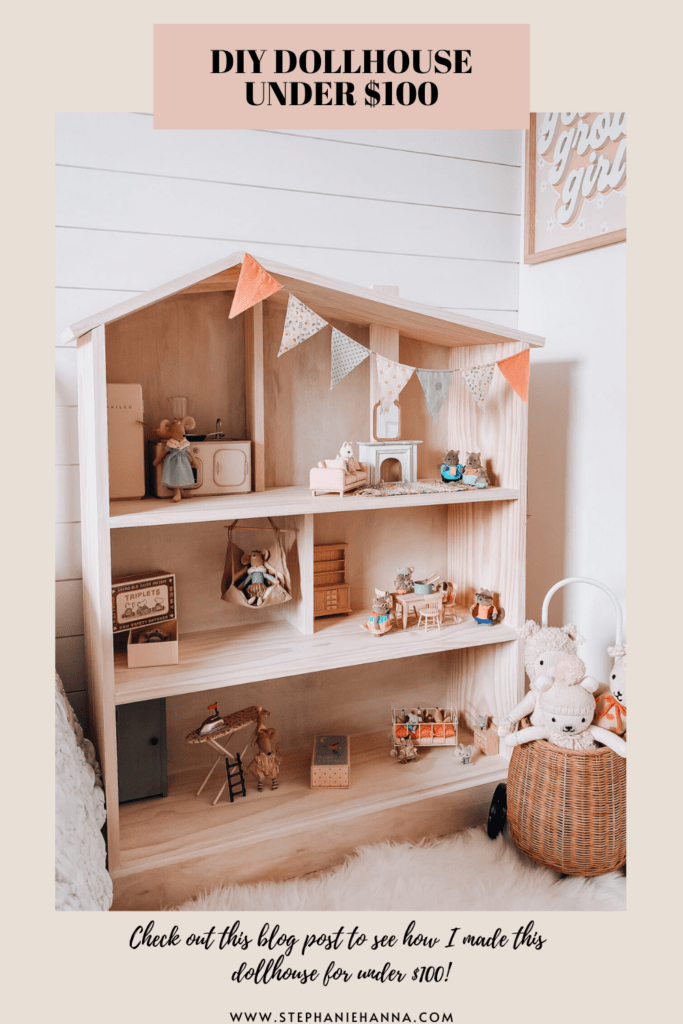
I’ve been eyeing all of the cute dollhouses that have been popping up on Instagram lately. I knew it would make a great Christmas gift for our daughters. They are 4 and 9 and love playing with Calico Critters and Maileg mice. Since my girls are older I knew I wanted a big house that they could play with easily. I knew there was a way to create a DIY dollhouse on a budget.
We used pine but you can use whatever wood you like. Pine is more expensive but I love the look of it. The total cost for the wood was approx. $100. Everything else we had on hand. The playhouse is 3ft 10 inches tall!!!!!
Materials needed
Three 8′ pieces of premium pine board – 1×12’s (outer side walls)
One 8’ piece of premium pine board – 1×4 (base)
One or two (depending on how many dividers you would like in the house) 8’ pieces of premium pine board – 1×3’s (dividers)
4×8 sheet of 1/4” plywood
Nail gun
Wood glue
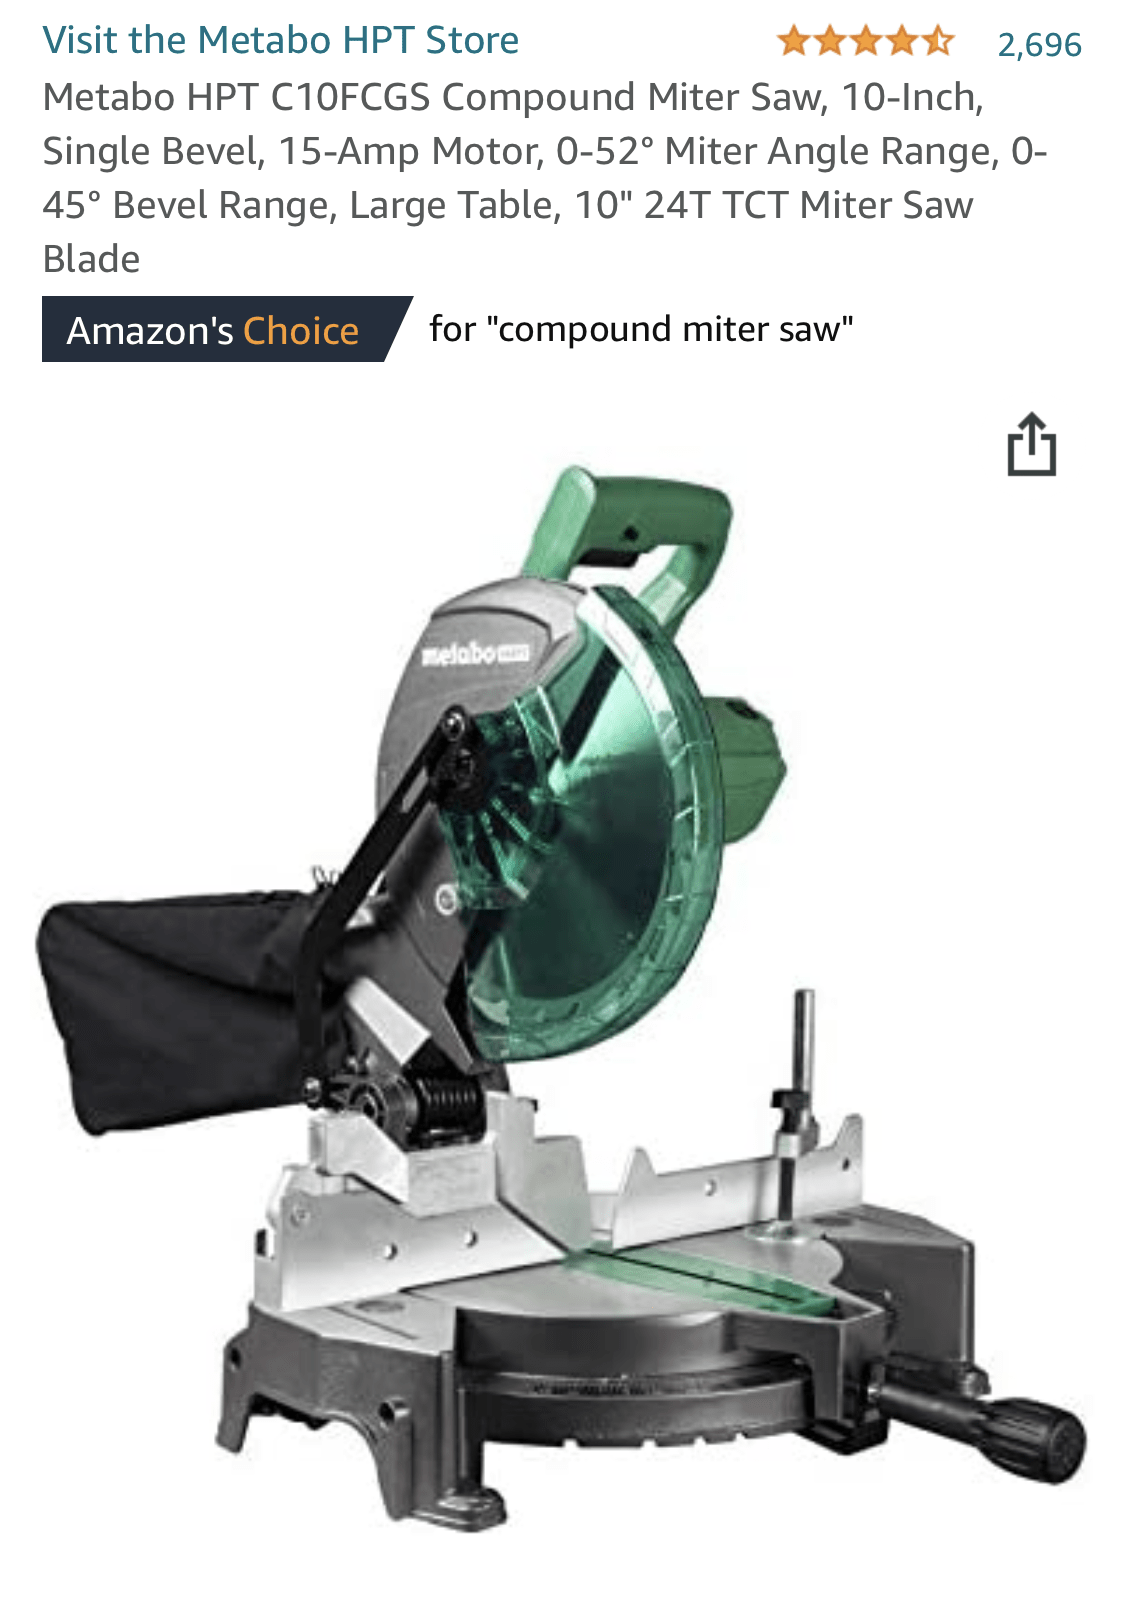
Compound miter saw
Circular saw
Jig saw
White Wash
Cuts
The house is 3 levels (floors)
33” wide of 1×12 each
2 outer side walls of house
41” of 1×12 each
Base molding cut to fit 1×4
Interior dividers and chimney 1×3
These are the steps we took in building the house.
First, we need to measure and start the assembly of the house by installing the 3 floors to the side walls. The bottom floor is the most complex.
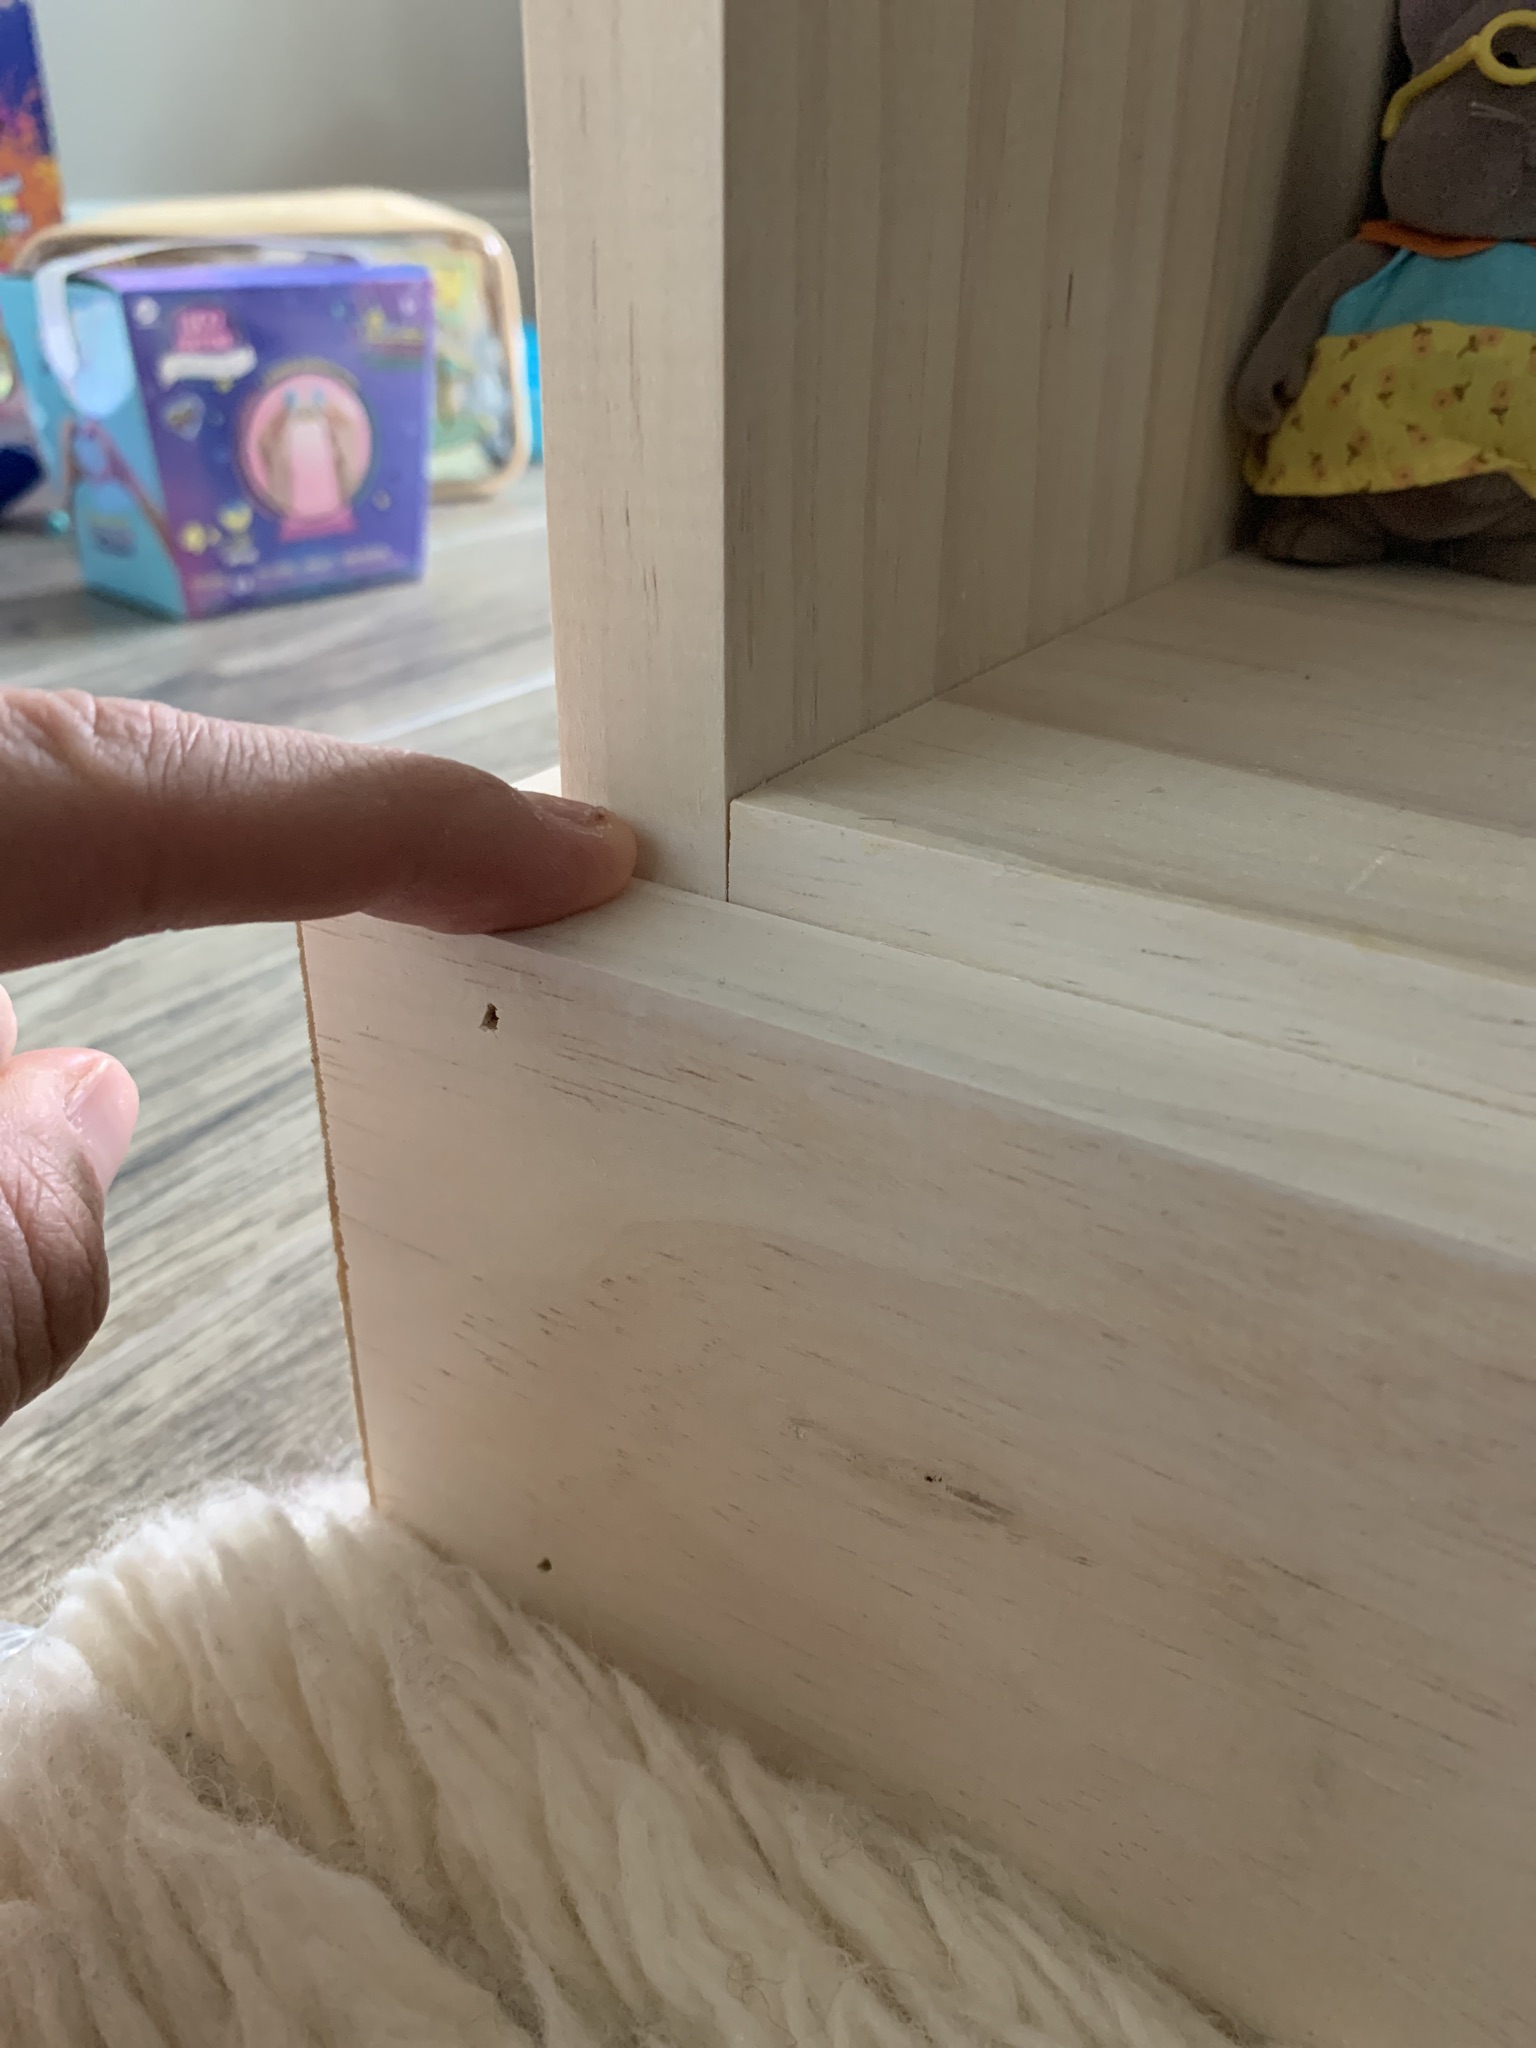
We wanted the bottom floor to be flush with the baseboard, without the risk of there being a gap, so we installed the floor slightly behind the base. Start by holding the 1×4 base flush to the bottom of the sides and mark the top of the base. This will be the center of the bottom floor (the top half of the floor is visible while the bottom half is behind the base). Once you have it marked, align it with the center of the bottom floor piece and attach with nail gun (For reference, behind the front base is open space)
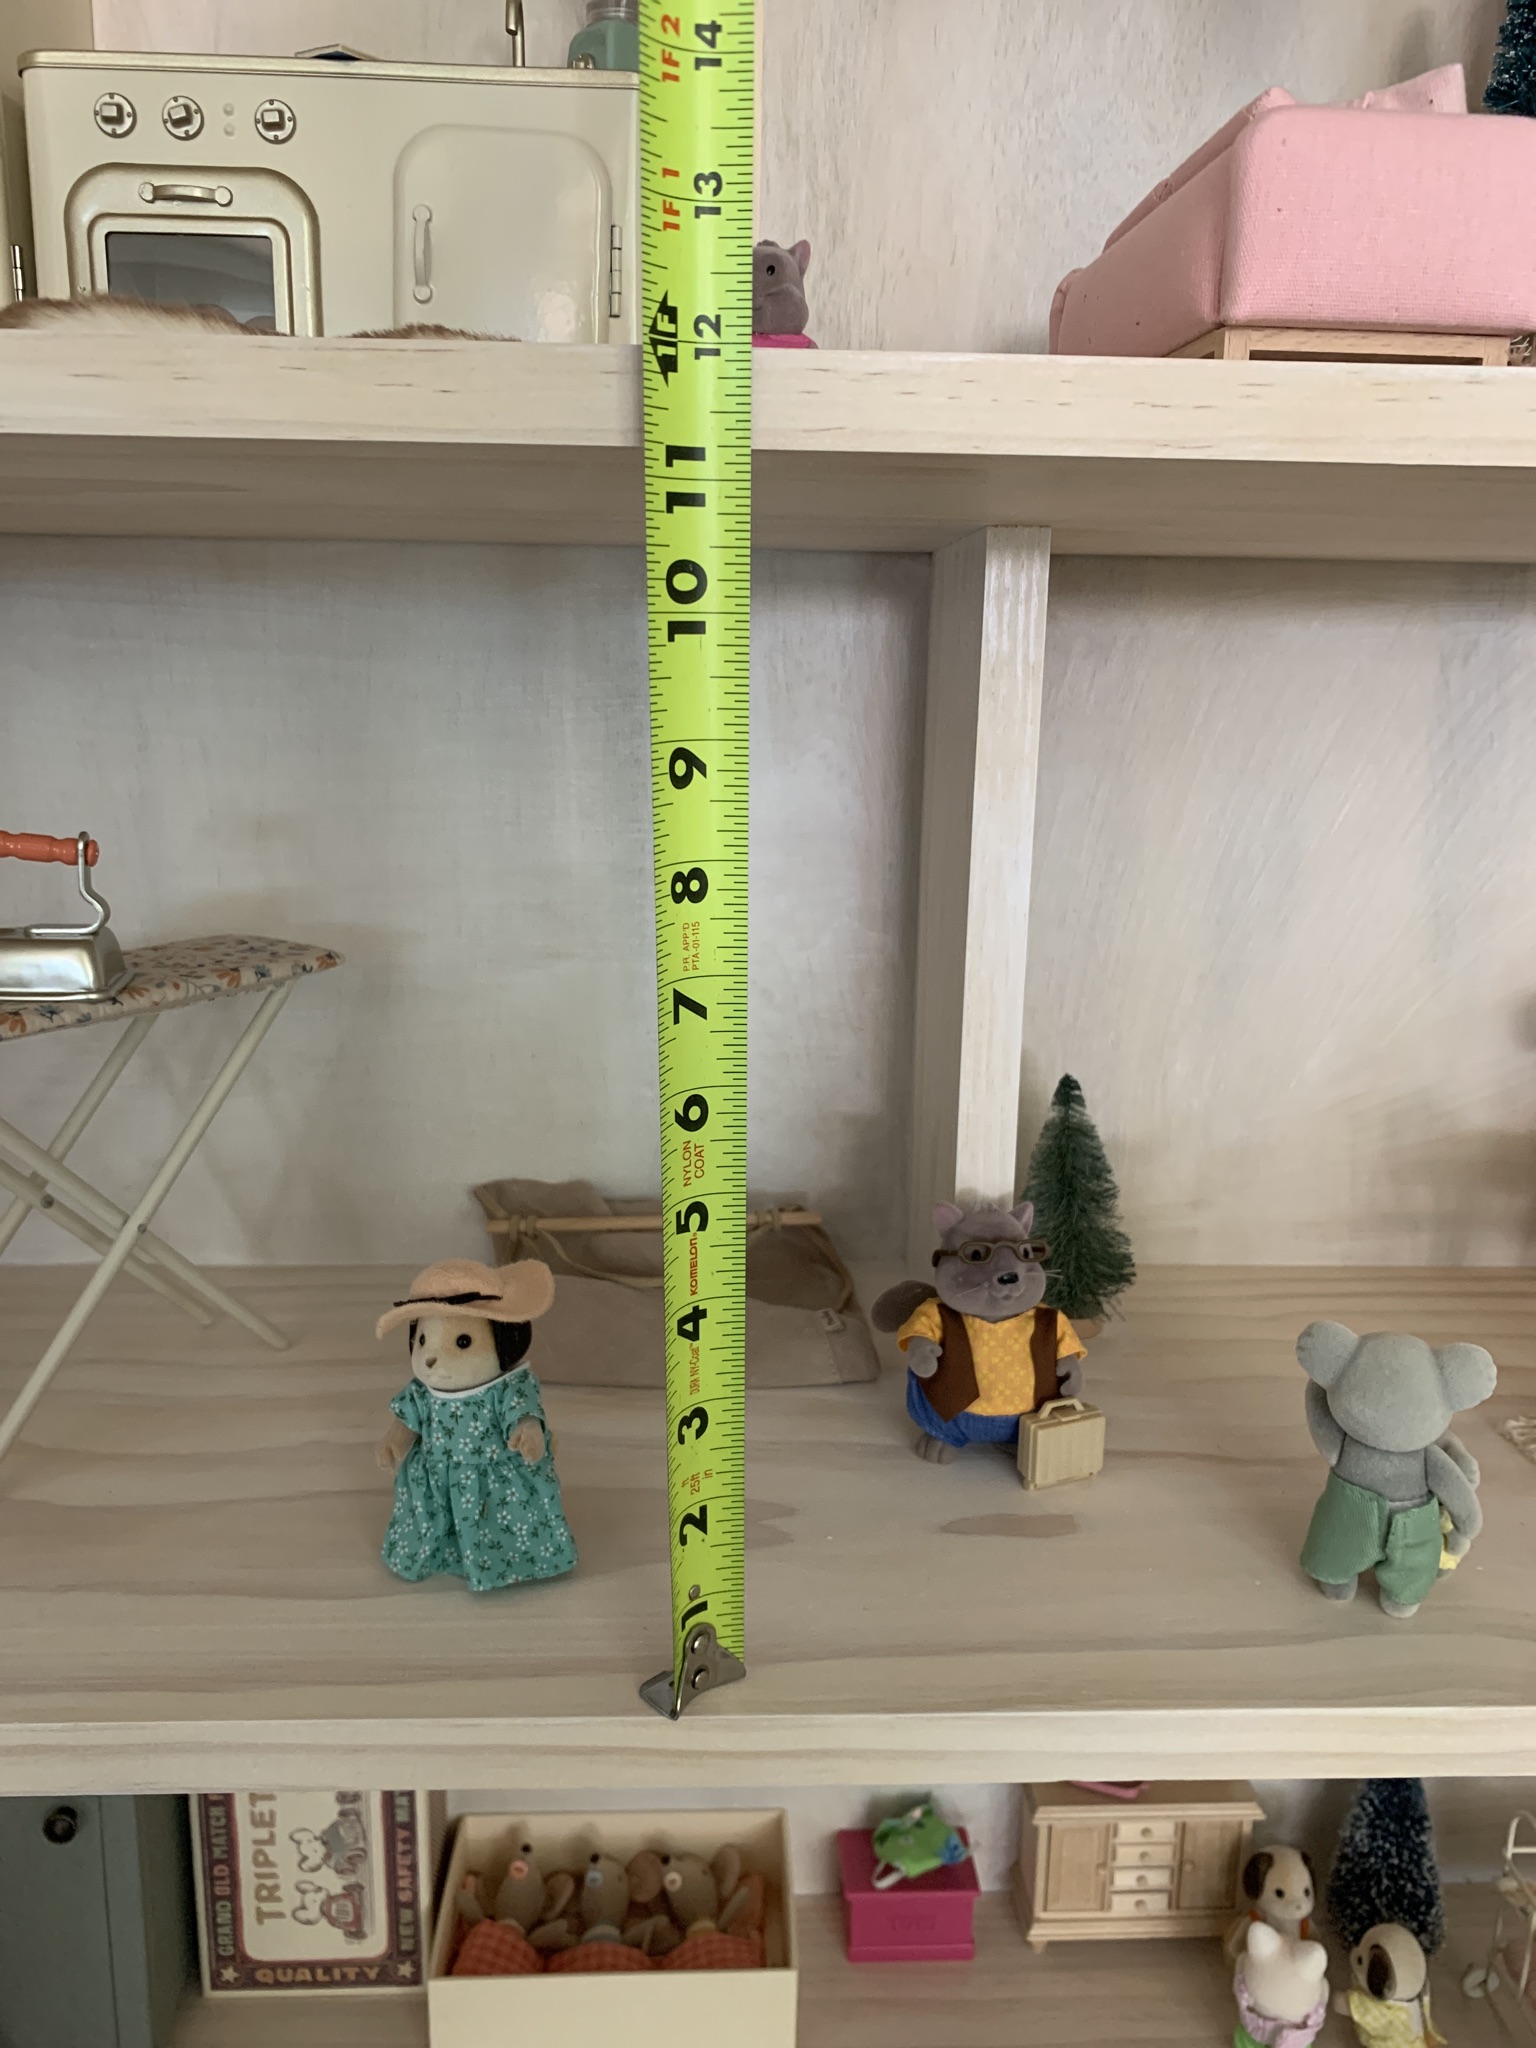
Next, install the other 2 floor boards. The openings between floors is 11.25”. The 1×12 is actually .75” thick (not an inch). This makes the bottom of the floor to the bottom of the next floor 12” even.
Cutting the top of the sides:
The right side piece is cut on the top at a 13 degree angle
The left side piece is cut on the top at a 30 degree angle
Tip: cut the angled tops first. Then measure 41” from outside edge and cut the bottom 90 degree cut. This provides much less room for error.
Roof:
You’re cutting the right side of the left roof at a 19 degree angle
You’re cutting the left side of the right roof at a 19 degree angle
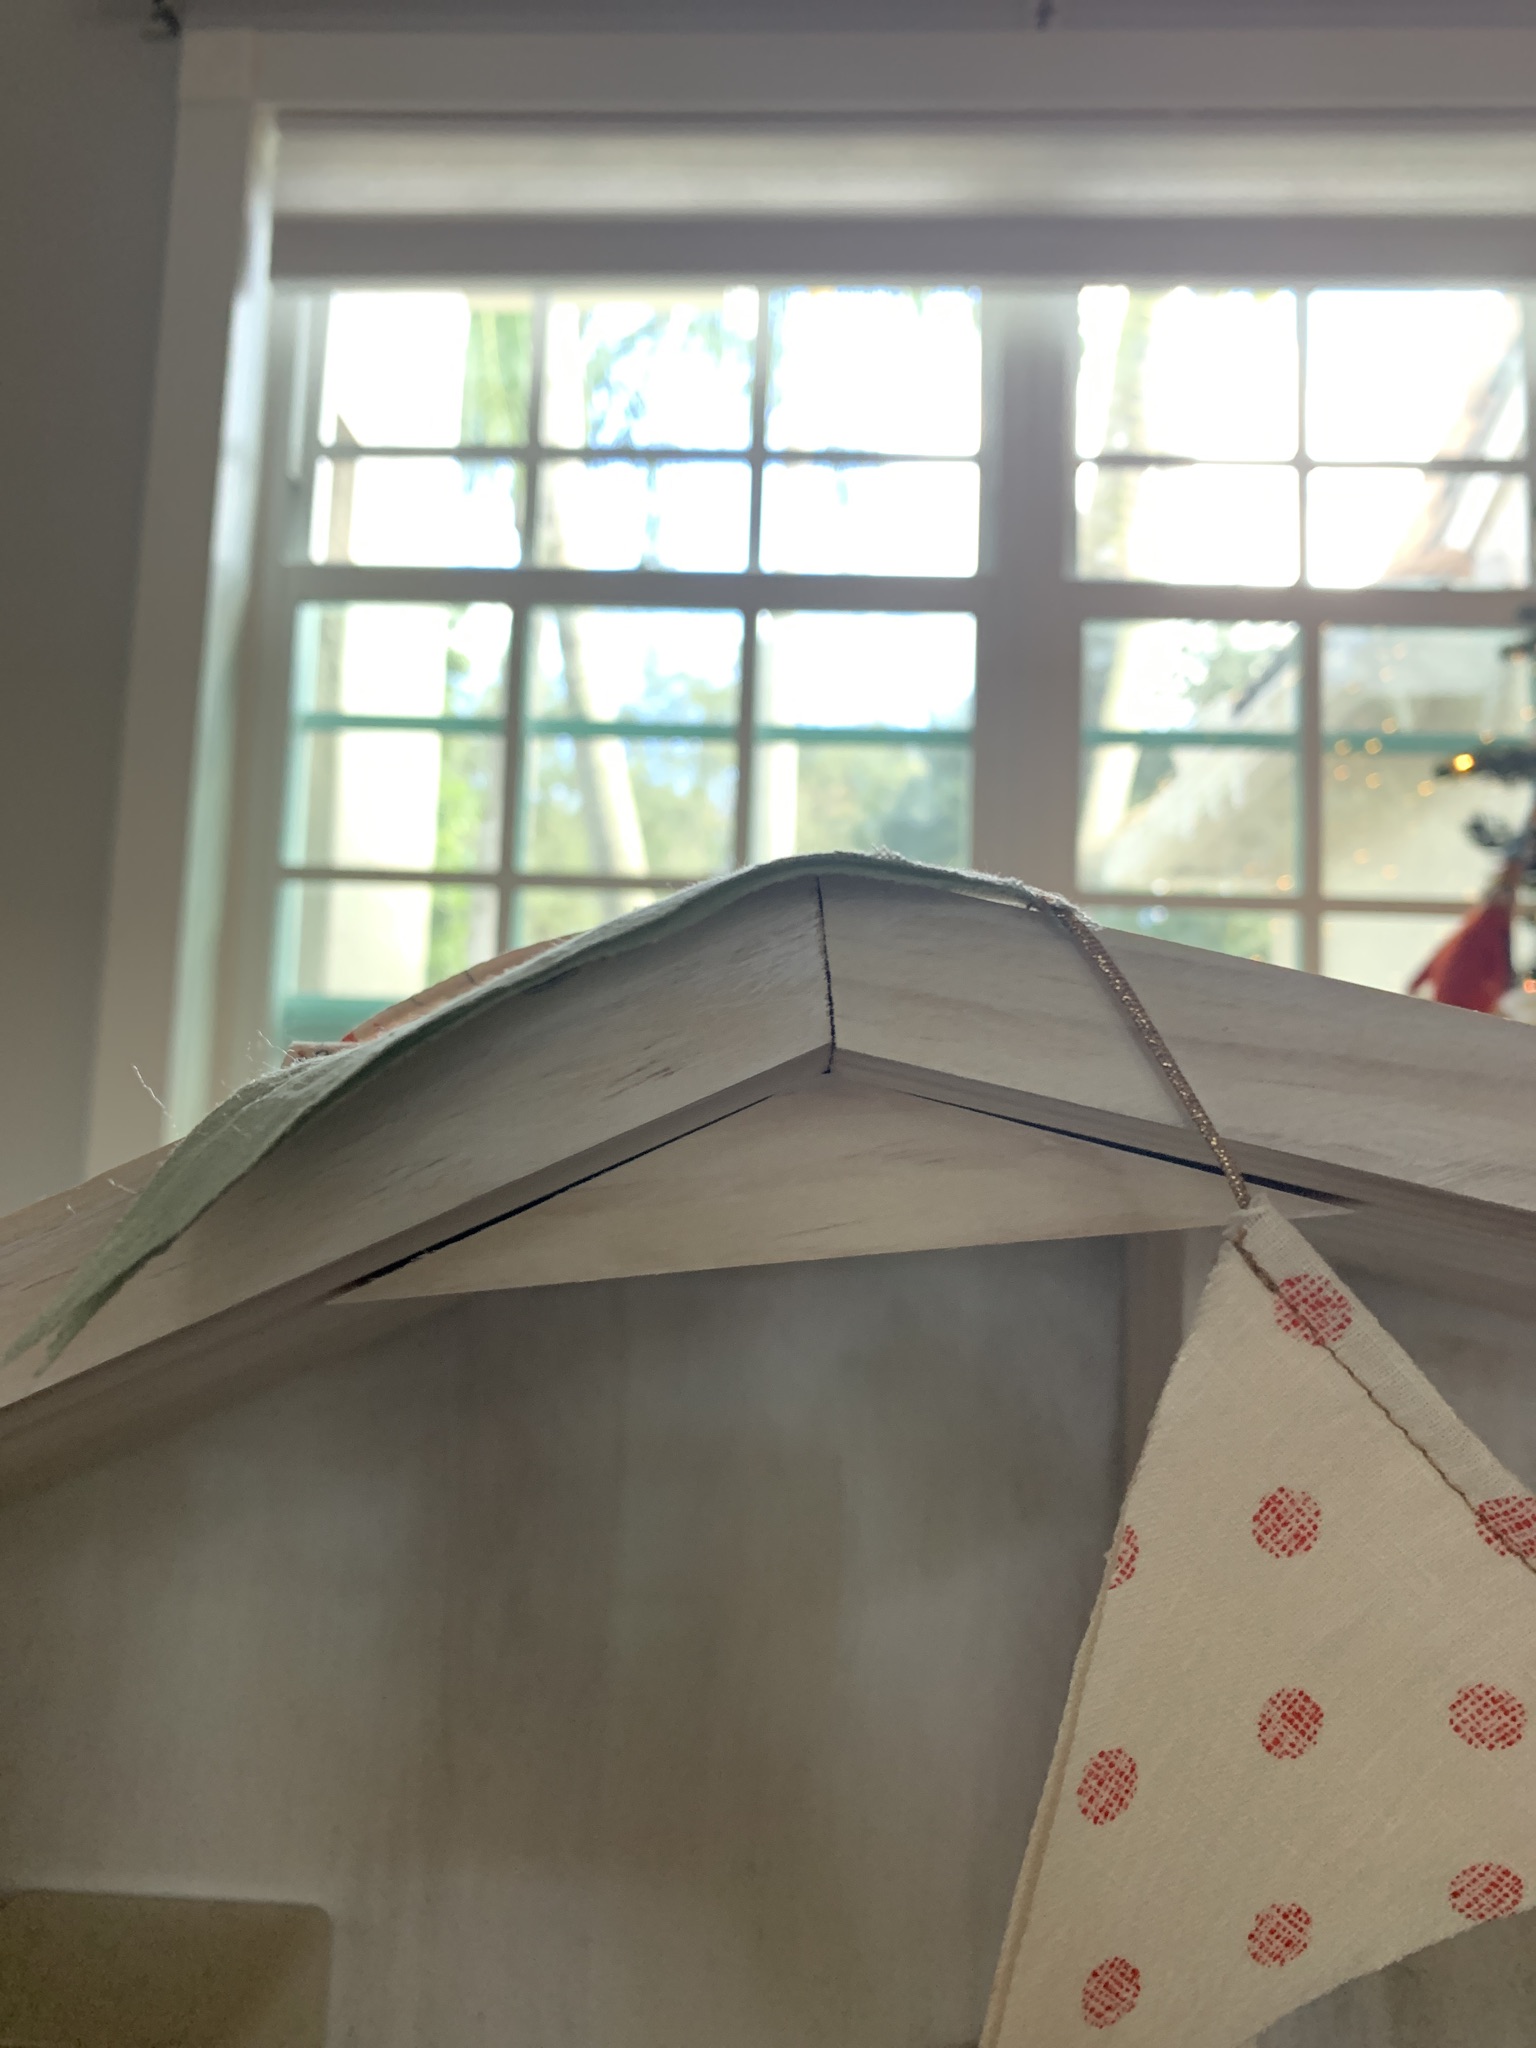
Tip: cut the angled sides first and then measure and cut a 90 degree angle for each outer edge. Similar to the sides. This provides much less room for error.
Left roof should be cut to 12”
Right roof should be cut to 26.5”
We nailed the floors in place first
Then we measured, cut, and installed the base to the main frame.
We cut a couple of small beams for the ceiling of the roof for extra stability. We held the 1×3 up and traced the inside for a more exact angle. We nailed the roof into them from the top down. This allowed for us to then lay the roof on top of the frame in one piece. For the roof we used a small bead of wood glue as well as nailing it to the top of the side pieces. Reference photo above for beams.
For the back panel of the dollhouse we bought a 4×8 sheet of 1/4” plywood (found in same section as the large mdf sheets at Home Depot)
Once the roof is installed you lay the doll house on its back on top of the sheet of plywood. Trace the outside of the dollhouse on the plywood. (You don’t have to trace around the overhangs of the roof). Use a circular saw and cut it out just inside of the traced line.
Place the dollhouse face down and lay the cut plywood onto the back, making sure there are no overhanging edges. For any minor adjustments after the main cut we used a jigsaw to trim the edges.
Place a small bead of wood glue on the back of the dollhouse and lay the plywood in place. Wipe any exceed glue off the back as well as the inside of the dollhouse.
Use the nail gun to further fasten the plywood to the back of the dollhouse.
This is the piece that really gives the whole structure it’s stability.
Note: you can use wood glue throughout the entire project but we didn’t.
You can place the dividers where you like. Hold up the 1x3s in place and mark them for the angles needed on the top shelf.
For the chimney use the top of the piece you cut to place on top of the roof. We used wood glue only for the top chimney stack.
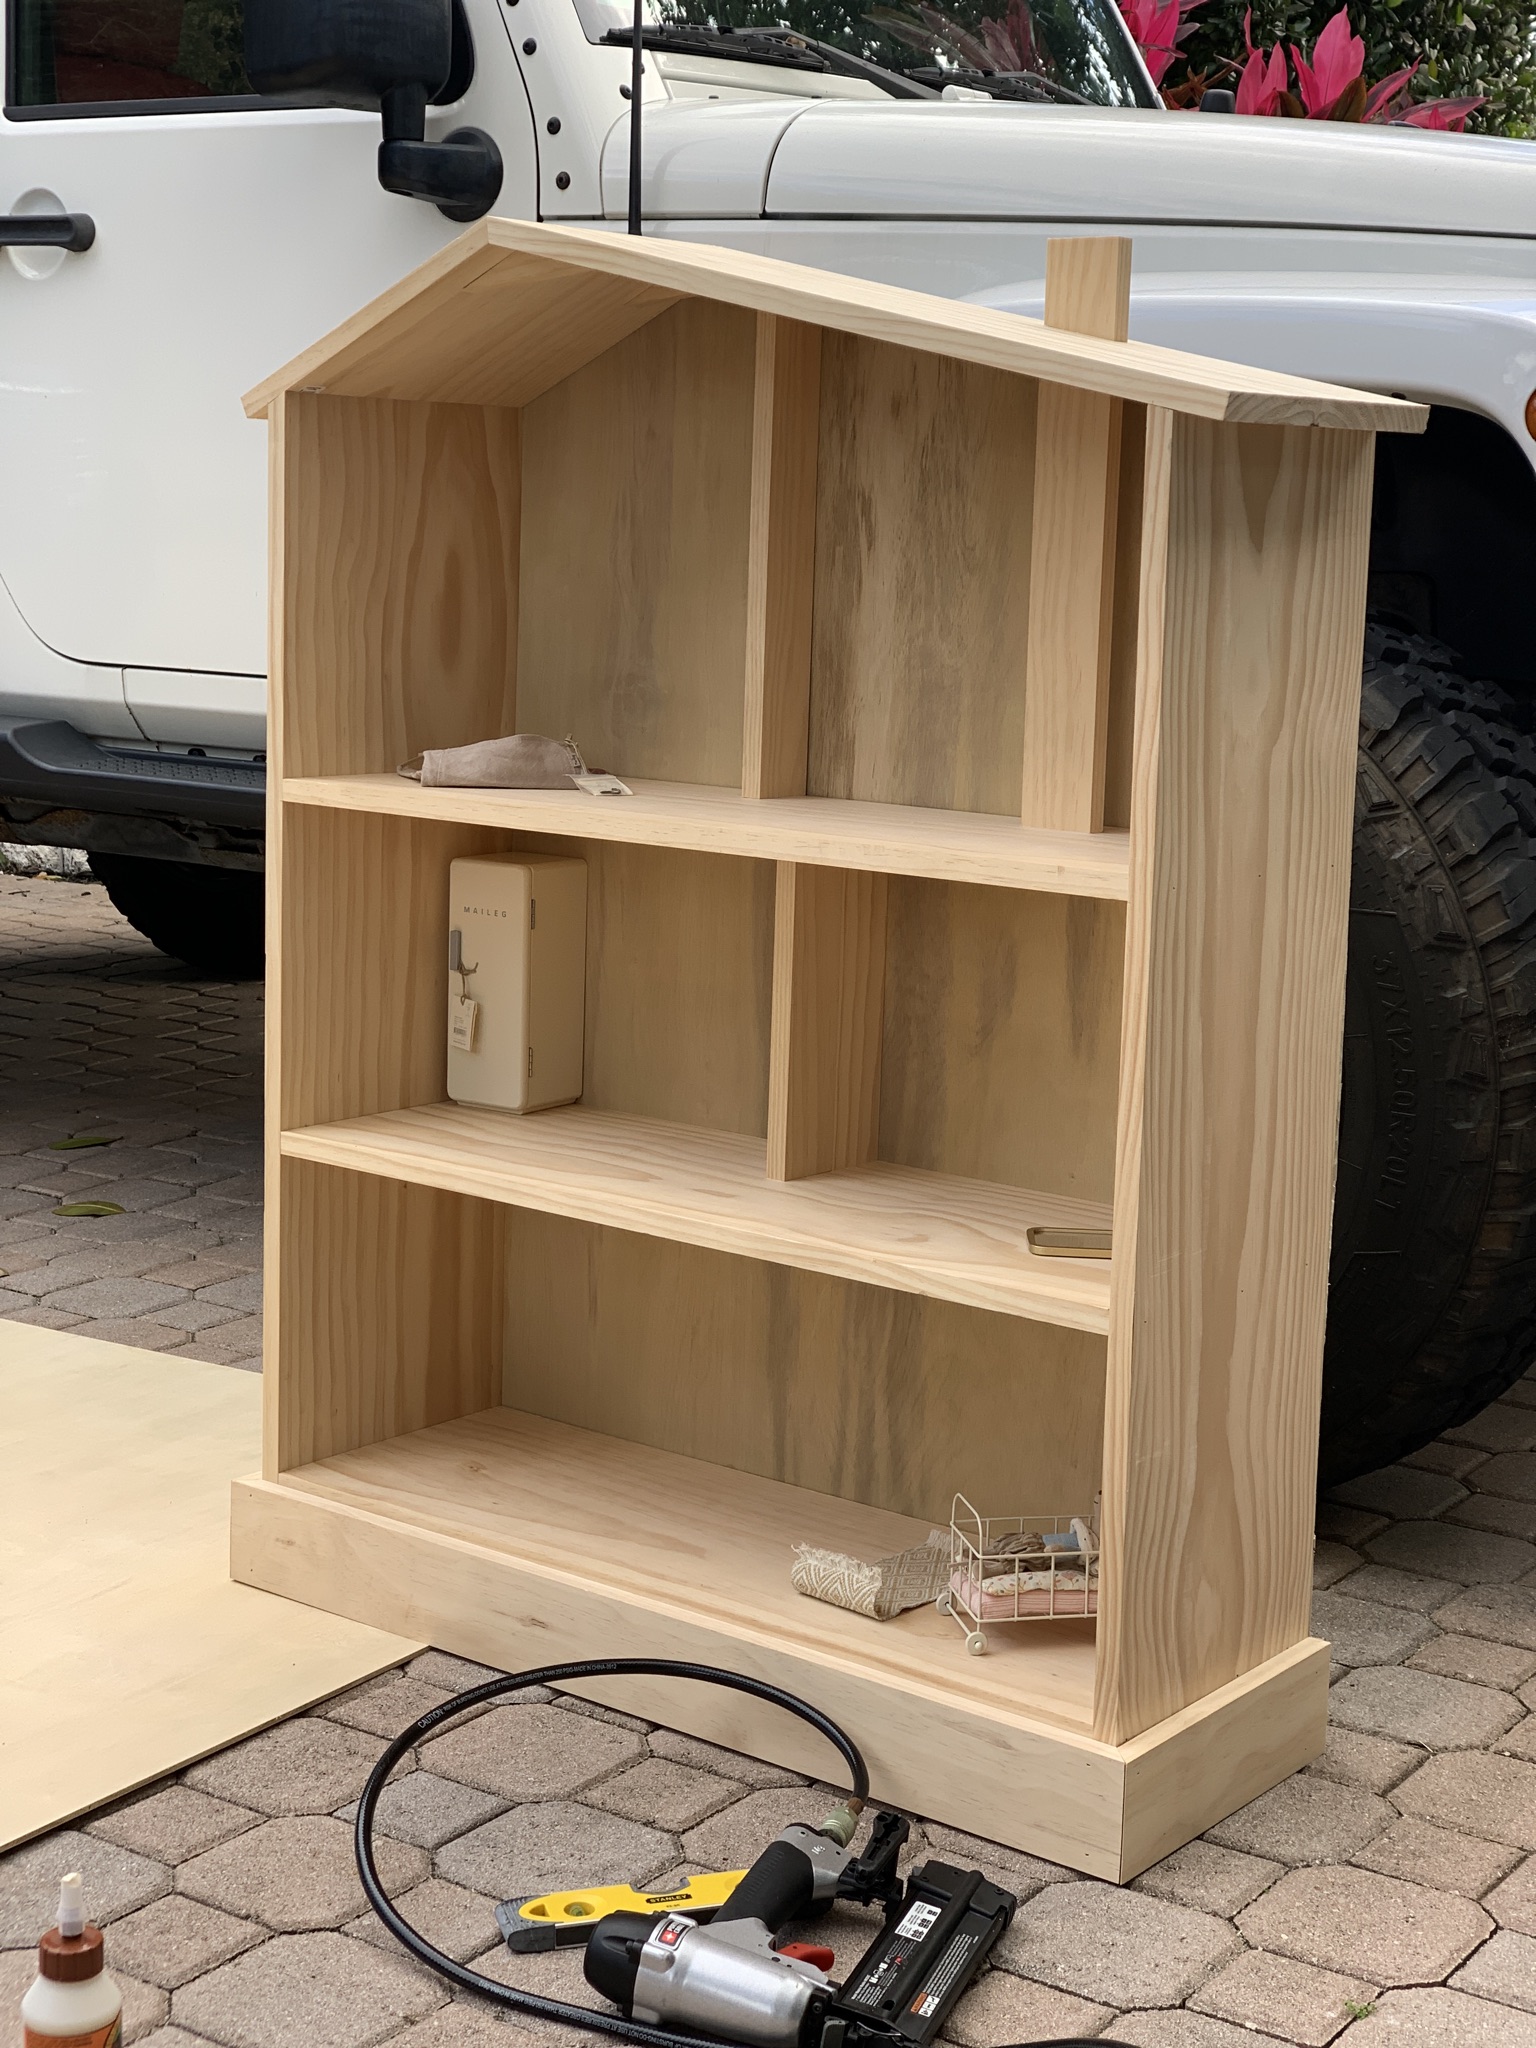
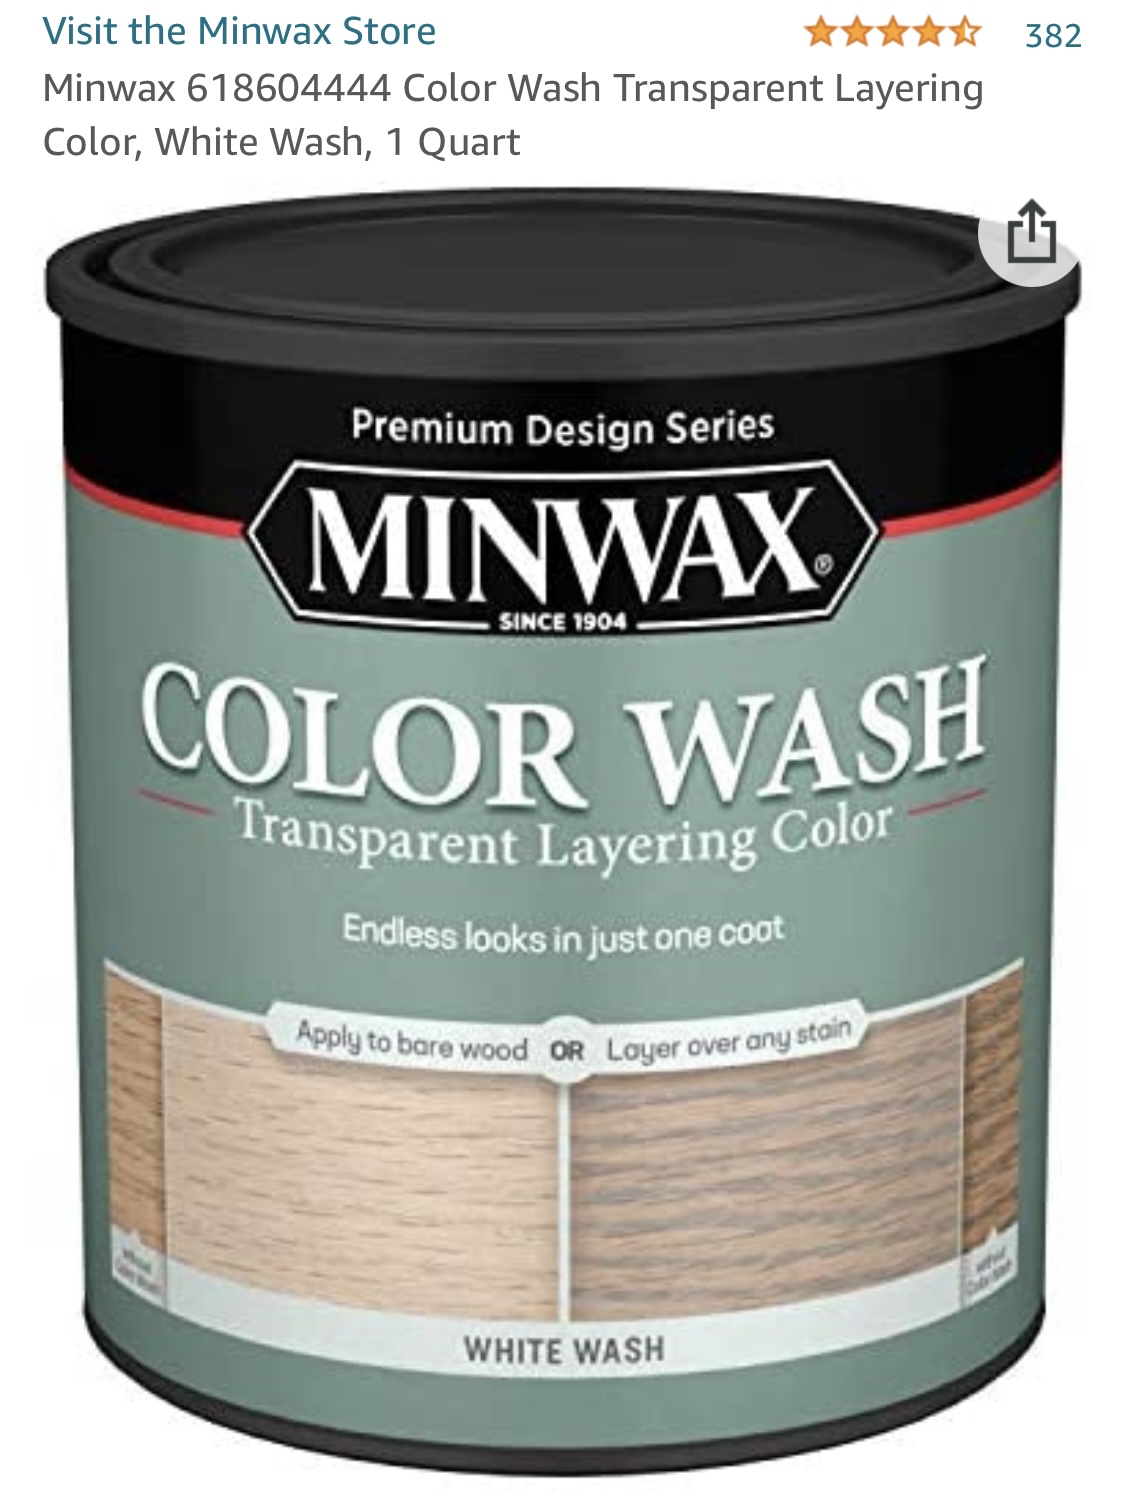
We stained the dollhouse with Minwax color wash/white wash. Linking that here for you.

DIY DOLLHOUSE ON A BUDGET

