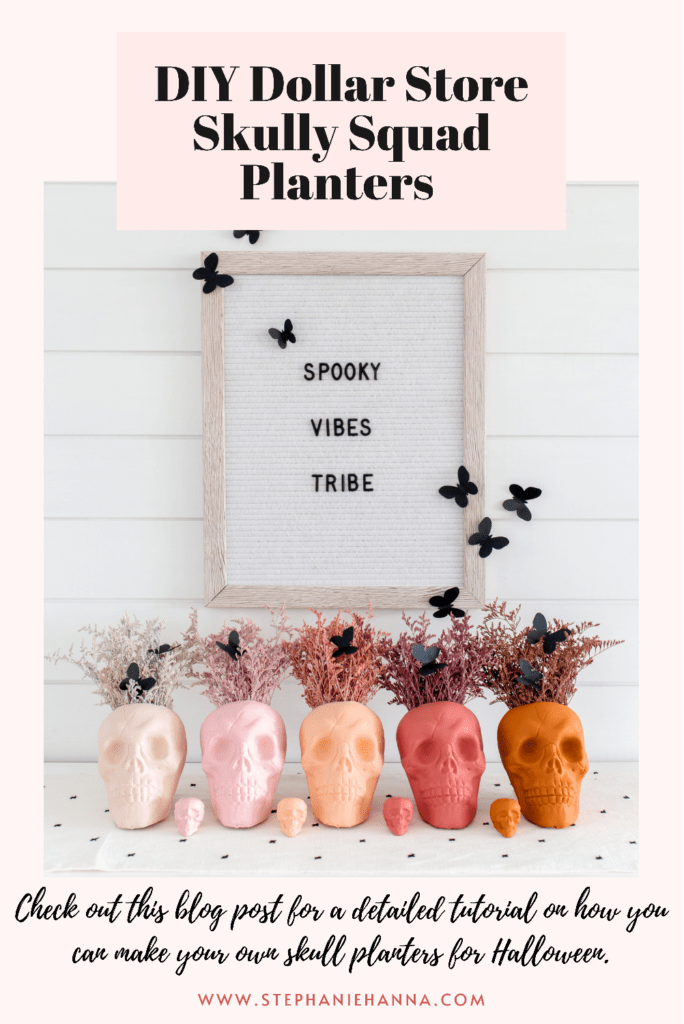
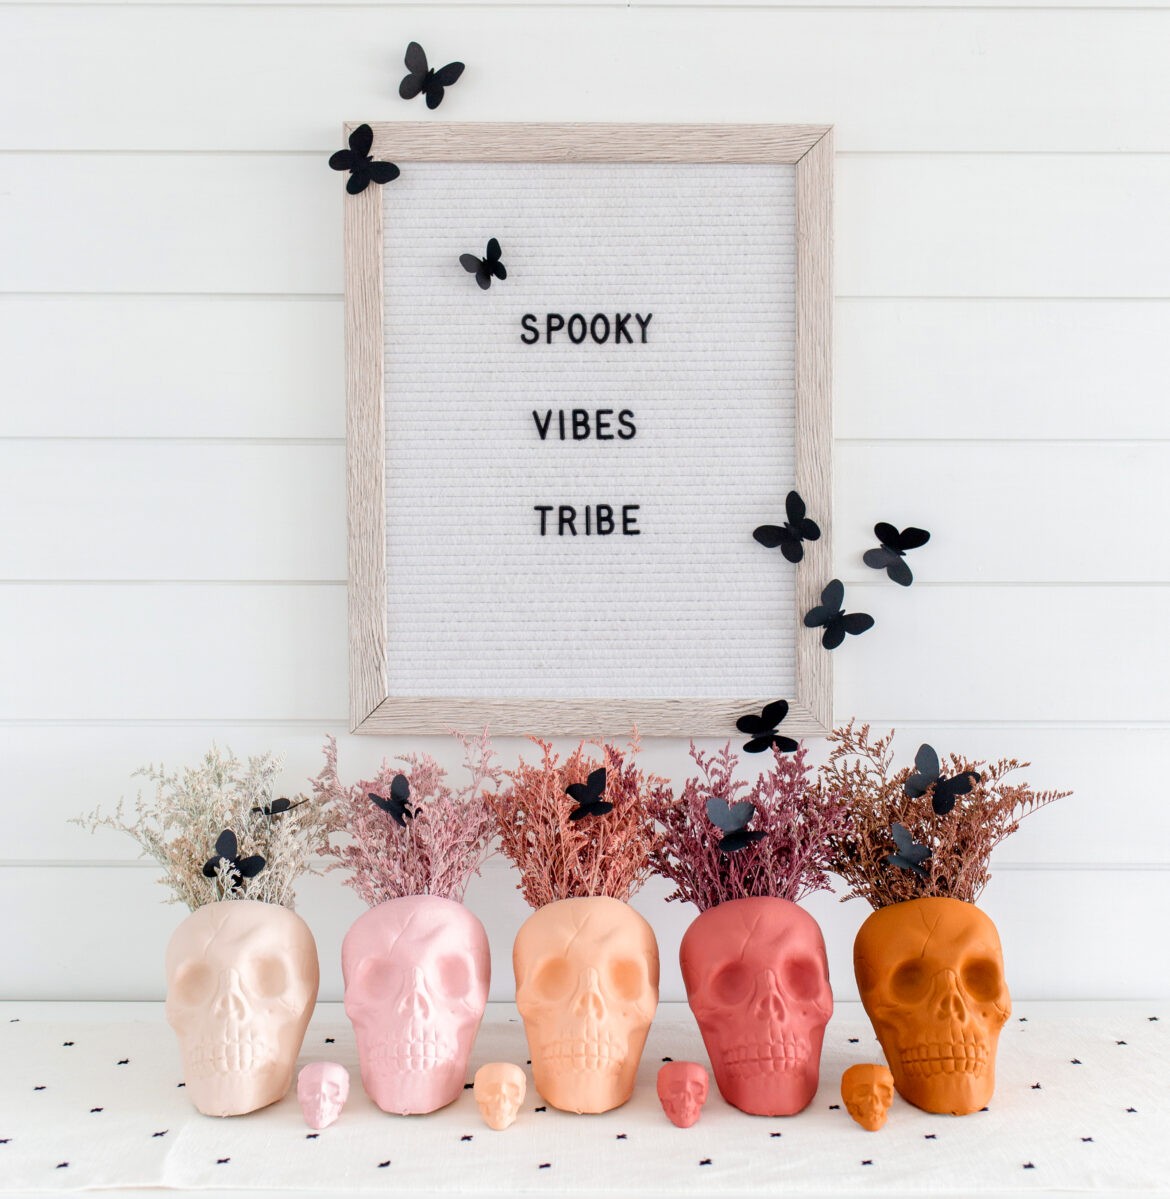
My most popular DIY from last year was the DIY Dollar Store Skully Squad Planters. These skulls are from the dollar store believe it or not! For $5, some paint and a filler of your choice you can make this squad (5 skulls) the statement of your Halloween decor this year. Skulls can be a scary Halloween decoration if left alone, see the before photo below. They definitely look a little scary or they can be pretty with the help of paint, butterflies and Caspia. I like to take my Halloween decor from spooky to sophisticated.
This post may contain affiliate links.
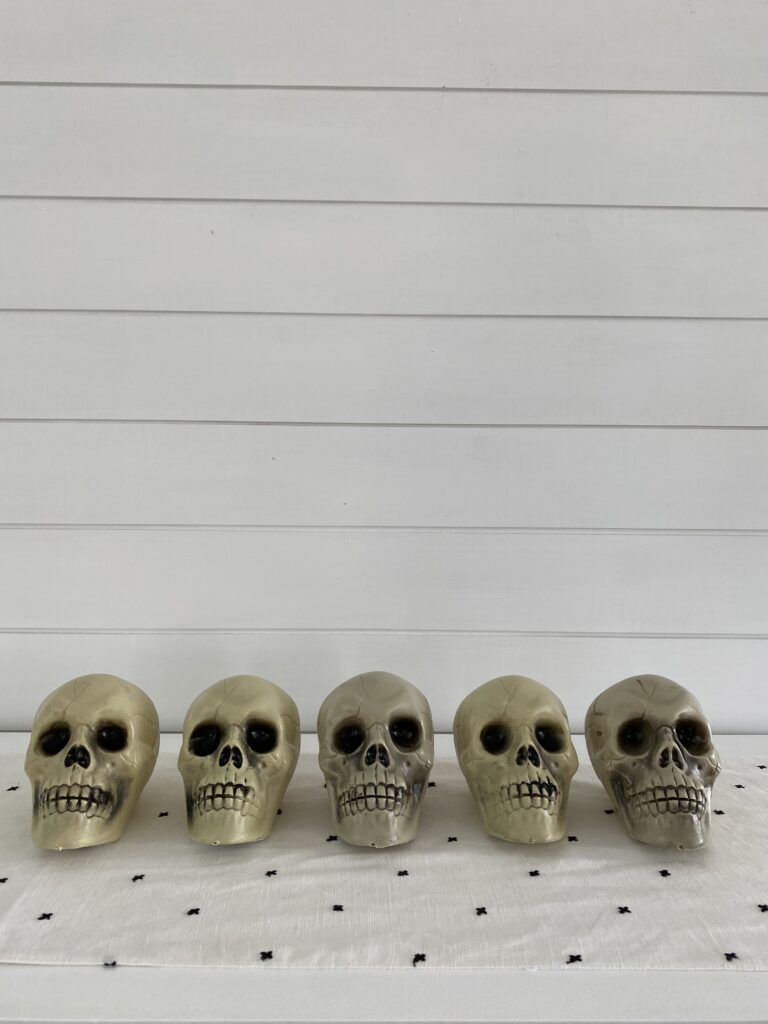
Supplies you will need:
5 Dollar Store Skulls (photo above)
A drill or something to puncture the top of the skull
Heavy duty scissors
Sharpie
Craft Paint in 5 colors
Craft Paint brushes
Filler-I used spray painted Caspia
Packing Paper to fill the skull with
This DIY Skully squad is so easy. You can have your kids paint the skulls for you. Thats what I did last year and they loved it.
Step 1
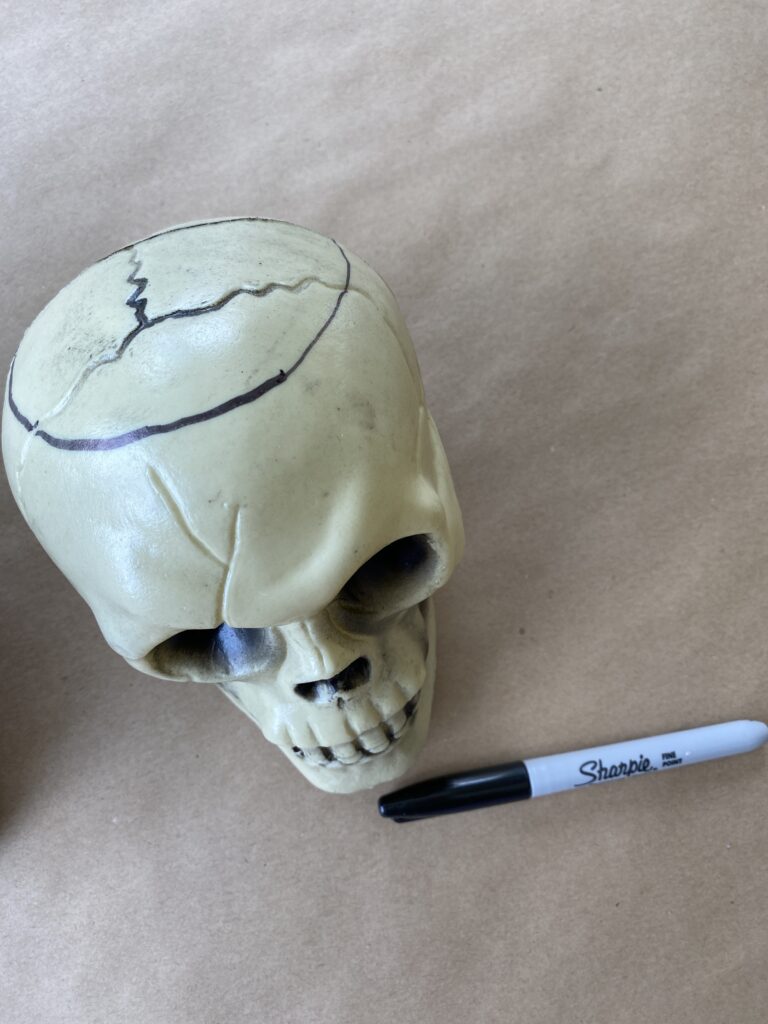
First thing you want to do is draw a circle around the top of the skull so you can see where you will want to cut it. I used a sharpie to draw it on. Draw the circles on each one of your skulls.
Step 2
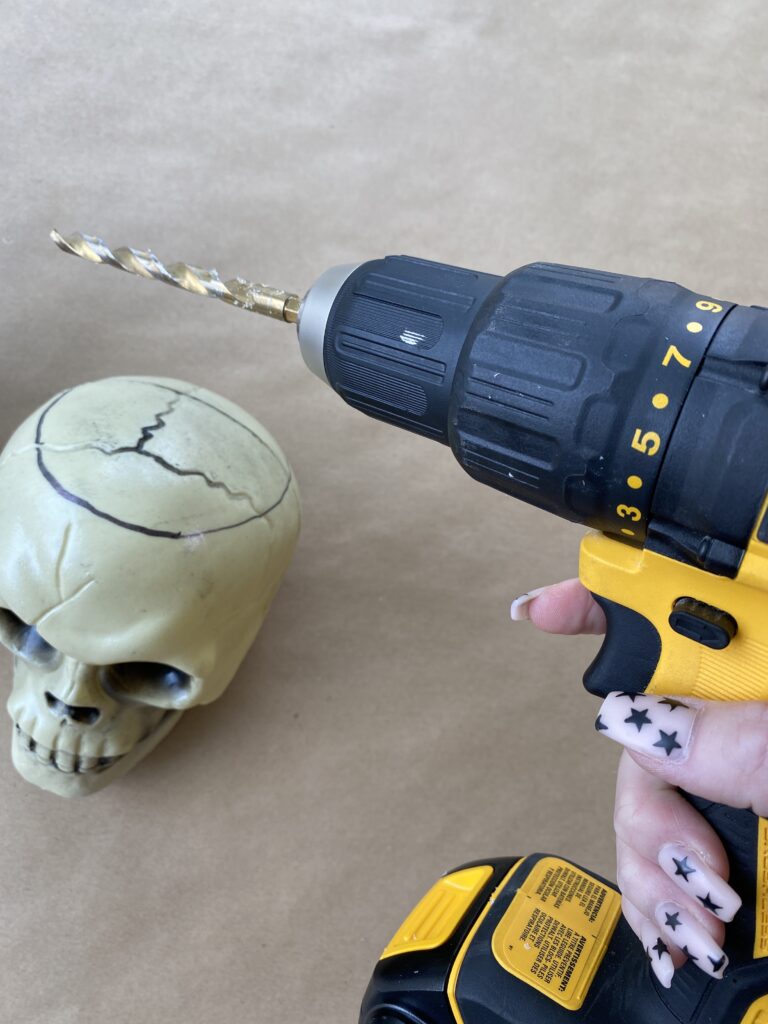
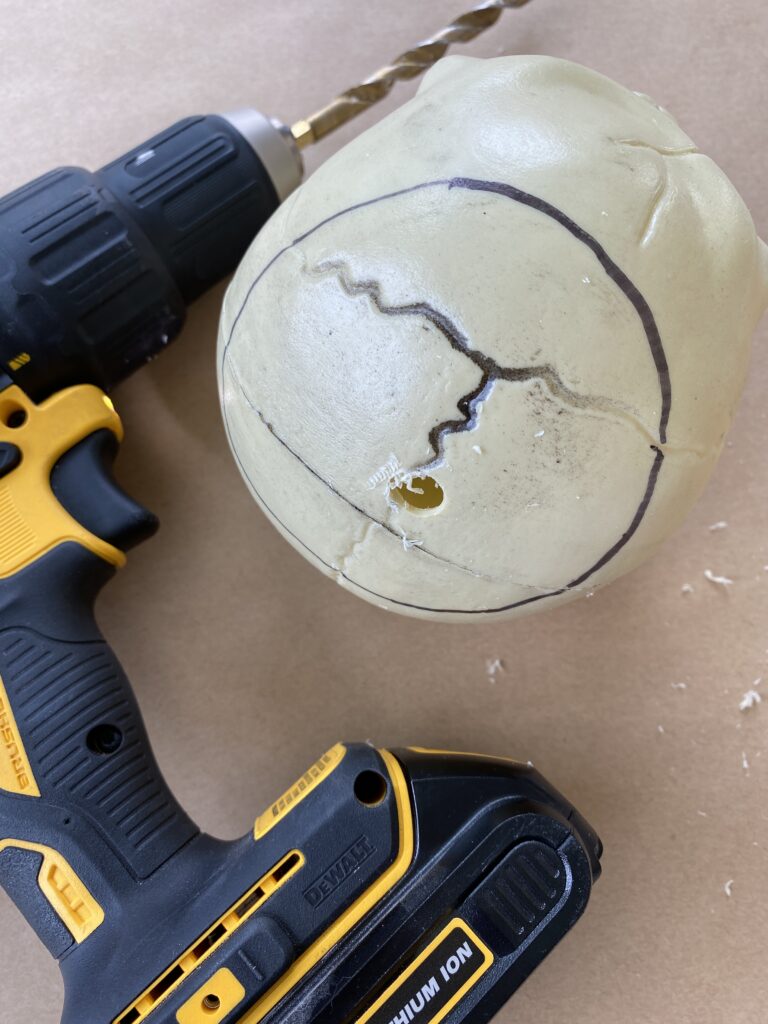
Drill a hole in the top of your skulls. I used my husbands drill to puncture a hole in the top of the skull. Be careful that you don’t hold the skull too tight, it is flimsy and can cave in easily.
Step 3
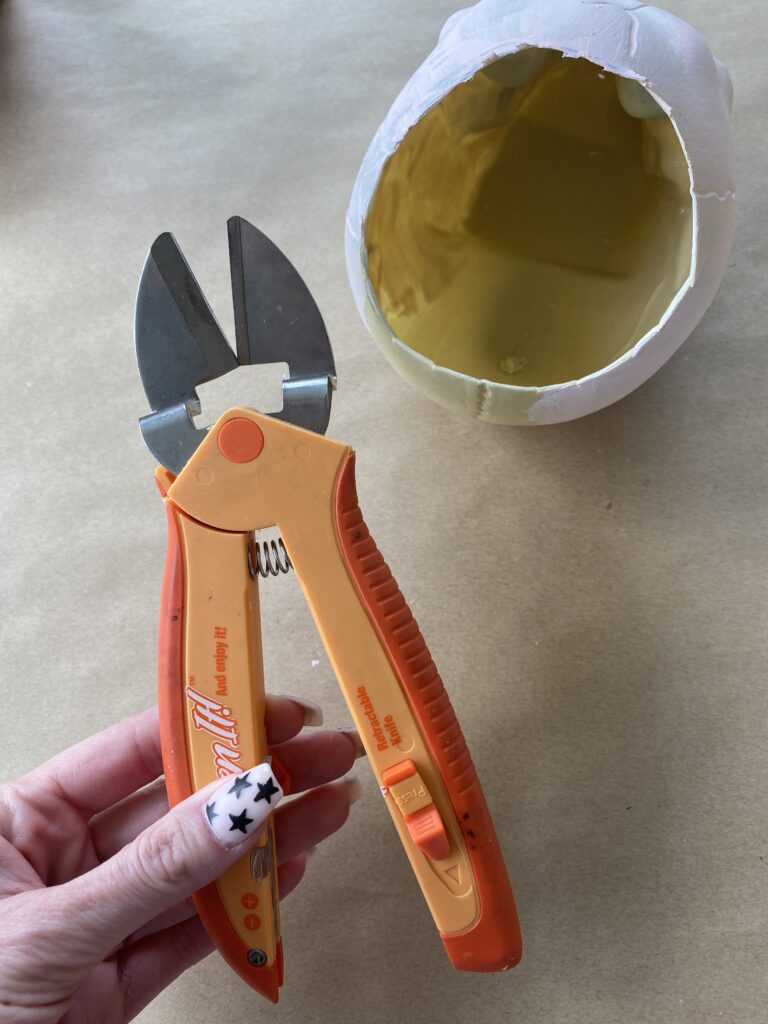
Next you are going to cut the top of the skulls head. I use heavy duty box scissors. Follow the black sharpie line you drew all away around the head. Cut the entire top off and discard it. Do that to all of your skulls.
Step 4
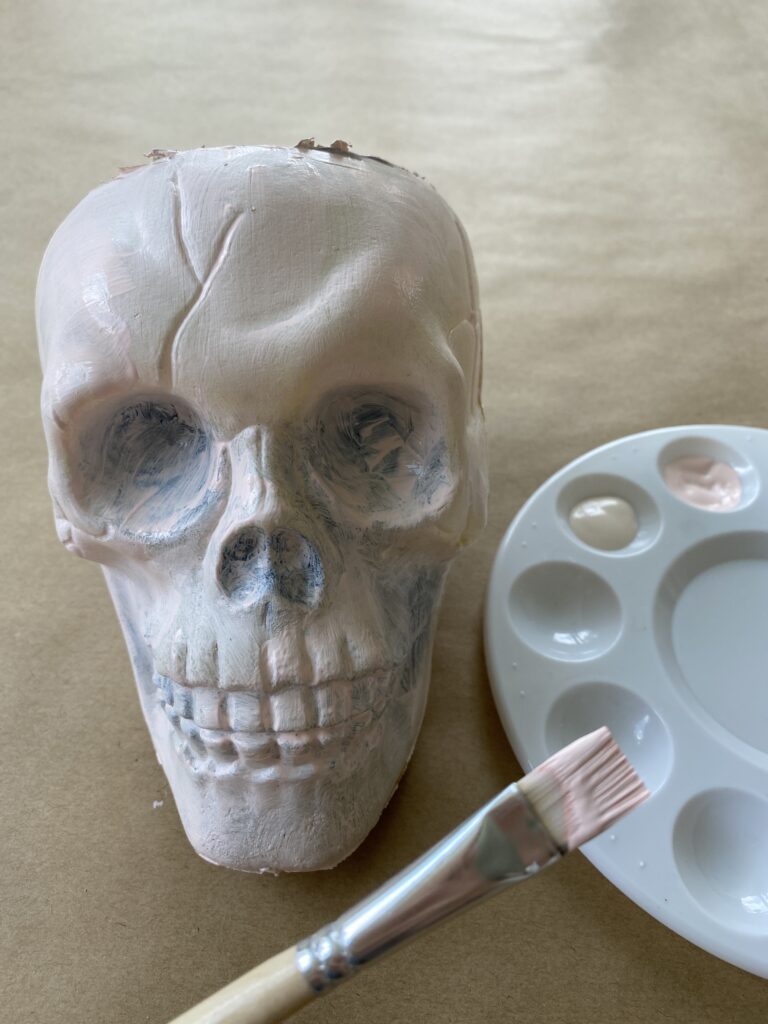
Now the fun part, painting! Choose any colors you would like to make your skully squad go with your Halloween decor. I use craft paint and a paint brush because the selection of colors is much more expansive than spray paint. You can spray paint them too! Whatever you would enjoy the most. If you are using craft paint be aware that its takes 3 and sometimes 4 coats depending on the brand of paint and the colors you choose to get the paint to cover thoroughly.
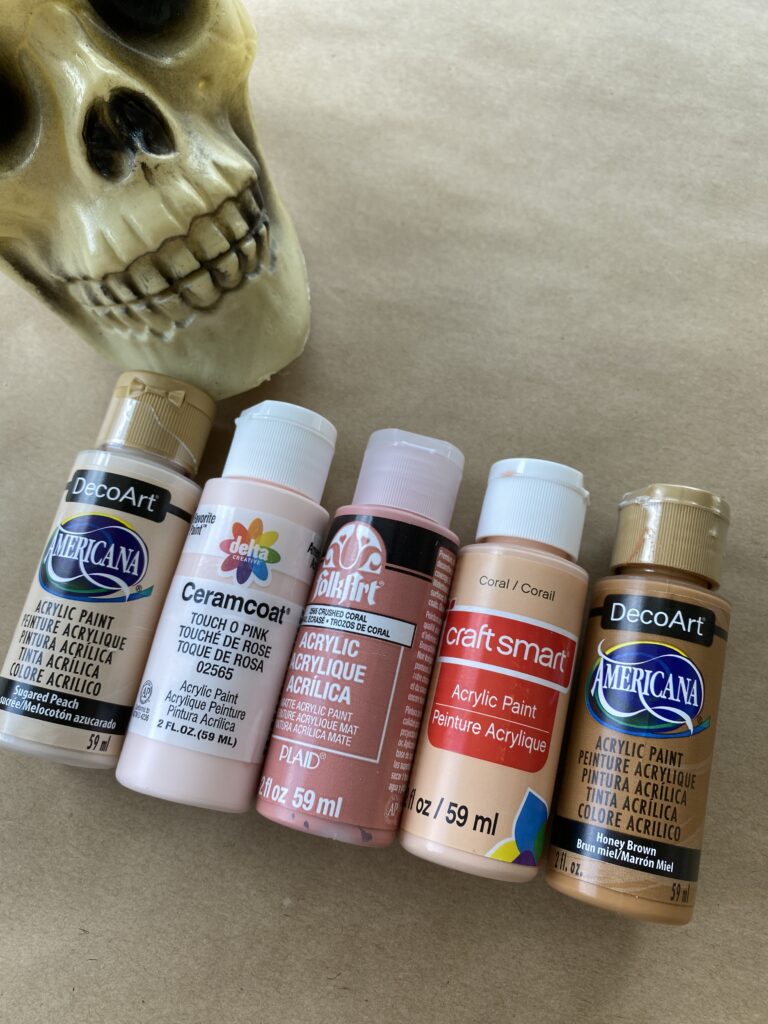
The colors I chose this year are Sugared Peach, Touch o Pink, Crushed Coral, Coral and Honey Brown. This color scheme goes with my Halloween theme this year in the main living are of our home. These paints can be found at Michaels or Hobby Lobby.
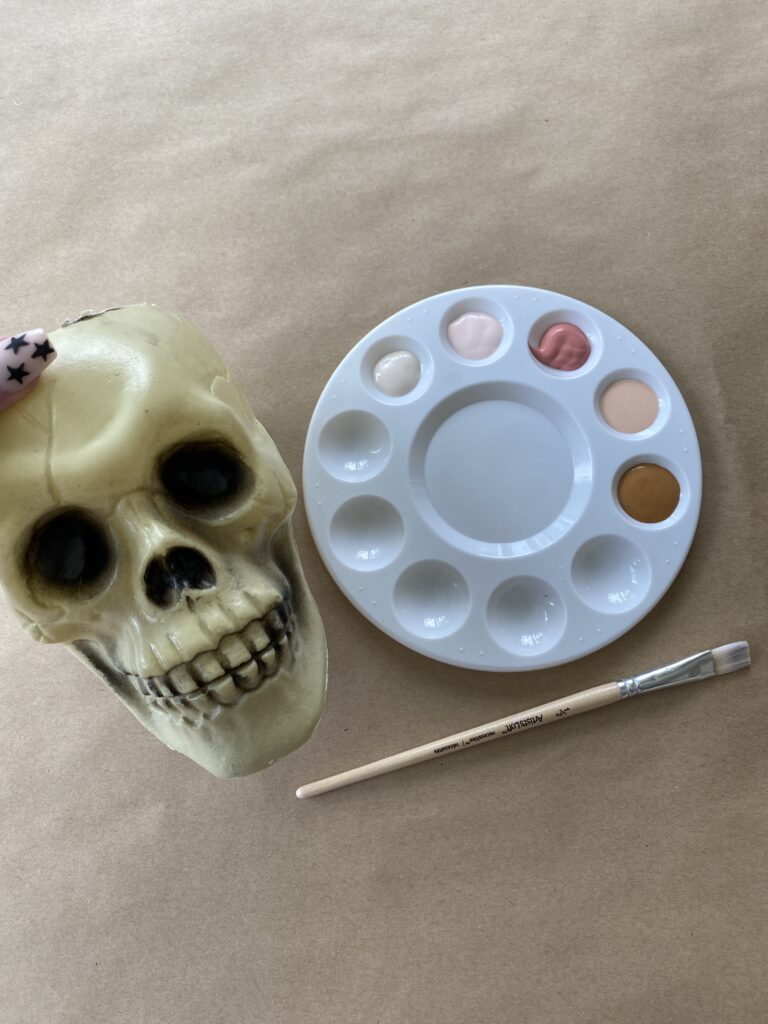
This is what your skull will look like after 1 coat of paint. Let each coat of paint dry before adding the next coat.The yes and nose are the hardest to cover since they are black.
Step 5
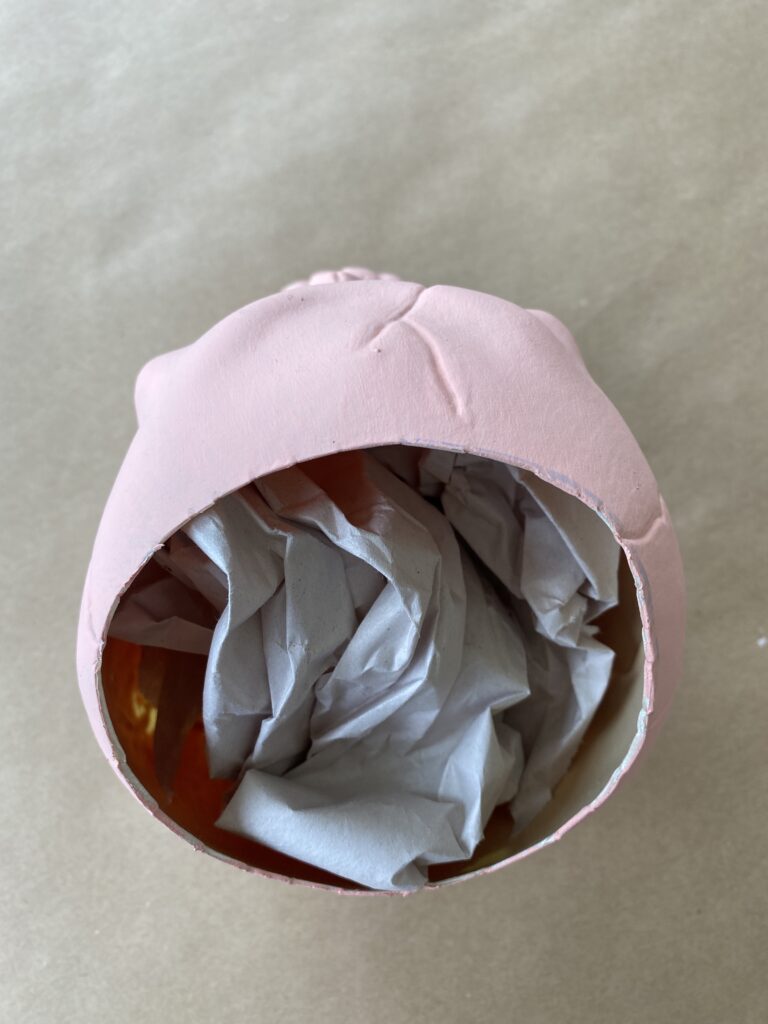
After you have painted all of your DIY Dollar Store skully squad planters, now you can stuff them with a little bit of packing paper or tissue paper, this will help your filler stand up towards the front of your planter.
Step 6
Choose your filler. Last year I used dried florals from Michaels, they have a lot this year too I checked. This is the skully squad from last year.
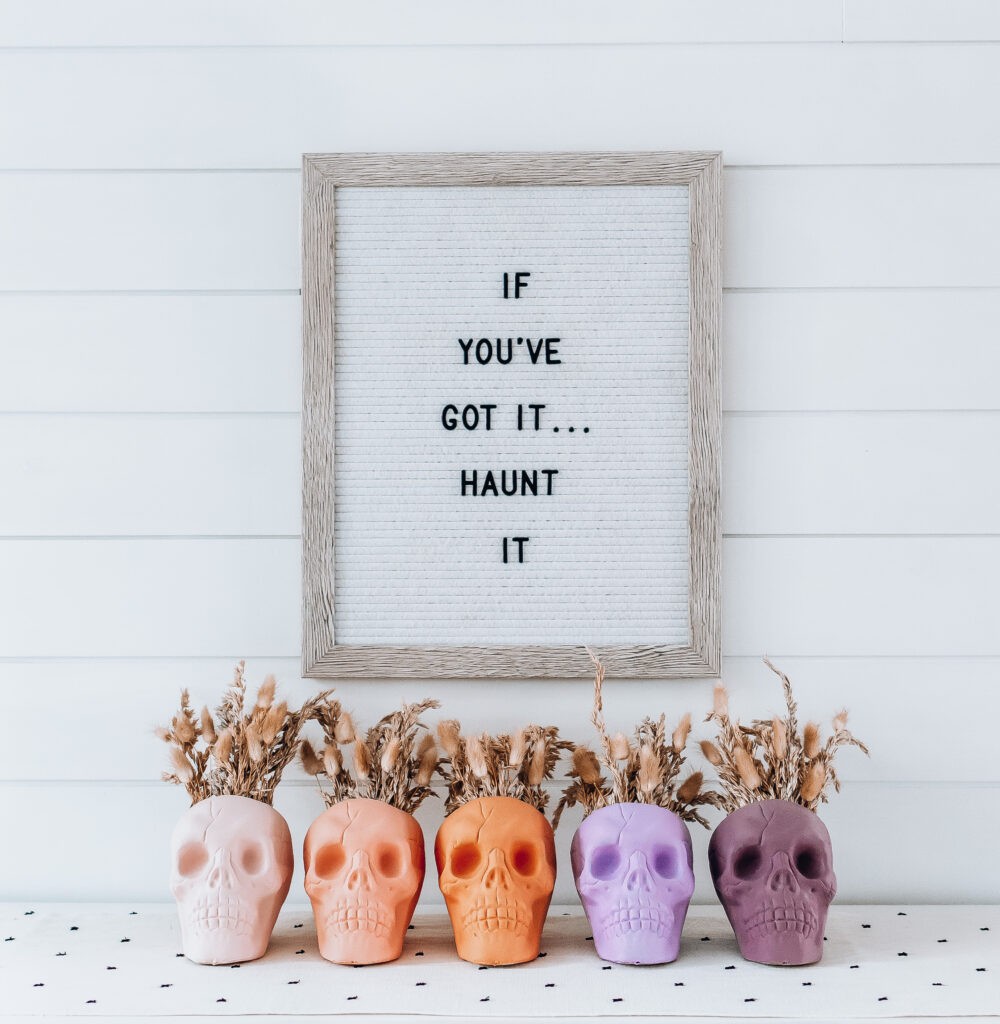
This year I chose to use Caspia. Caspia looks great when its dried and it is beautiful spray painted. You can get Caspia at any florist. I was going to use baby’s breath but its unavailable right now. Who knew there was a shortage of baby’s breath! I spray painted each grouping of Caspia to match the skull. This was very hard and I wouldn’t even know how to explain to you how I mixed the spray paints to achieve the colors I was going for. I was like a mad scientist with spray paint in my backyard.
I added a new fun touch this year with mini skulls. They are just too cute. Paint these to match your big skulls. I found these at Michaels.
*Tip- When you display them if they lean back too far you can put a little piece of foam underneath the base of the head to keep them upright or even drop a few pennies in the skull to weigh down the front.
I hoped you enjoyed this! If you do try to make one please tag me on Instagram or send me an email I would love to see it. As always if you have any questions please email me. Pin the image below on Pinterest to save this DIY Dollar Store Skully Squad Planters for later!
