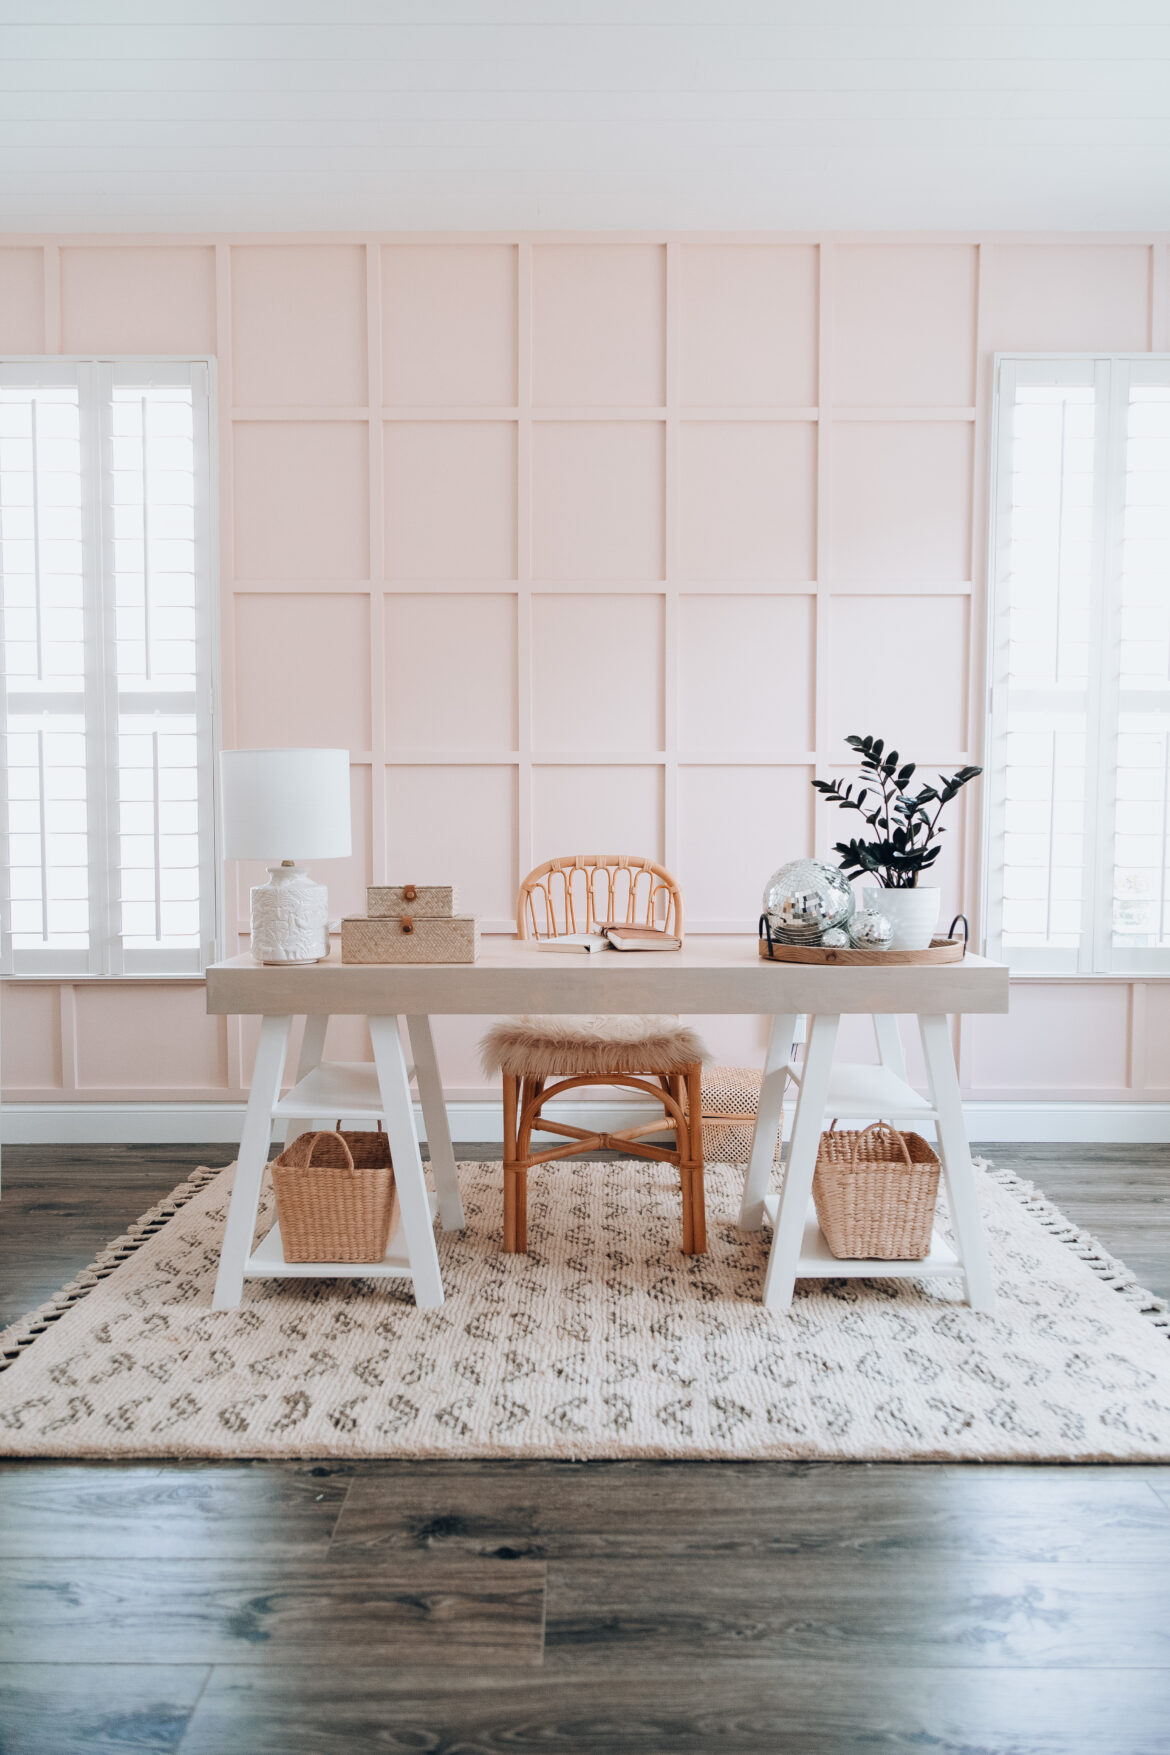
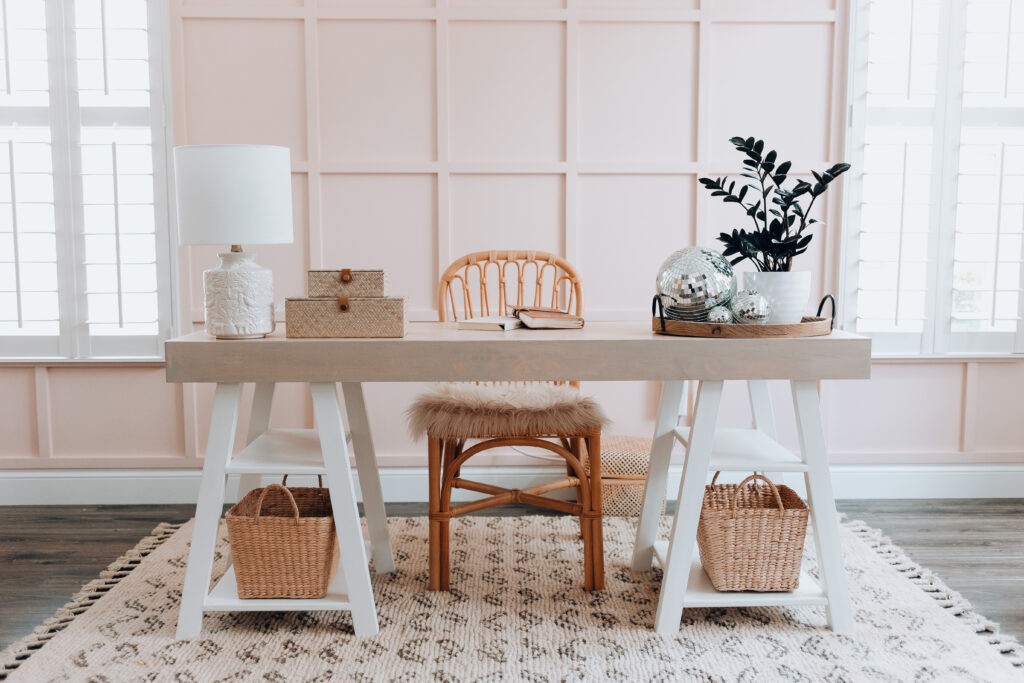
Have you heard shiplap is out and board and batten is in? I still love shiplap, however, and have it in three rooms in my home but I was ready for something new and fun for a feature wall. I love all of the board and batten inspiration you can find on Pinterest these days. It makes a statement without being overpowering. I now want to do this in every room of our house. This DIY board and batten wall is great for beginners and you can finish it for under $150! We did not use backer board for our wall because our wall has no texture. If your walls are textured you will need to use backer board for a smooth finish. Home Depot sells Eucaboard or you could use thin plywood.
Our wall is 14.5 ft wide x 9.5 ft tall. We bought our 1×2’s at Home Depot.
8 qty 10ft 1×2’s
12 qty 8ft 1×2’s
Here are the steps we followed to create our Board and Batten Grid Wall.
Start by measuring your wall, width and height. Make your best effort in dividing the width and height evenly based on the number of boxes you want on the wall. Most likely the width will not be the same as your height when it comes to the “box” size on the wall. We made our “boxes” a couple inches taller than they are wide. We used painters tape to layout the sizing of our grid before we installed the trim to make sure we liked it first.
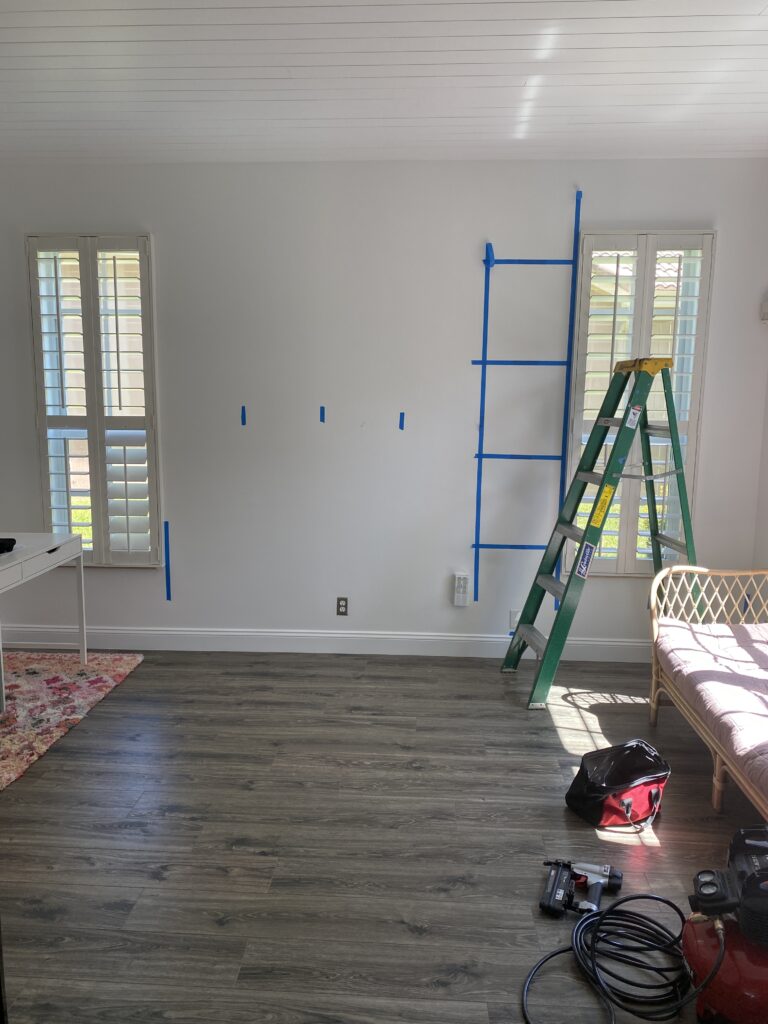
It’s important to remember that when you are measuring for the install, you need to measure to the center of each piece of wood. We used 1×2’s. Each 1×2 is actually 1.5 inches (not 2 inches) wide.
First install the 4 outer trim pieces (top, bottom and both sides). If your wall is too wide for a single piece you will need to install 2 pieces. At the joint where those two pieces meet, it’s always better to do a 45 degree cut so the seam is less noticeable.
Install the vertical pieces next. Measure from the center of the outside piece to where the center of the next piece will be placed. Mark the wall and continue to do this across the wall. Each mark should be equal distances apart from one another. Install the vertical pieces on those marks by nailing the bottom first and moving your way up, using a level as you go. The boards aren’t always perfectly straight, so being able to bend them into place moving up is the easiest way to go.
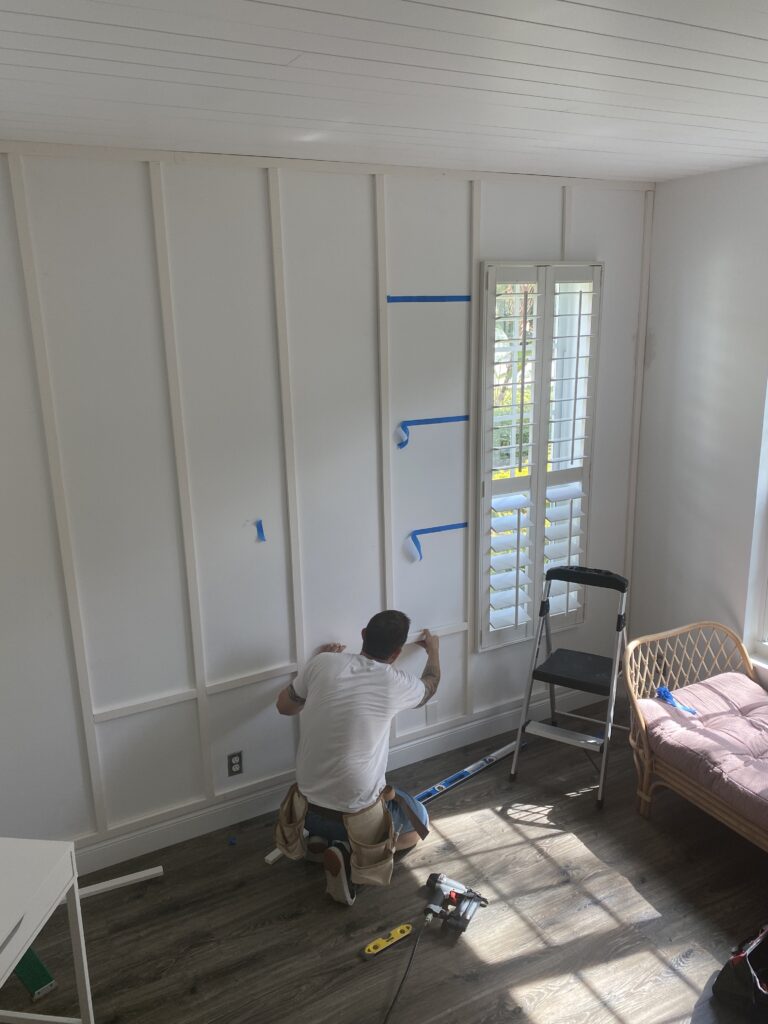
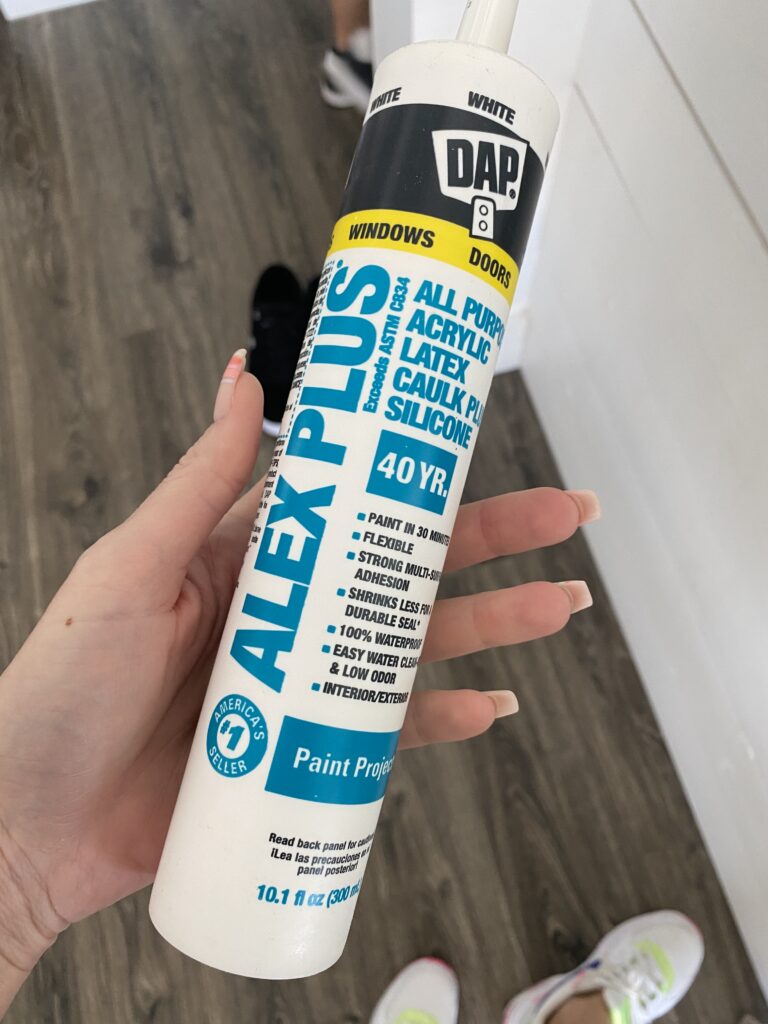
Moving on to the horizontal pieces in between the vertical boards. I did one row at a time starting at the bottom measuring up to my pre-determined measurement. Once I had that marked, I used a level to go to the next box, so on and so forth from my right to left. Once these horizontal marks are in place, I measured the width in between the vertical boards and cut the horizontal pieces to fit. Nail these pieces into place. Do this moving up the wall until the final horizontal pieces are installed. Finish by caulking all edges.
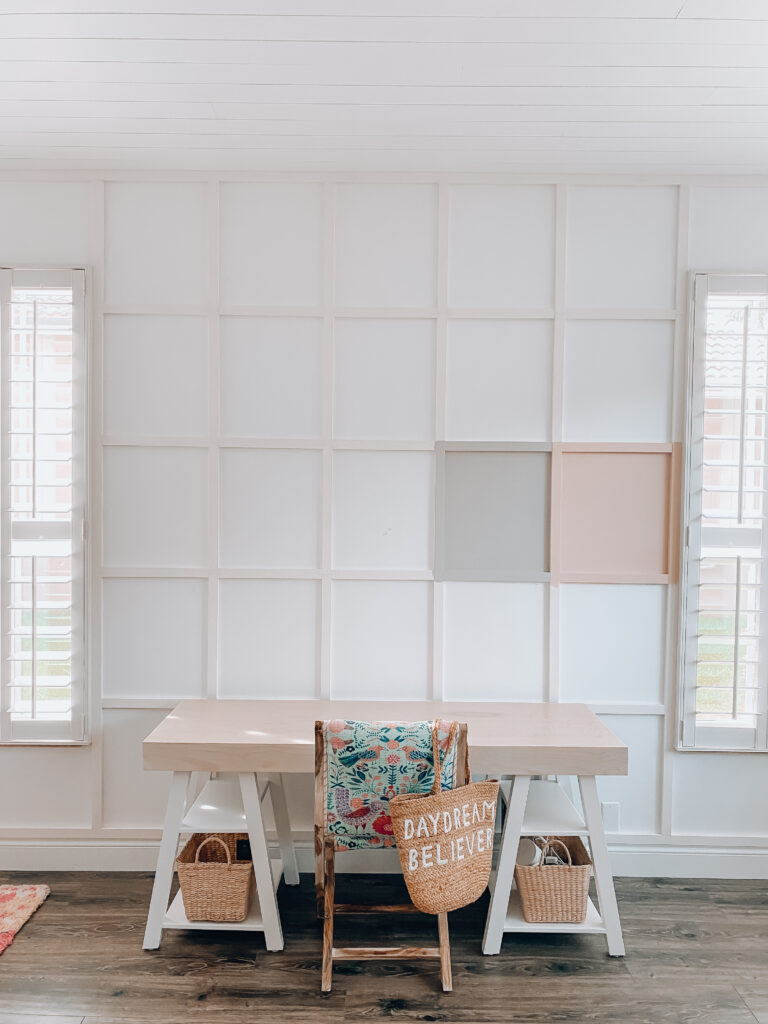
For an extra smooth surface over the nail holes, I filled with wood filler and let dry. Then I sanded it flush with the boards for a final touch. Pick your paint color and go to town. Painting would a sprayer would be the fastest way but we don’t have a paint sprayer so we used a combination of a brush and roller. It definitely takes some time to paint. I chose the paint color Calamine from Farrow and Ball this paint is a dream! It was between Peignoir and Calamine and of course my pink loving heart had to go with the obvious choice. See the two paint choices below. Give yourself ample time and find a few helpers. Hope this helps. Please tag me on Instagram if you decide to try this. Happy DIY’ing!

DIY BOARD AND BATTEN WALL

