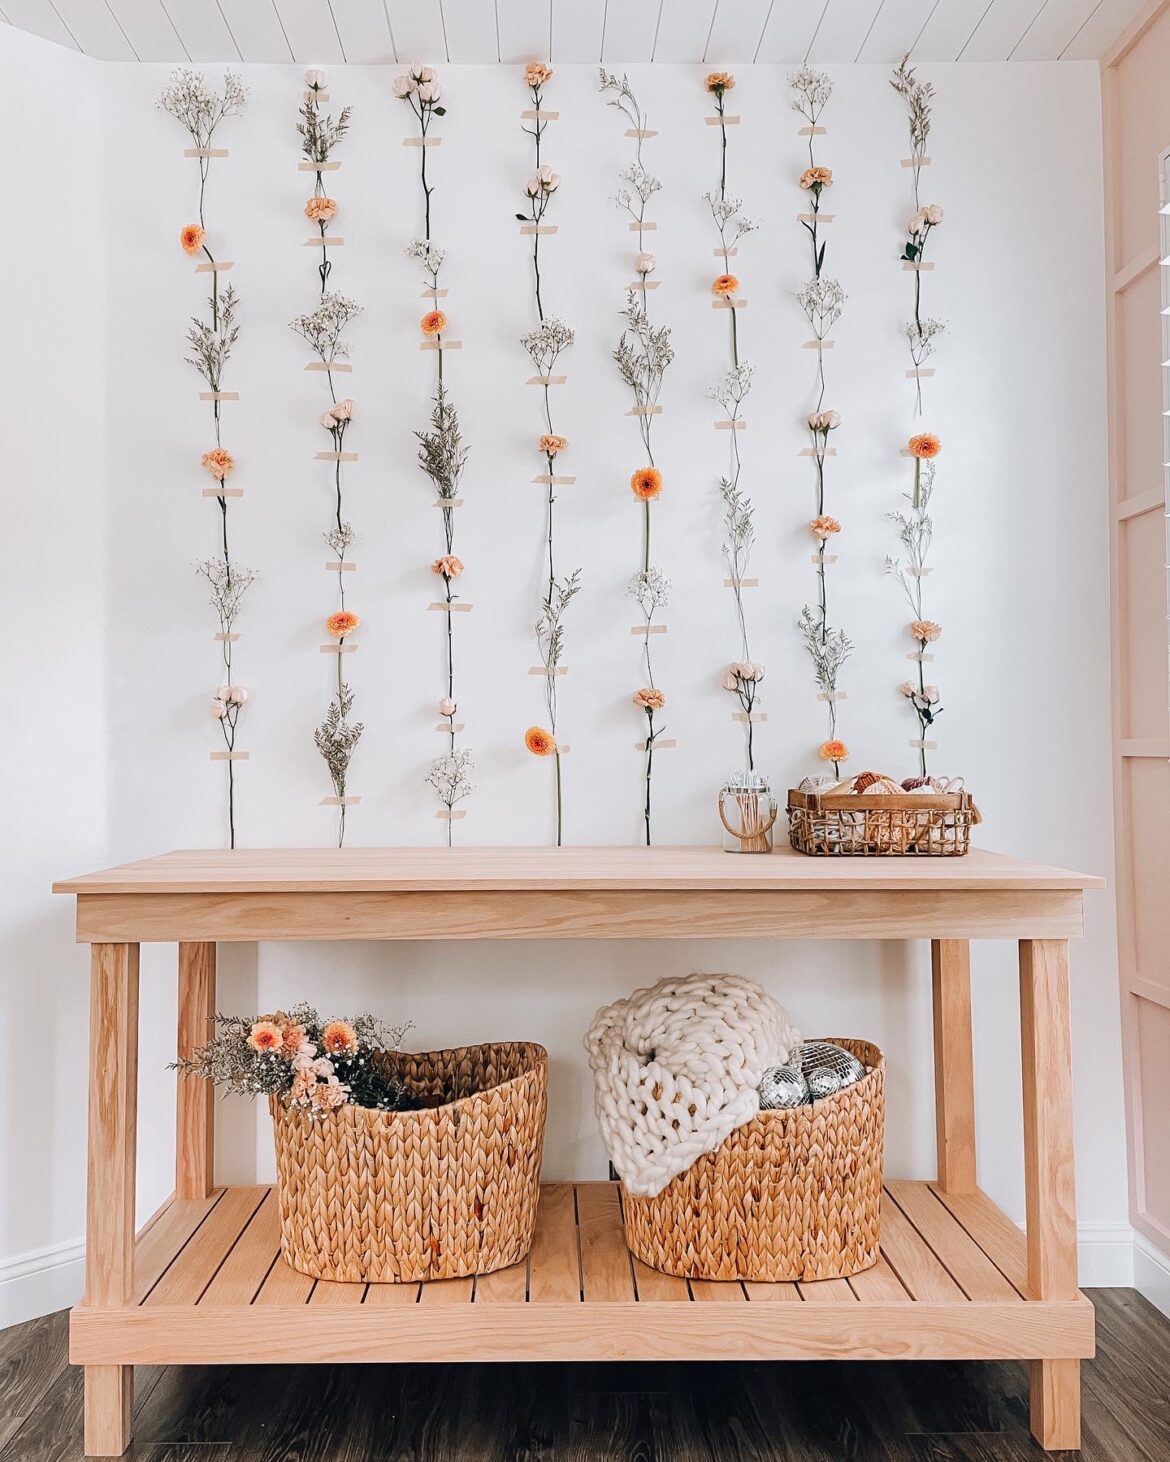
I’m so excited to share with you exactly how Rusty and I built my DIY craft table in this detailed tutorial. It’s no secret that I love to make things. It is a creative outlet for me and brings me so much joy. My kitchen table is always a mess with my latest project thrown all over the place, but not anymore!!!! Woot! I have my own workbench in my office that I can design, draw, cut, tie, glue and paint at now!
This tutorial lists all the lumber, tools, supplies and all the building details so you can make one for yourself! I searched for hours online for a workbench I could buy that was functional and pretty, the closest thing I could find was the PotteryBarn Abbott Island for $1,800.00. This diy craft table was built with solid oak for $600. I love it so much.
*this post contains affiliate links.
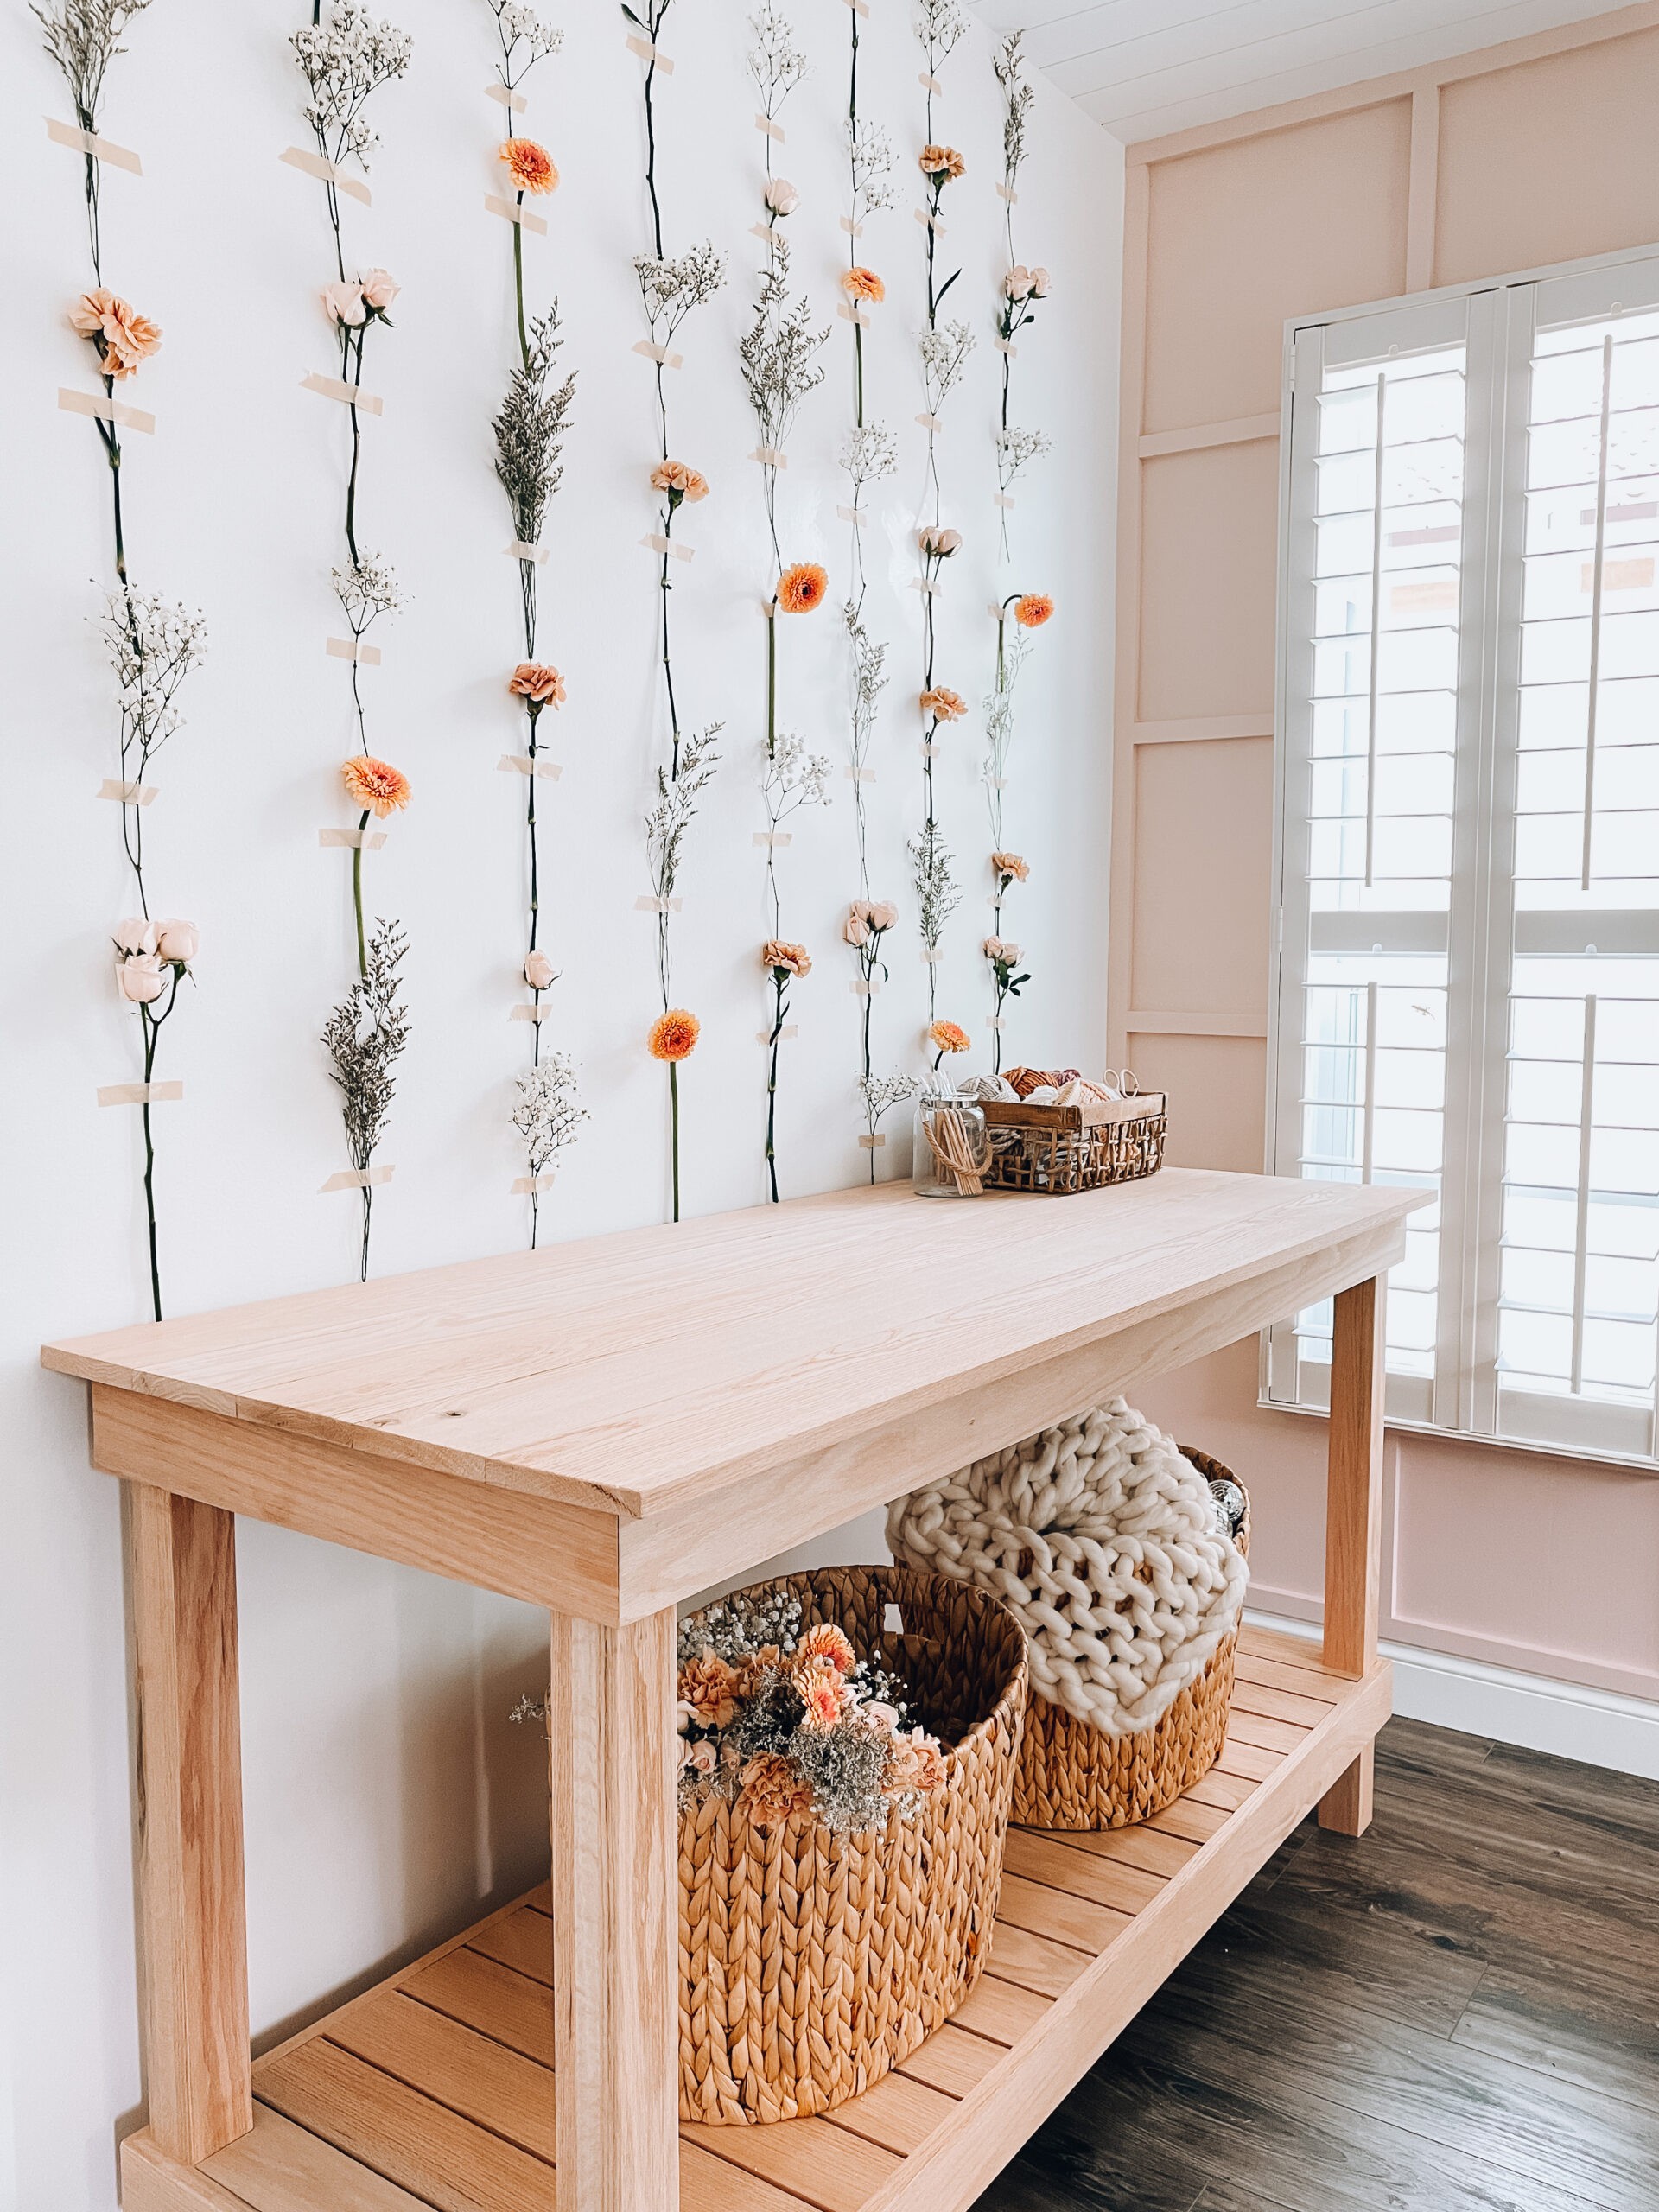
Tools & Finishing Items
- Nail Gun with Compressor
- Handheld Sander & Sanding Discs
- 1.5 inch brad nails
- Wood Glue
- Wood Putty
- Clamps
- Compound Miter Saw
- Jigsaw
- 4 or 5 foot level
Lumber
- 4 – 3X3X3 Foot Oak – Posts
- 1 – 1X3X3 Foot Oak Board – Height Extension Pieces
- 12 – 1X4X6 Foot Oak Boards – Framing and Shelf Slats
- 5 – 1X6X6 Foot Oak Boards – Top of Workbench
- 2 – 2X2X3 Foot Oak – Support Framing Under Workbench Top
- 2 – 1X2X6 Foot Furring Strips – Not a necessity, but very useful when installing the shelf slats
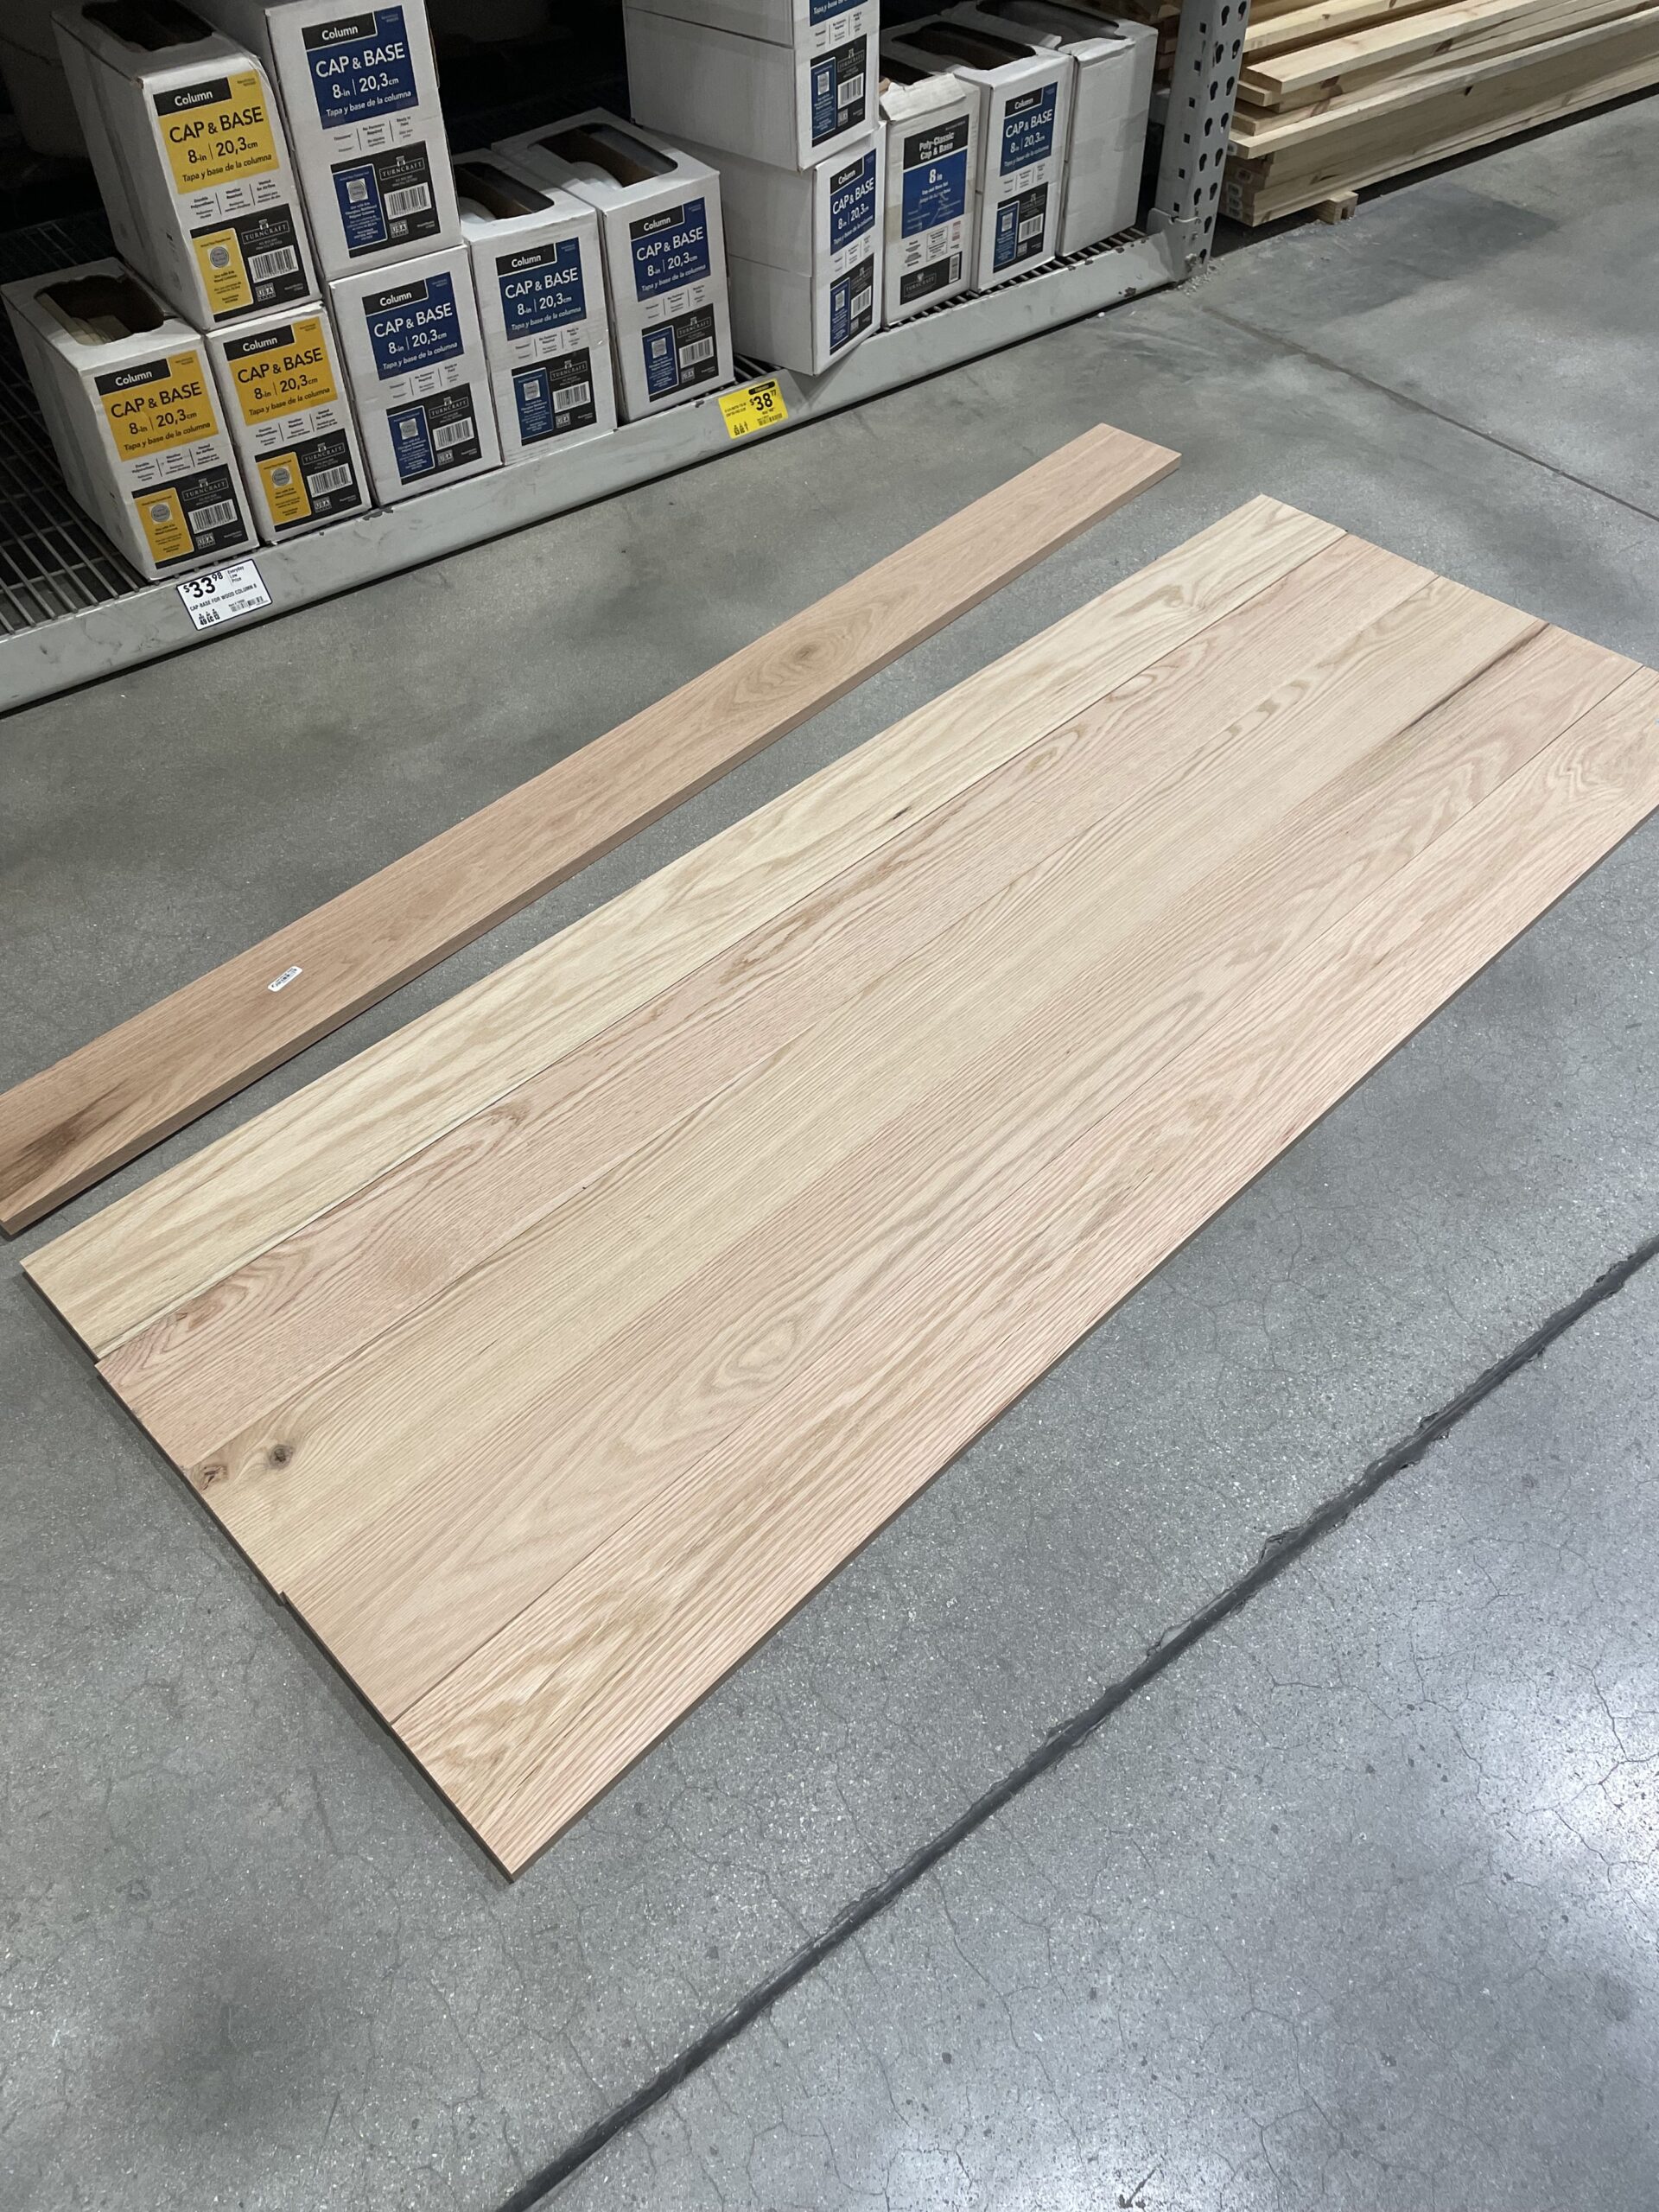
Disclosure: We used Oak for the entire build. It’s beautiful and very well cut. But, beware that it is expensive and very heavy. If you would like to build with something a little less expensive and/or lighter, you can do this same project with the wood of your choice!
Dimensions
Firstly, get your measurements! Our craft table has the following final dimensions. We will explain how we arrived at these dimensions below.
Width – 70.75 Inches – This includes the overhang of the workbench top
Depth – 24 Inches
Height – 39 Inches (I am 5’9″ and wanted it to be tall enough for me to stand at comfortably. Adjust this based on the height you may need).
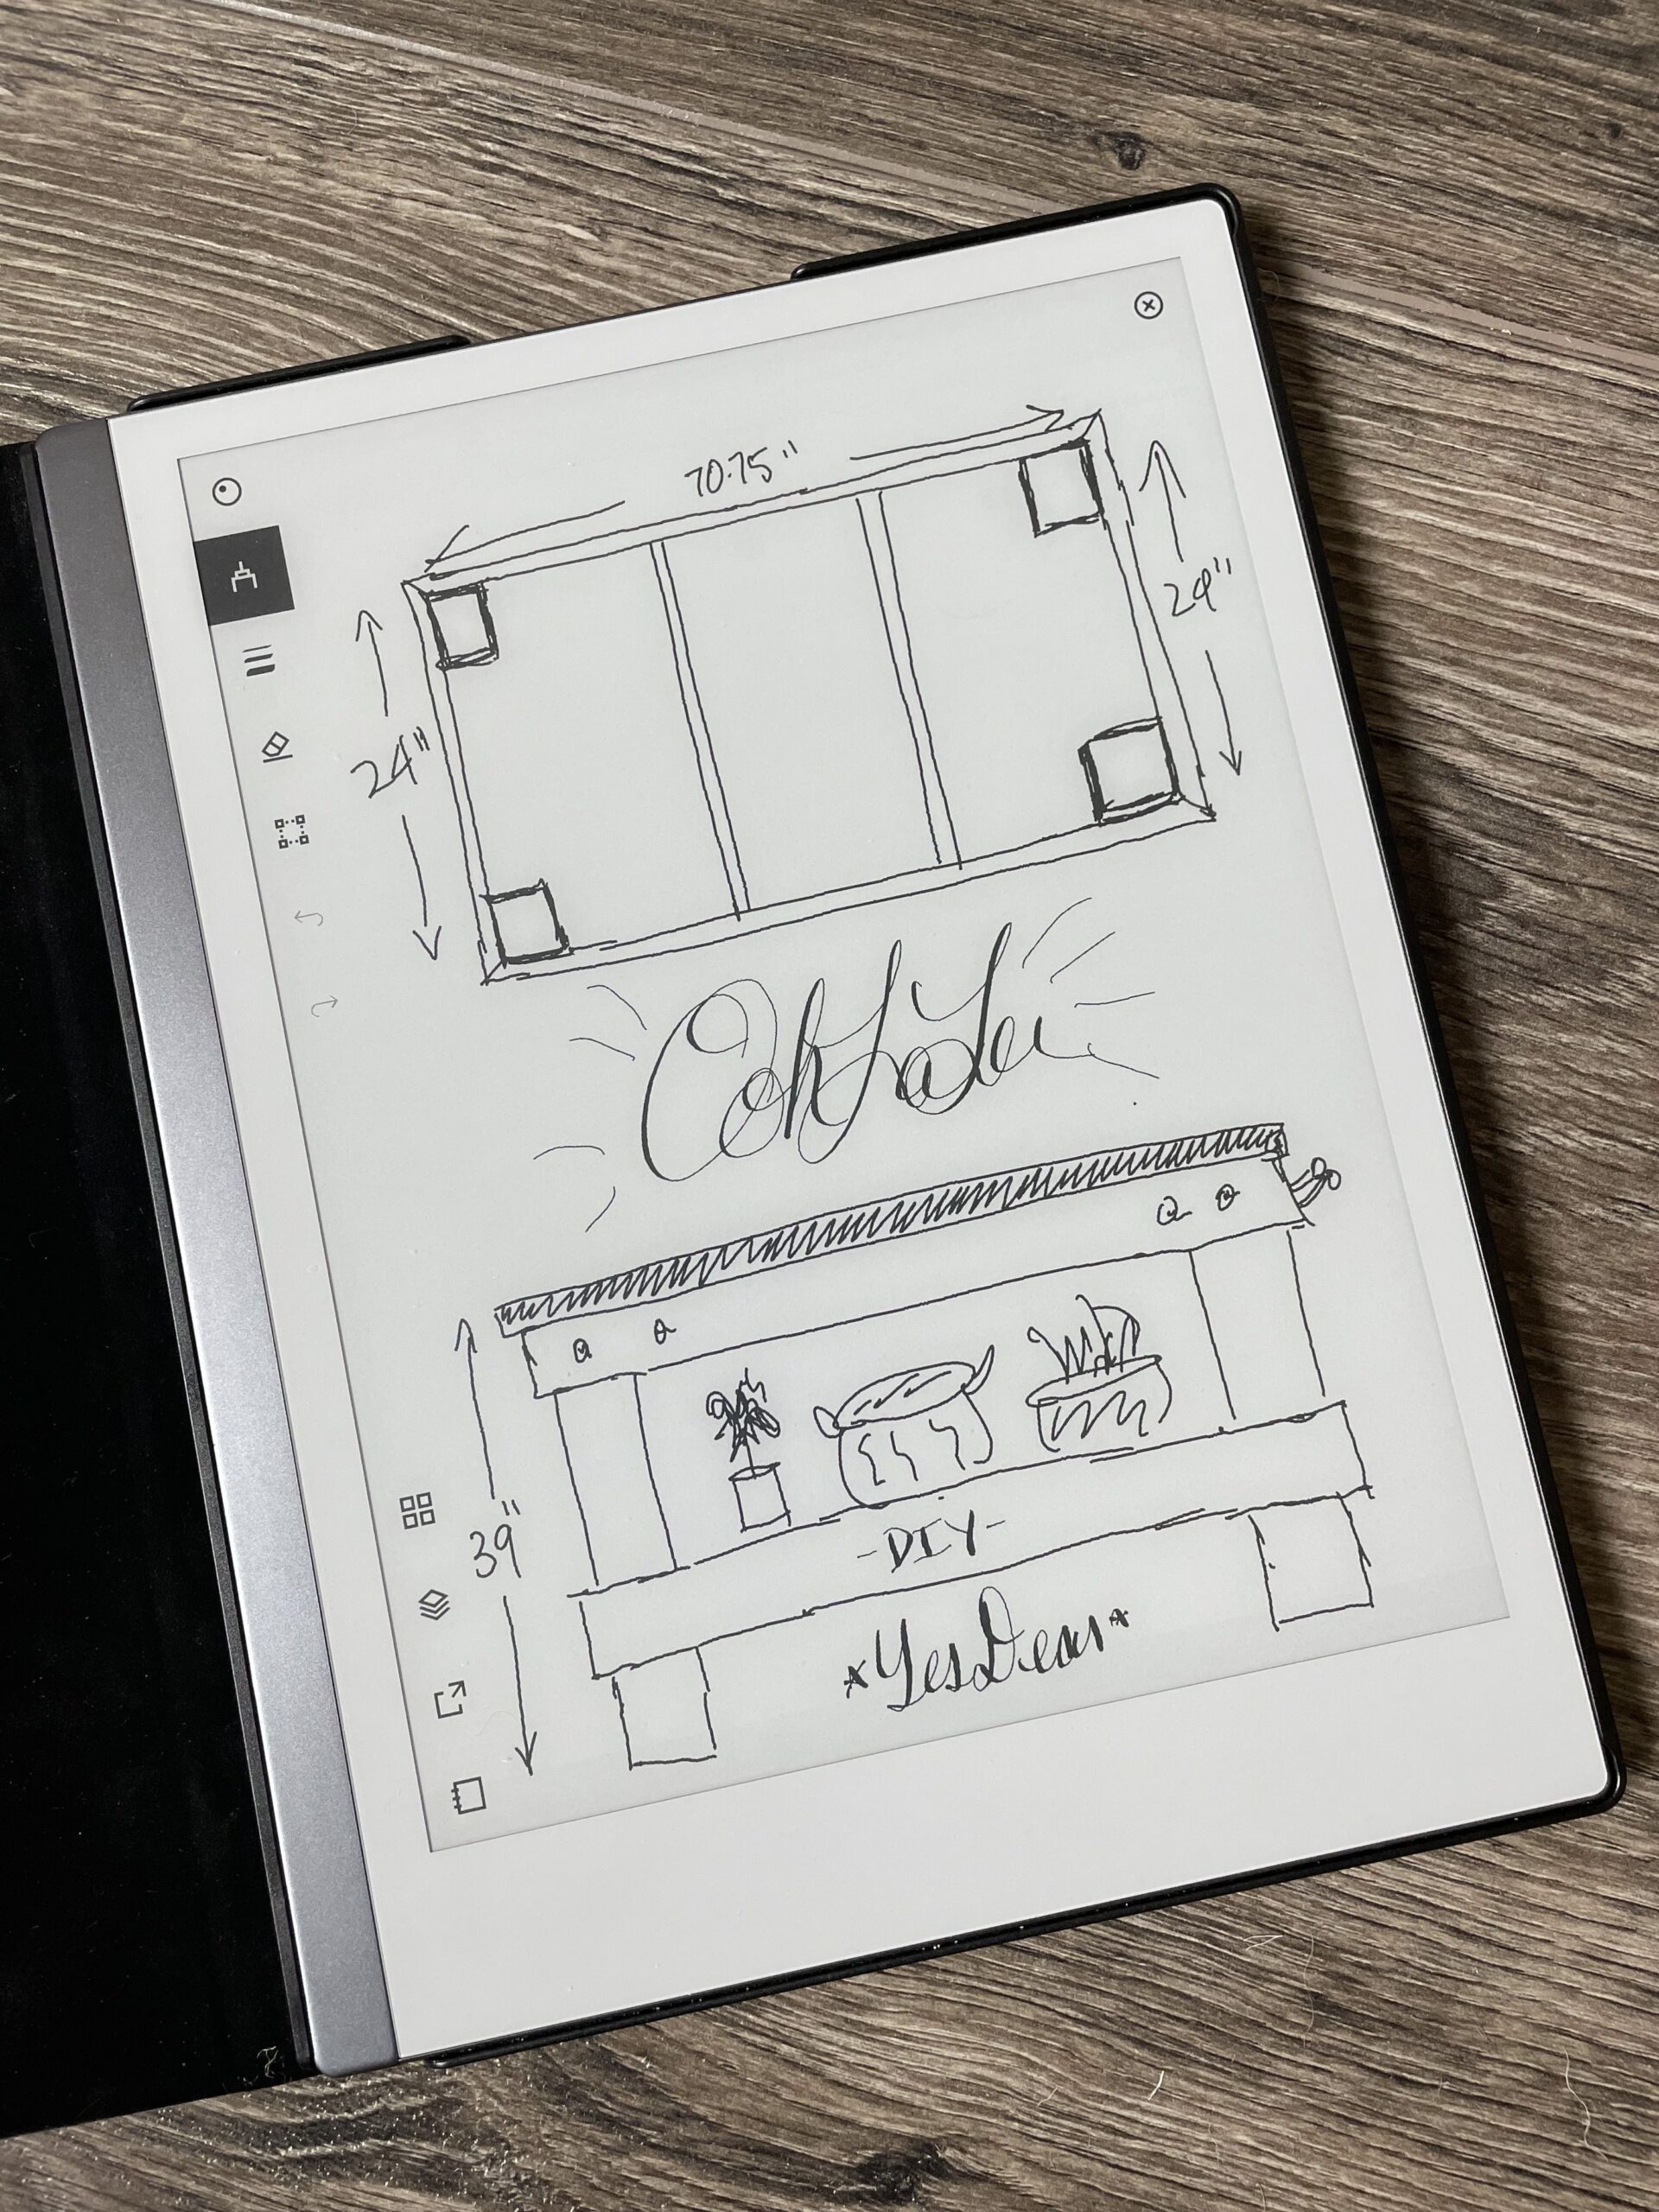
Measurements
In addition, we wanted to be sure the shelf slats on the bottom did not have to be cut down on either side, allowing for us to have each slat the same width, creating a uniform appearance. When using 1X4s, remember their actual width is 3.5 inches (not 4). We ended up using 18 1X4s which is a total width of 63 inches. Now you factor in the gaps between each of the 18 wood slats. There were 17 gaps for the 18 boards. Each gap between the boards is .25 inches. 17 gaps at .25 inches is an additional 4.25 inches of width. Adding the boards and the gaps together, you come to a total width of 67.25 inches of open space between the framing that will be filled with the shelving.
The framing is comprised of 1X4s which is additional .75 inches on each side for a total of 1.5 inches of width. So, without the top of the workbench, the structure is a total of 68.75 inches in width.
Step by Step Instructions For Your your DIY Craft Table Tutorial
We recommend starting by attaching the bottom framing to the legs (posts) of the workbench. We measured how high we wanted the bottom shelf to be (ours is 10 inches from the floor) and marked the legs for reference. Cut the first 1X6 to a width of 68.75 to the outer edge of the cut. We always cut these joints at a 45 degree angle for a more polished appearance. Using your clamps, attach the 1X6 to the legs at the 10 inch mark you made earlier. Make sure the 1X6 is level prior to using the nail gun to attach to the legs.
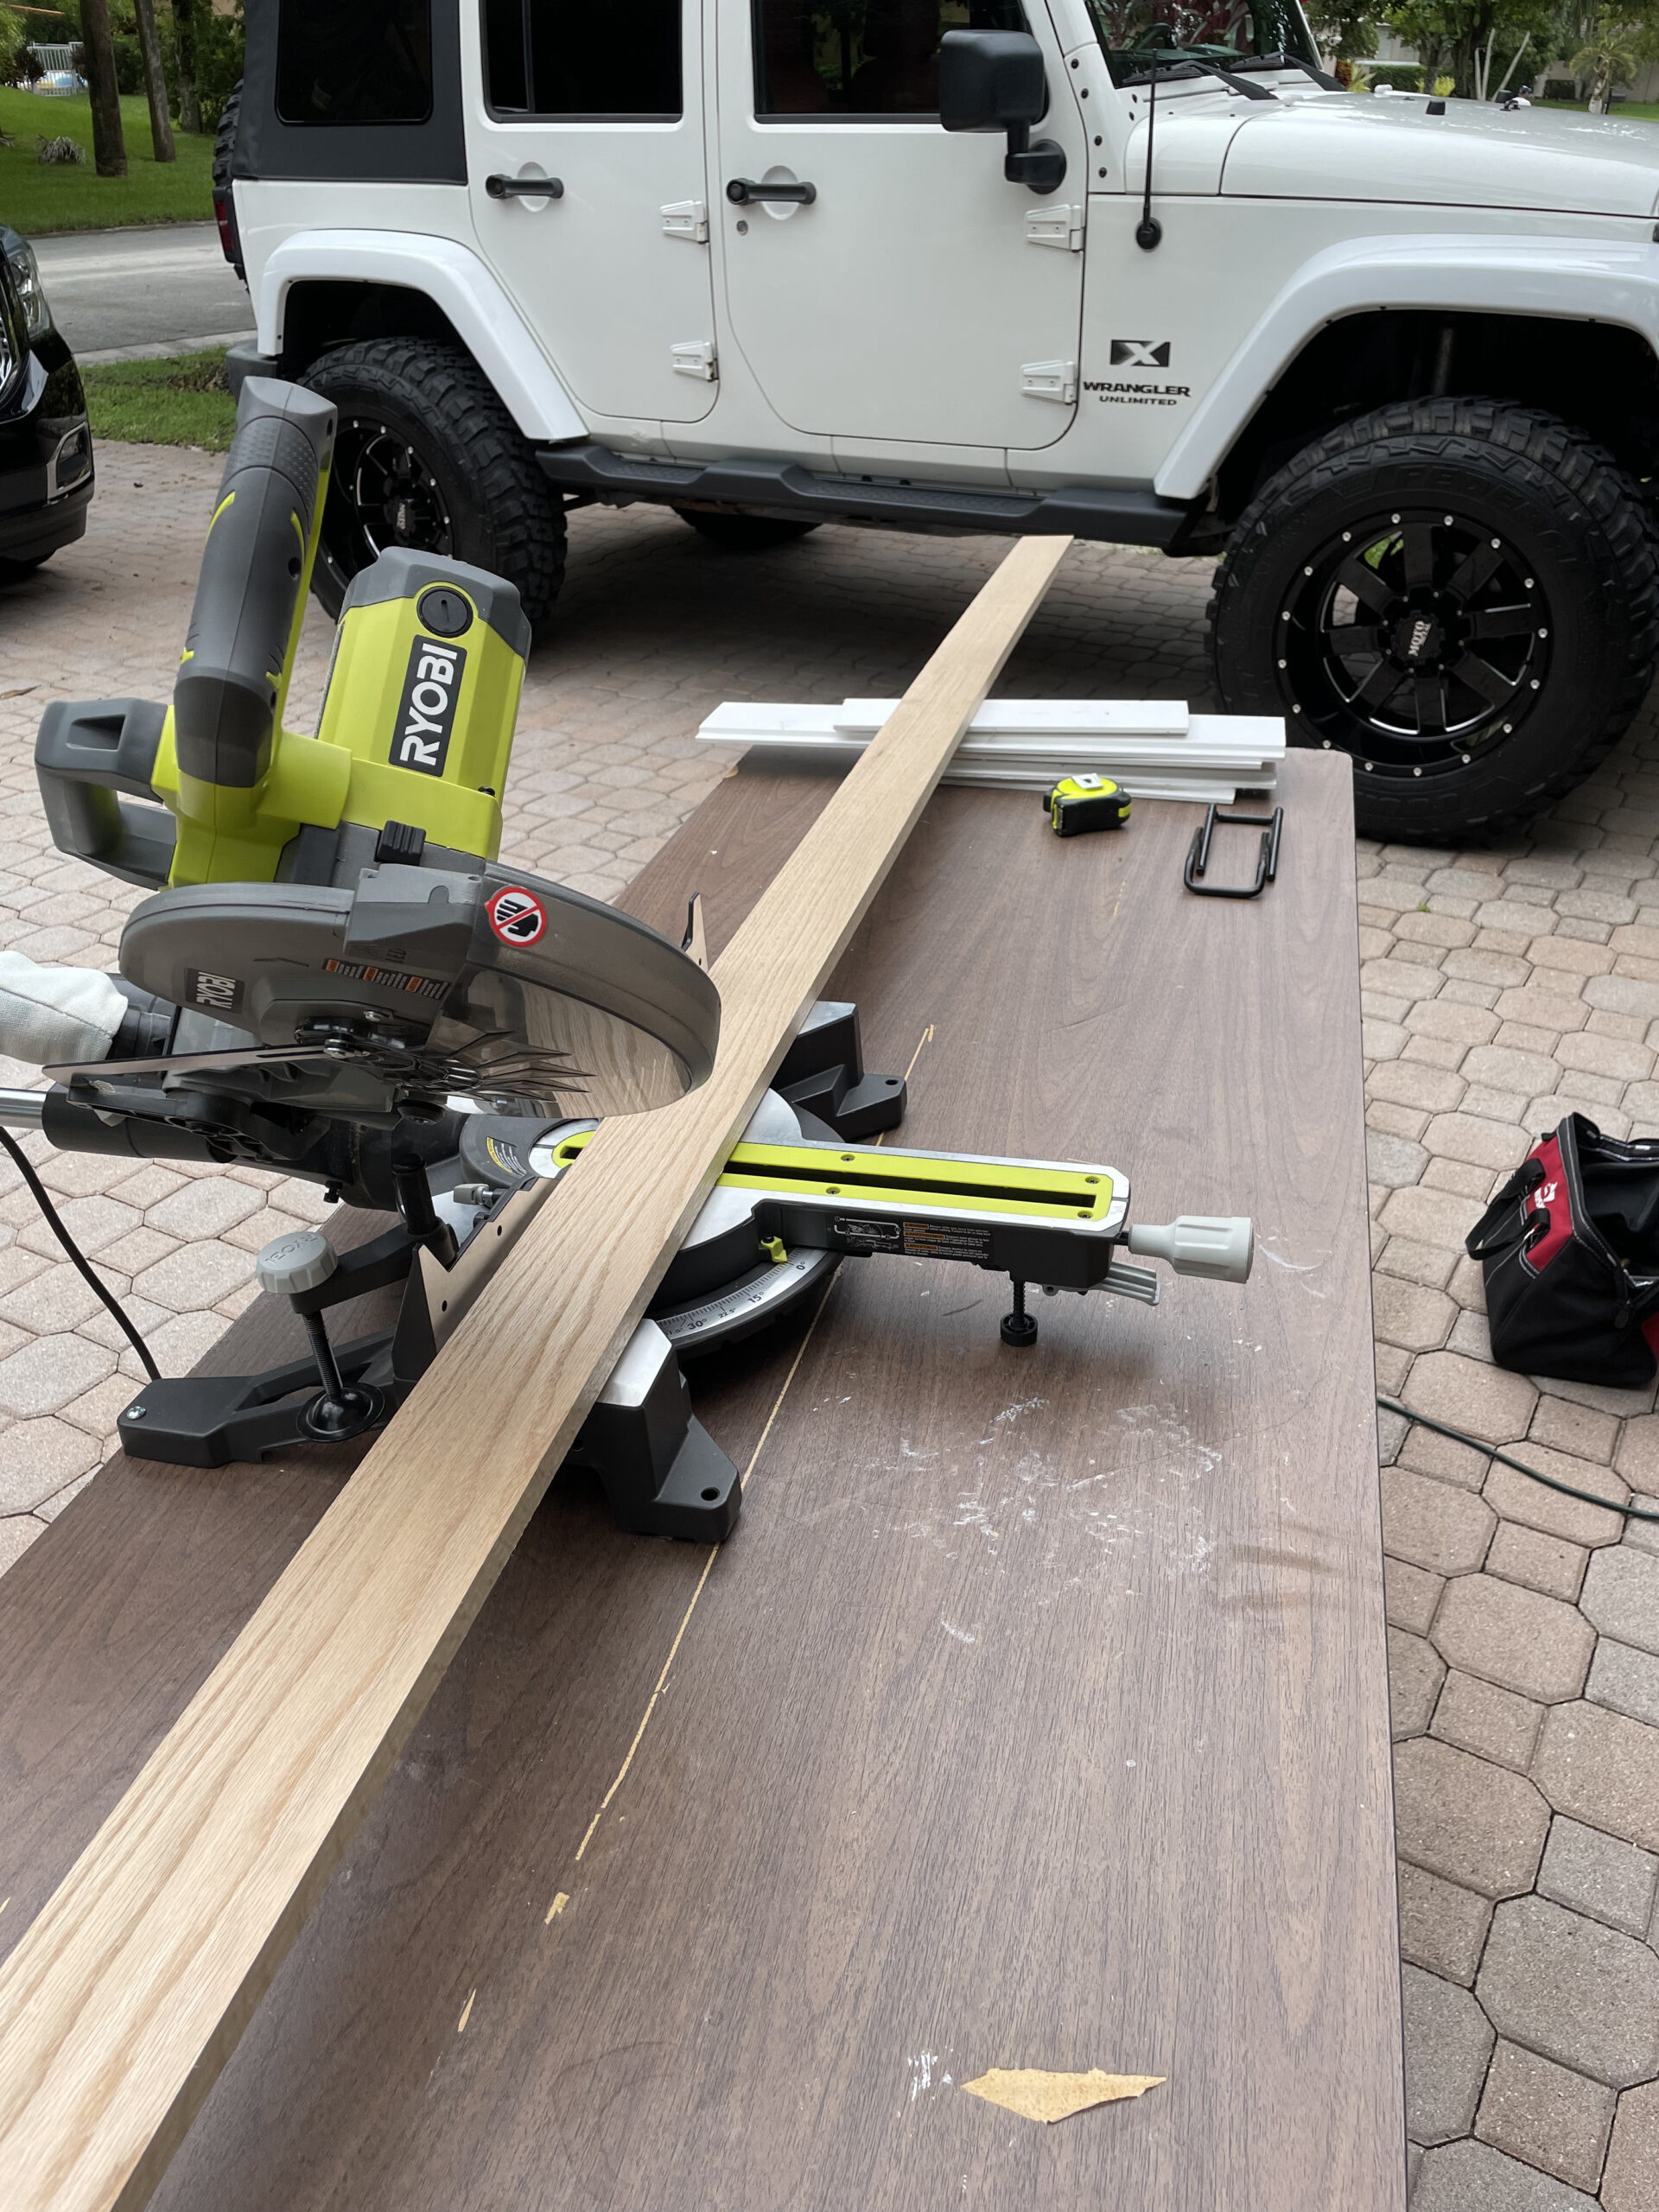
Cutting Details For Your DIY Craft Table Tutorial
Next, cut the 2 side frame pieces at 24 inches to the outer edge of the cuts. Using the clamps, attach, level and nail the side pieces onto the legs, being sure the 45 degree angles are as tight as possible.
Finally, cut another 1X6 to a width of 68.75 inches to the outer edge of the cut. Using the clamps, attach, level and nail the 1X6 to the legs. This should be a nice tight fit as it is pulling everything together.
Based on the height you need or want the workbench to be, you may not need this next step. We wanted the top of the workbench to be 39 inches, but our posts were only 36 inches tall. We used the 1X2 oak board to cut 2 square pieces per leg (use wood glue to secure them together) and extend the height of the posts, allowing us to attach the top framing and workbench top a couple inches higher.
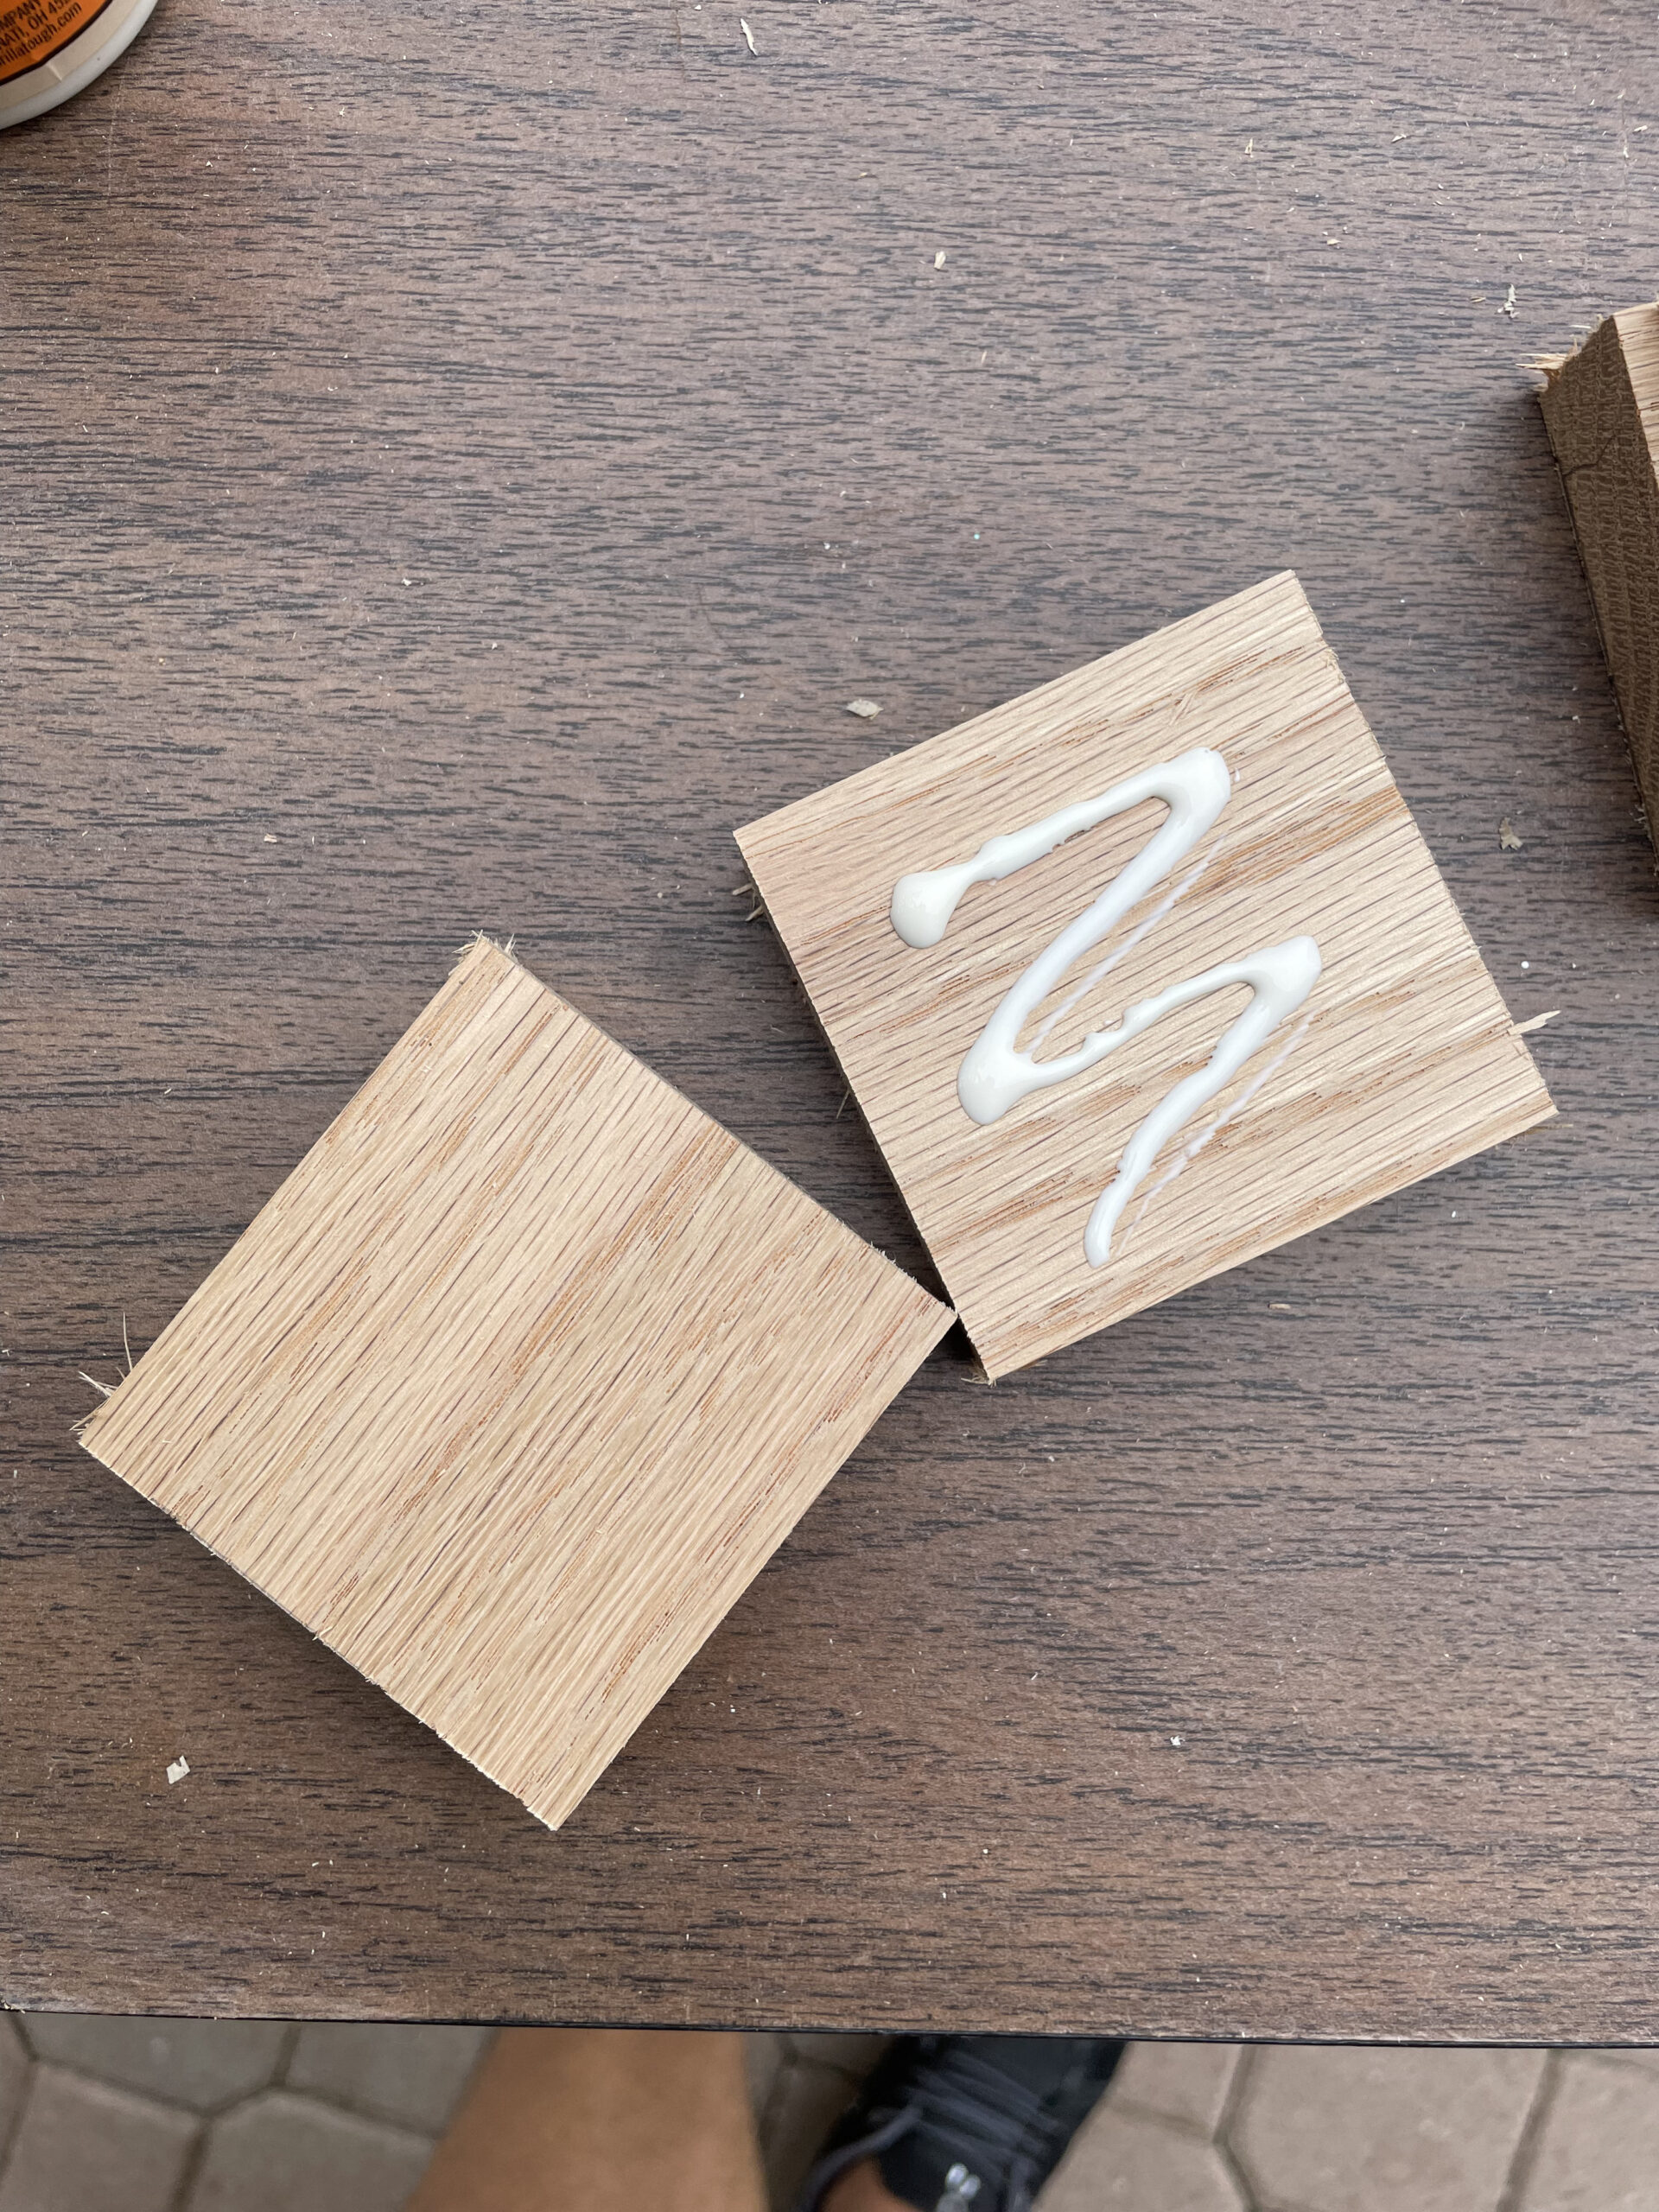
Now repeat the steps you used for the bottom framing for the installation on the top framing of the workbench. Next, you will be ready to start the installation of the shelving slats.
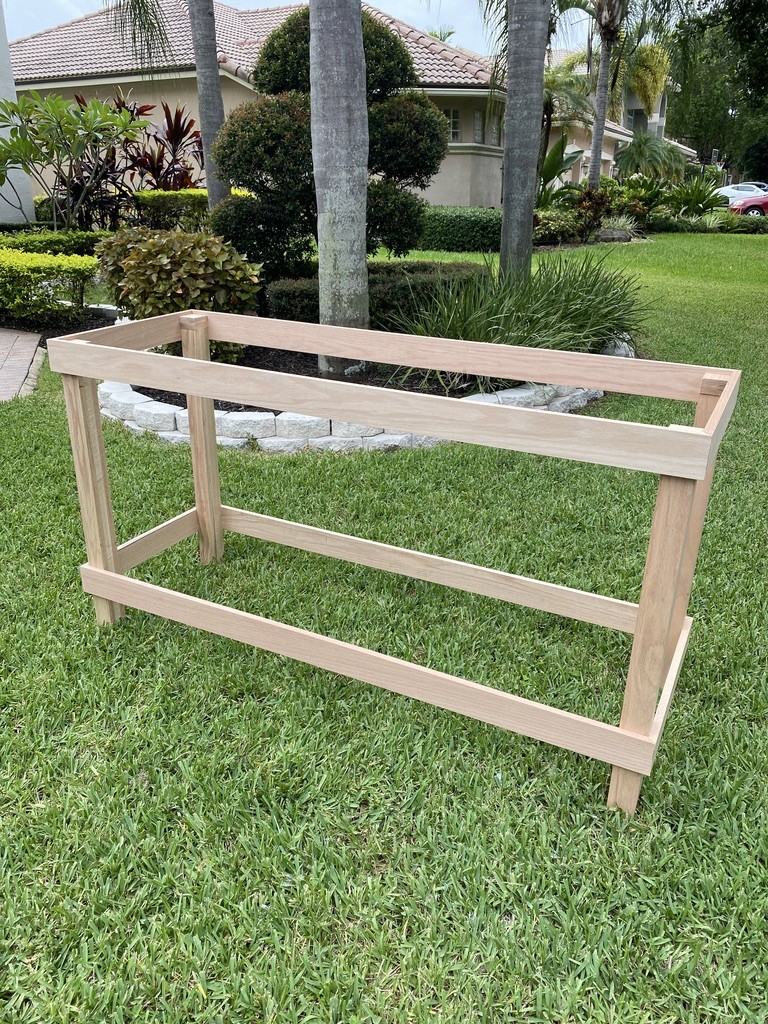
Slats
First item is to measure the area that you will have to cut out around the legs. Using your jigsaw, cut out the squares on two corners of the first shelf slat. I recommend placing all of the shelving pieces into the frame of the workbench to assure that the measurements are exactly where you would like for them to be. Once all of the slats are cut and placed into the frame, you can start to attach them.
To make this part of the install such easier, we cut the 2 furring strips to a measurement just inside the legs and attached them with the clamps as seen below. Adjust them to the height needed to have the shelves sitting flush with the framing.
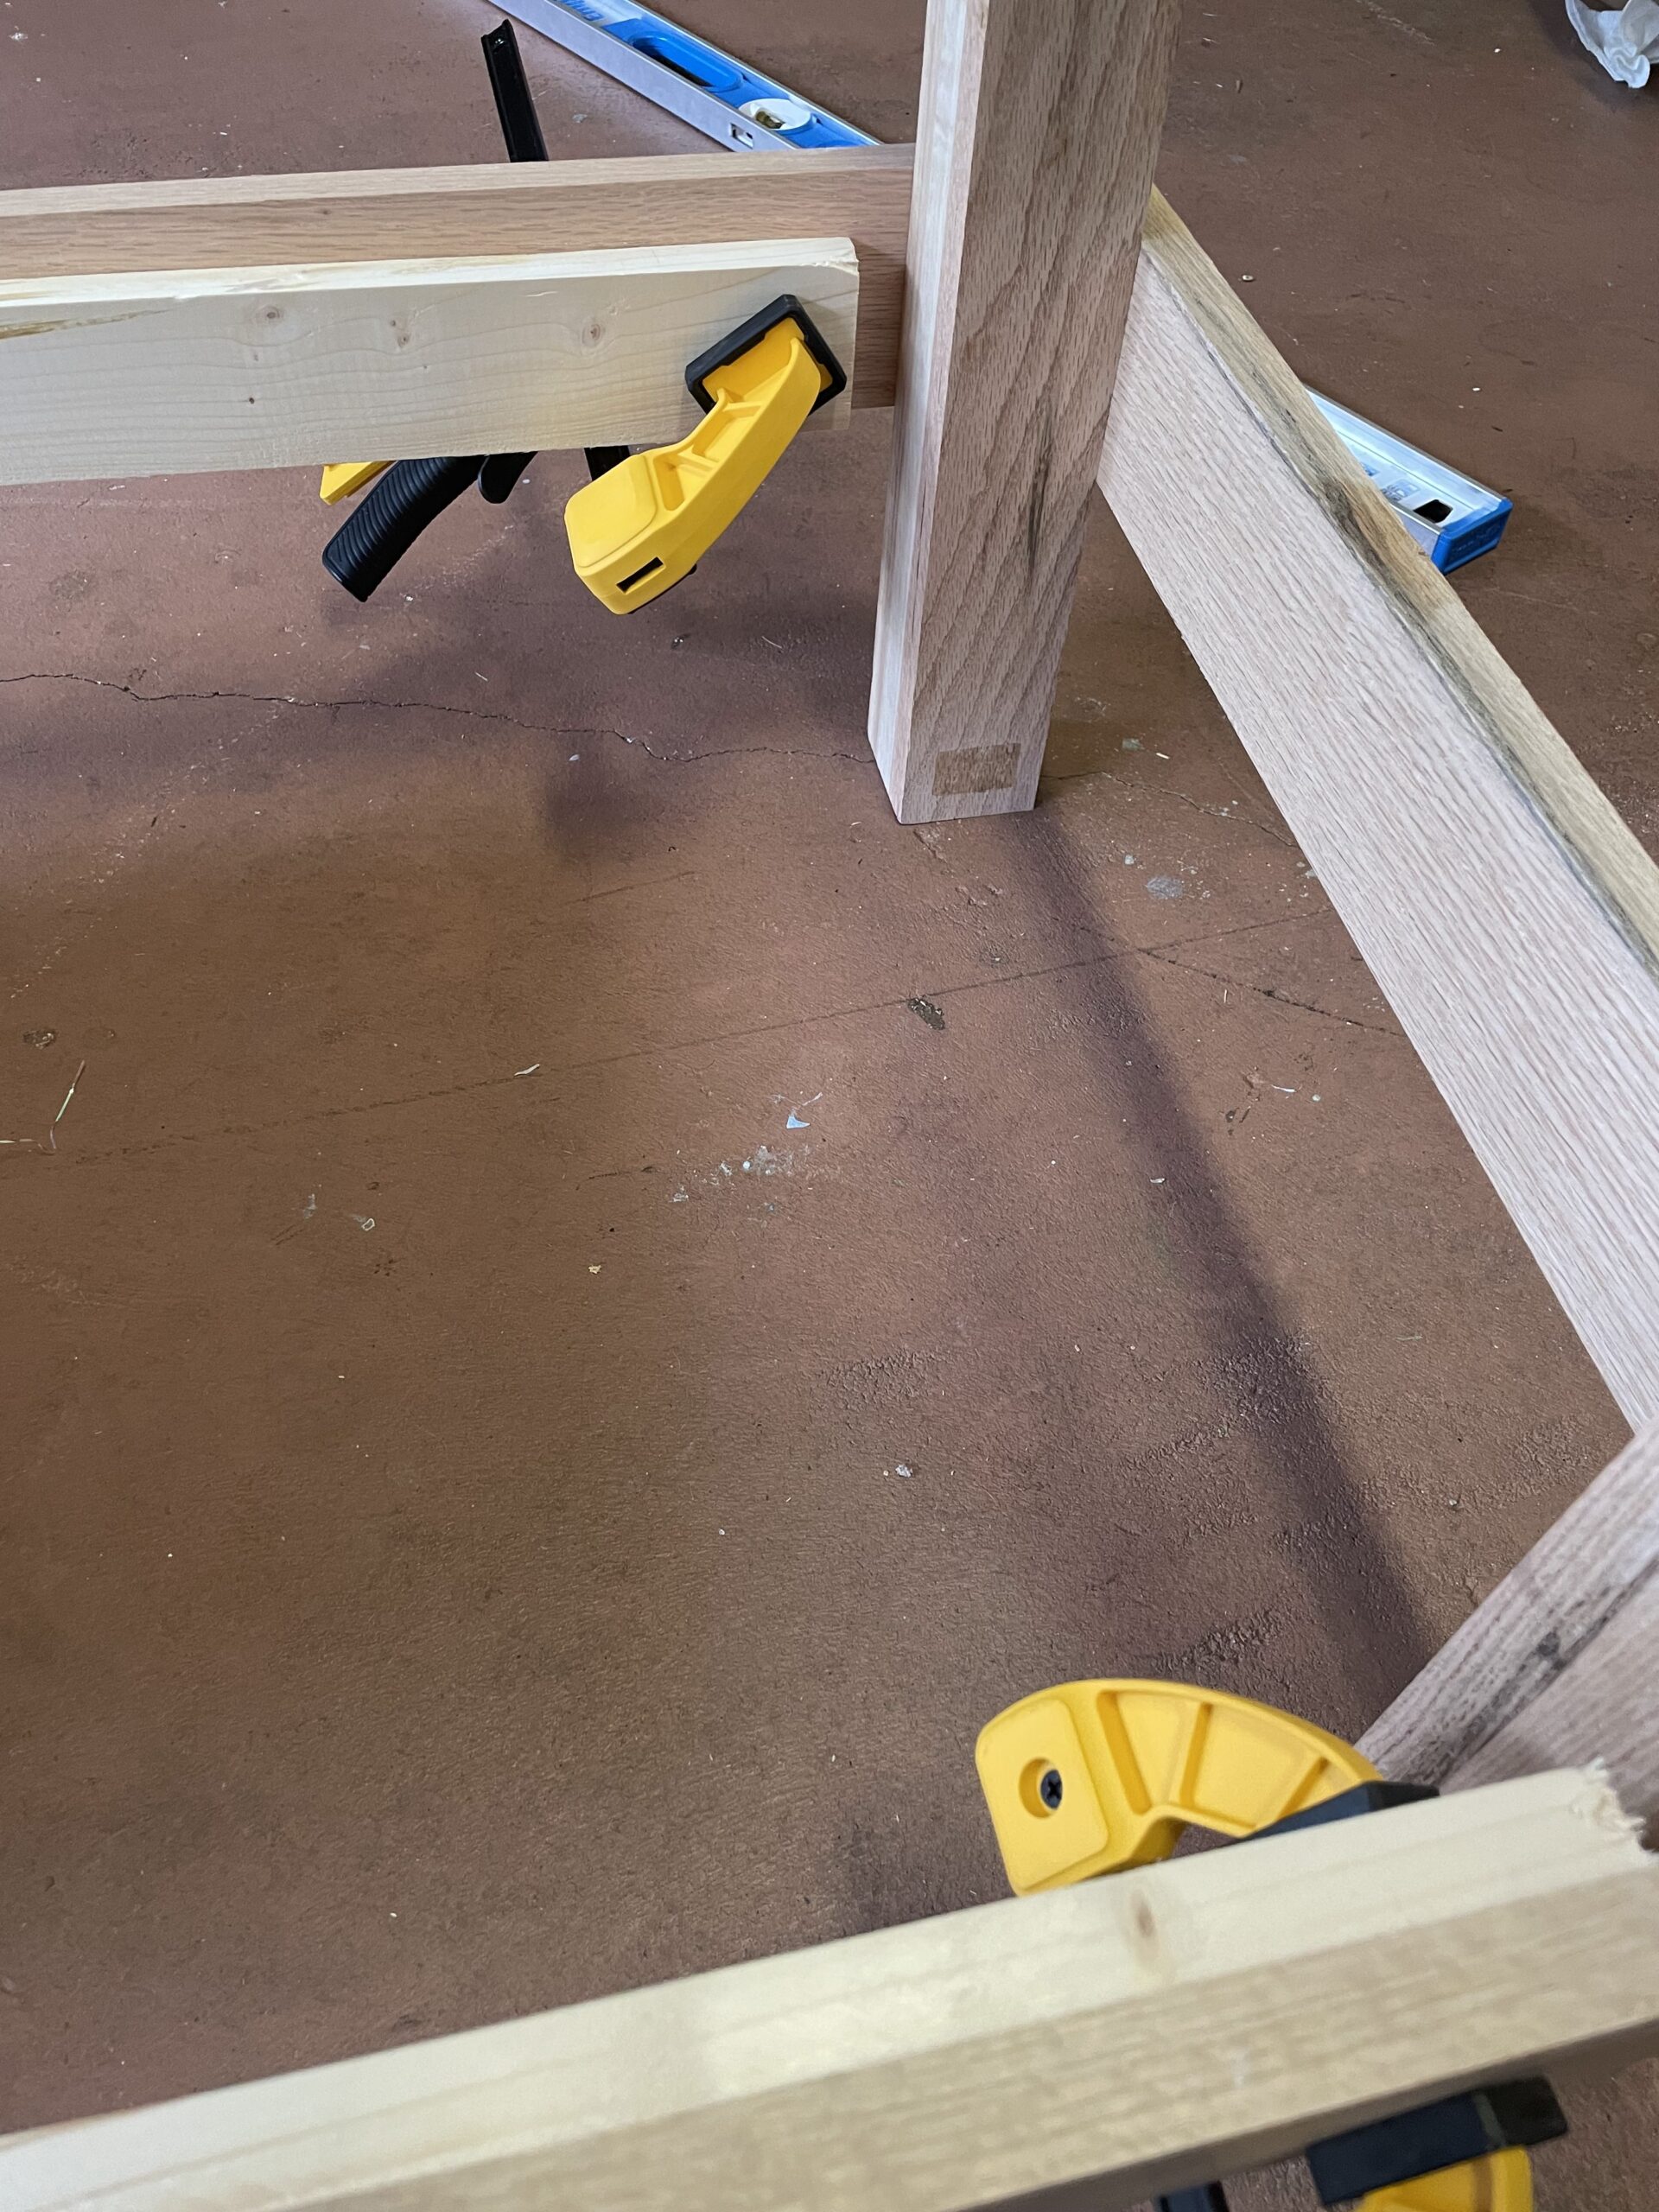
Slat Measurements
The measurement for each of the slats should be right around 22.5 inches to fit flush with the frame with as little spacing as possible. That being said, we measured each piece to assure that there would not be any gaps.
TIP: It is always better to cut them a little long and trim them down if they are a little too snug. If you cut them too short from the onset, they won’t be usable. Its also important not too have them too snug, as they will bow the framing and create gaps with the edging of the other boards.
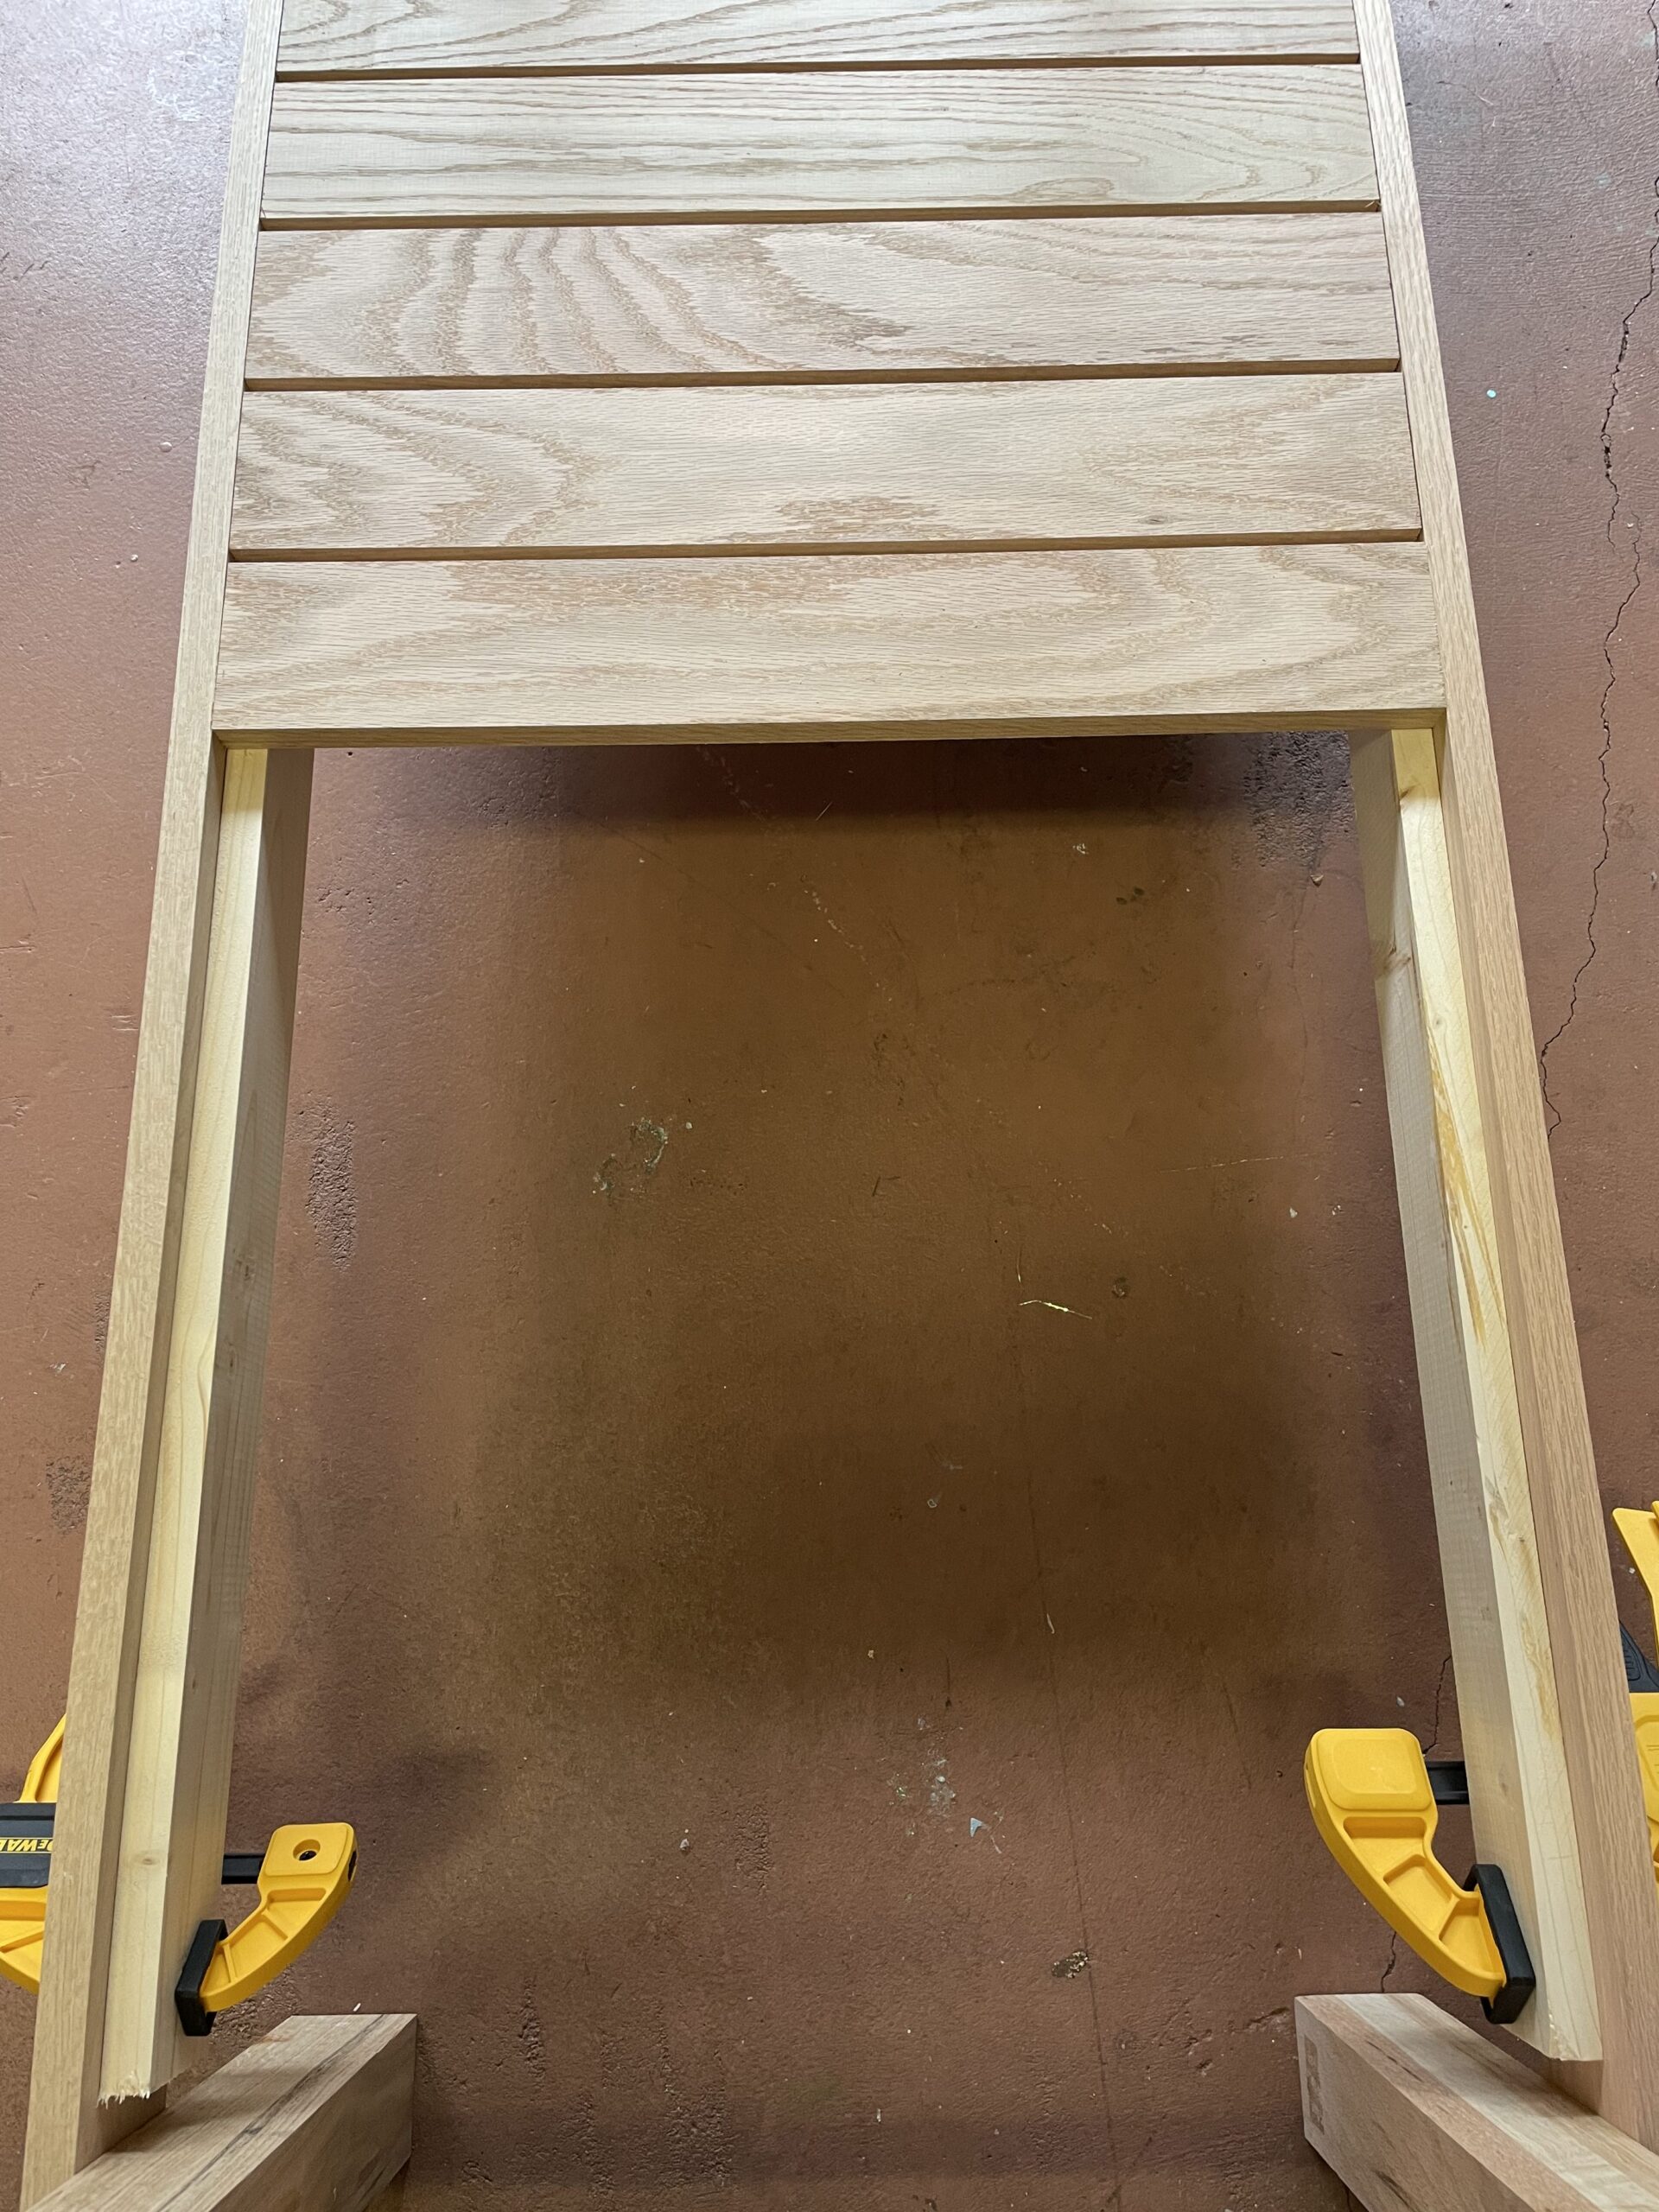
Once you reach the last piece, measure and cut the corners like you did with the first piece and place in the frame. You will be attaching these boards from the outside of the framing with your nail gun. We wanted to be sure the gaps were as symmetrical as possible throughout the shelf, so we measured to the middle of the frame and installed the first two boards accordingly, moving out towards the sides. We use a Phillips head screwdriver for the spacing, as it was exactly .25 inch in width. You can use anything you would like for this step, as long as its a consistent width of .25 inches.
Top Support Beams For Your DIY Craft Table Tutorial
Prior to installing the top boards, you will want to attach the two support beams within the top frame. You can place these anywhere you would like, we attached them at about 23-24 inches apart. These will allow fo you to nail in the board from the top for added integrity of the structure or in case a board happens to not be perfectly level. You may also place a bead of wood glue on the top of these to as well.
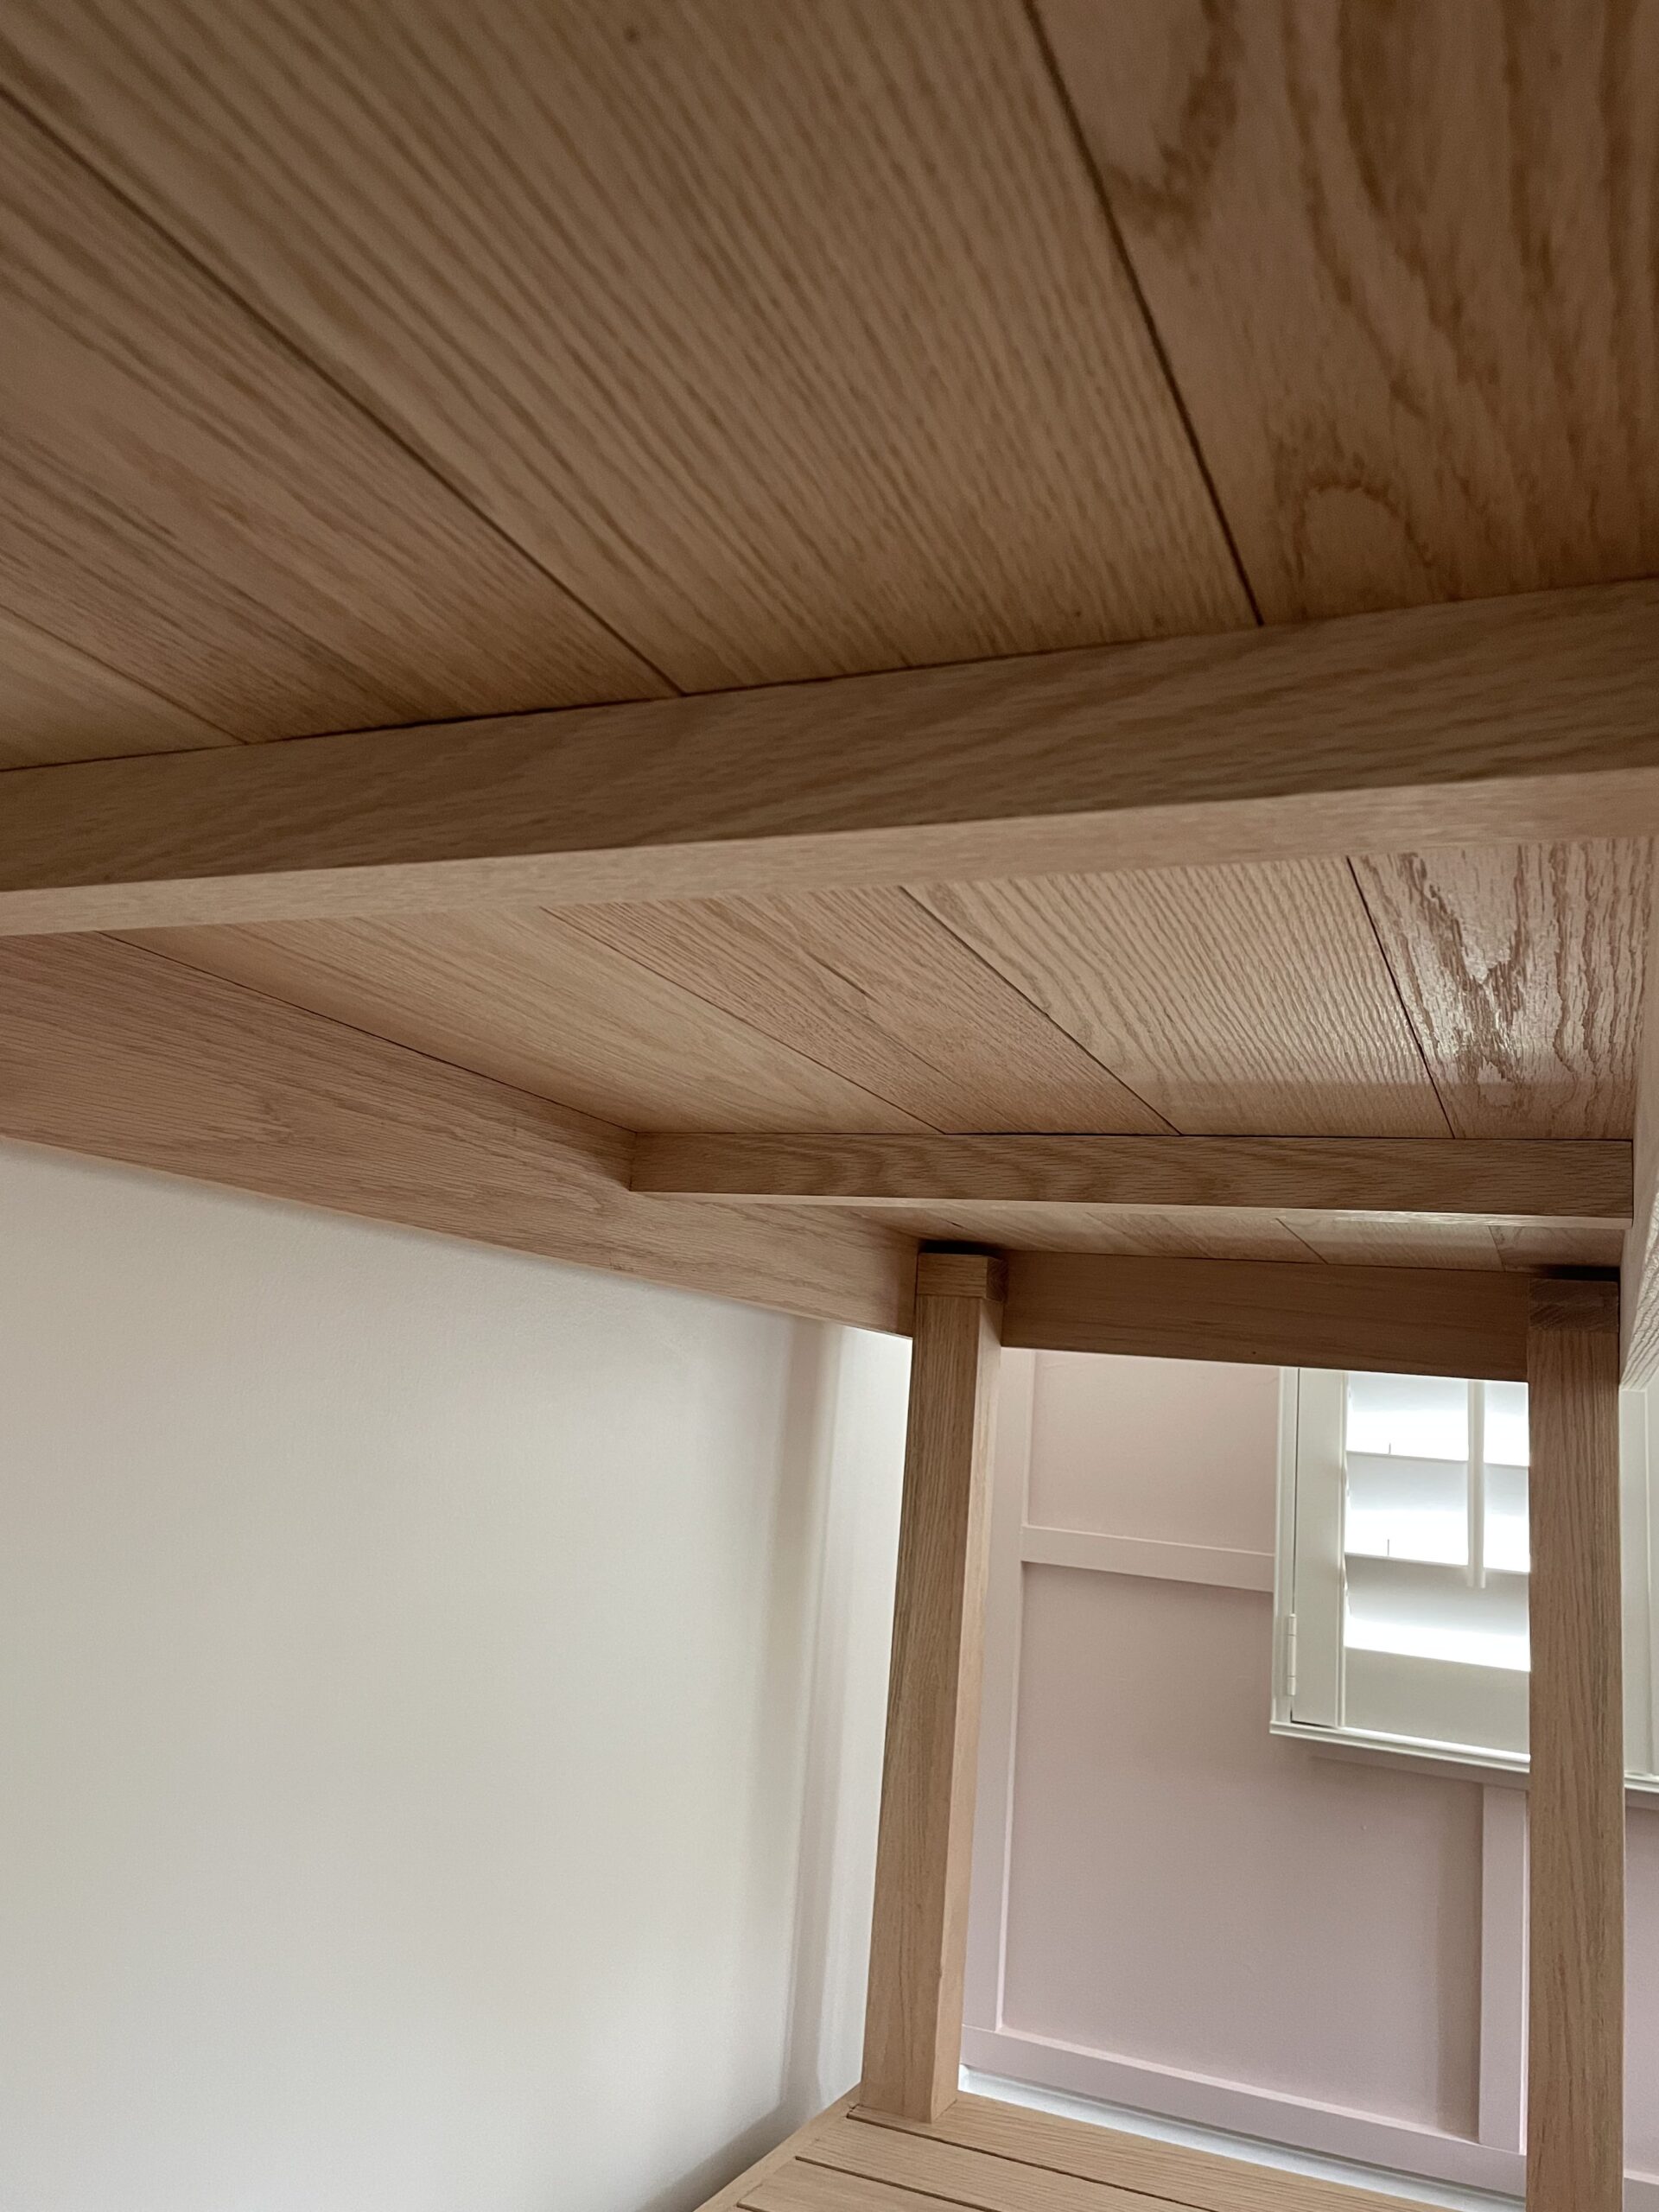
Finally, we are ready to install the top of the craft table! In wanting each of the boards to be the same size, we opted to use the 1X6s and install 5 of them on the top. We had Home Depot cut the pieces to the width of 70.75 inches (a 1 inch overlap on each side) so that they pieces were the exact width we needed. When you place them together on the top of the frame, the overhang on the front and back will be .75 inches each.
Place them on the frame and attached them in place with the nail gun from the top down.
You have successfully built a beautiful and sturdy workbench!
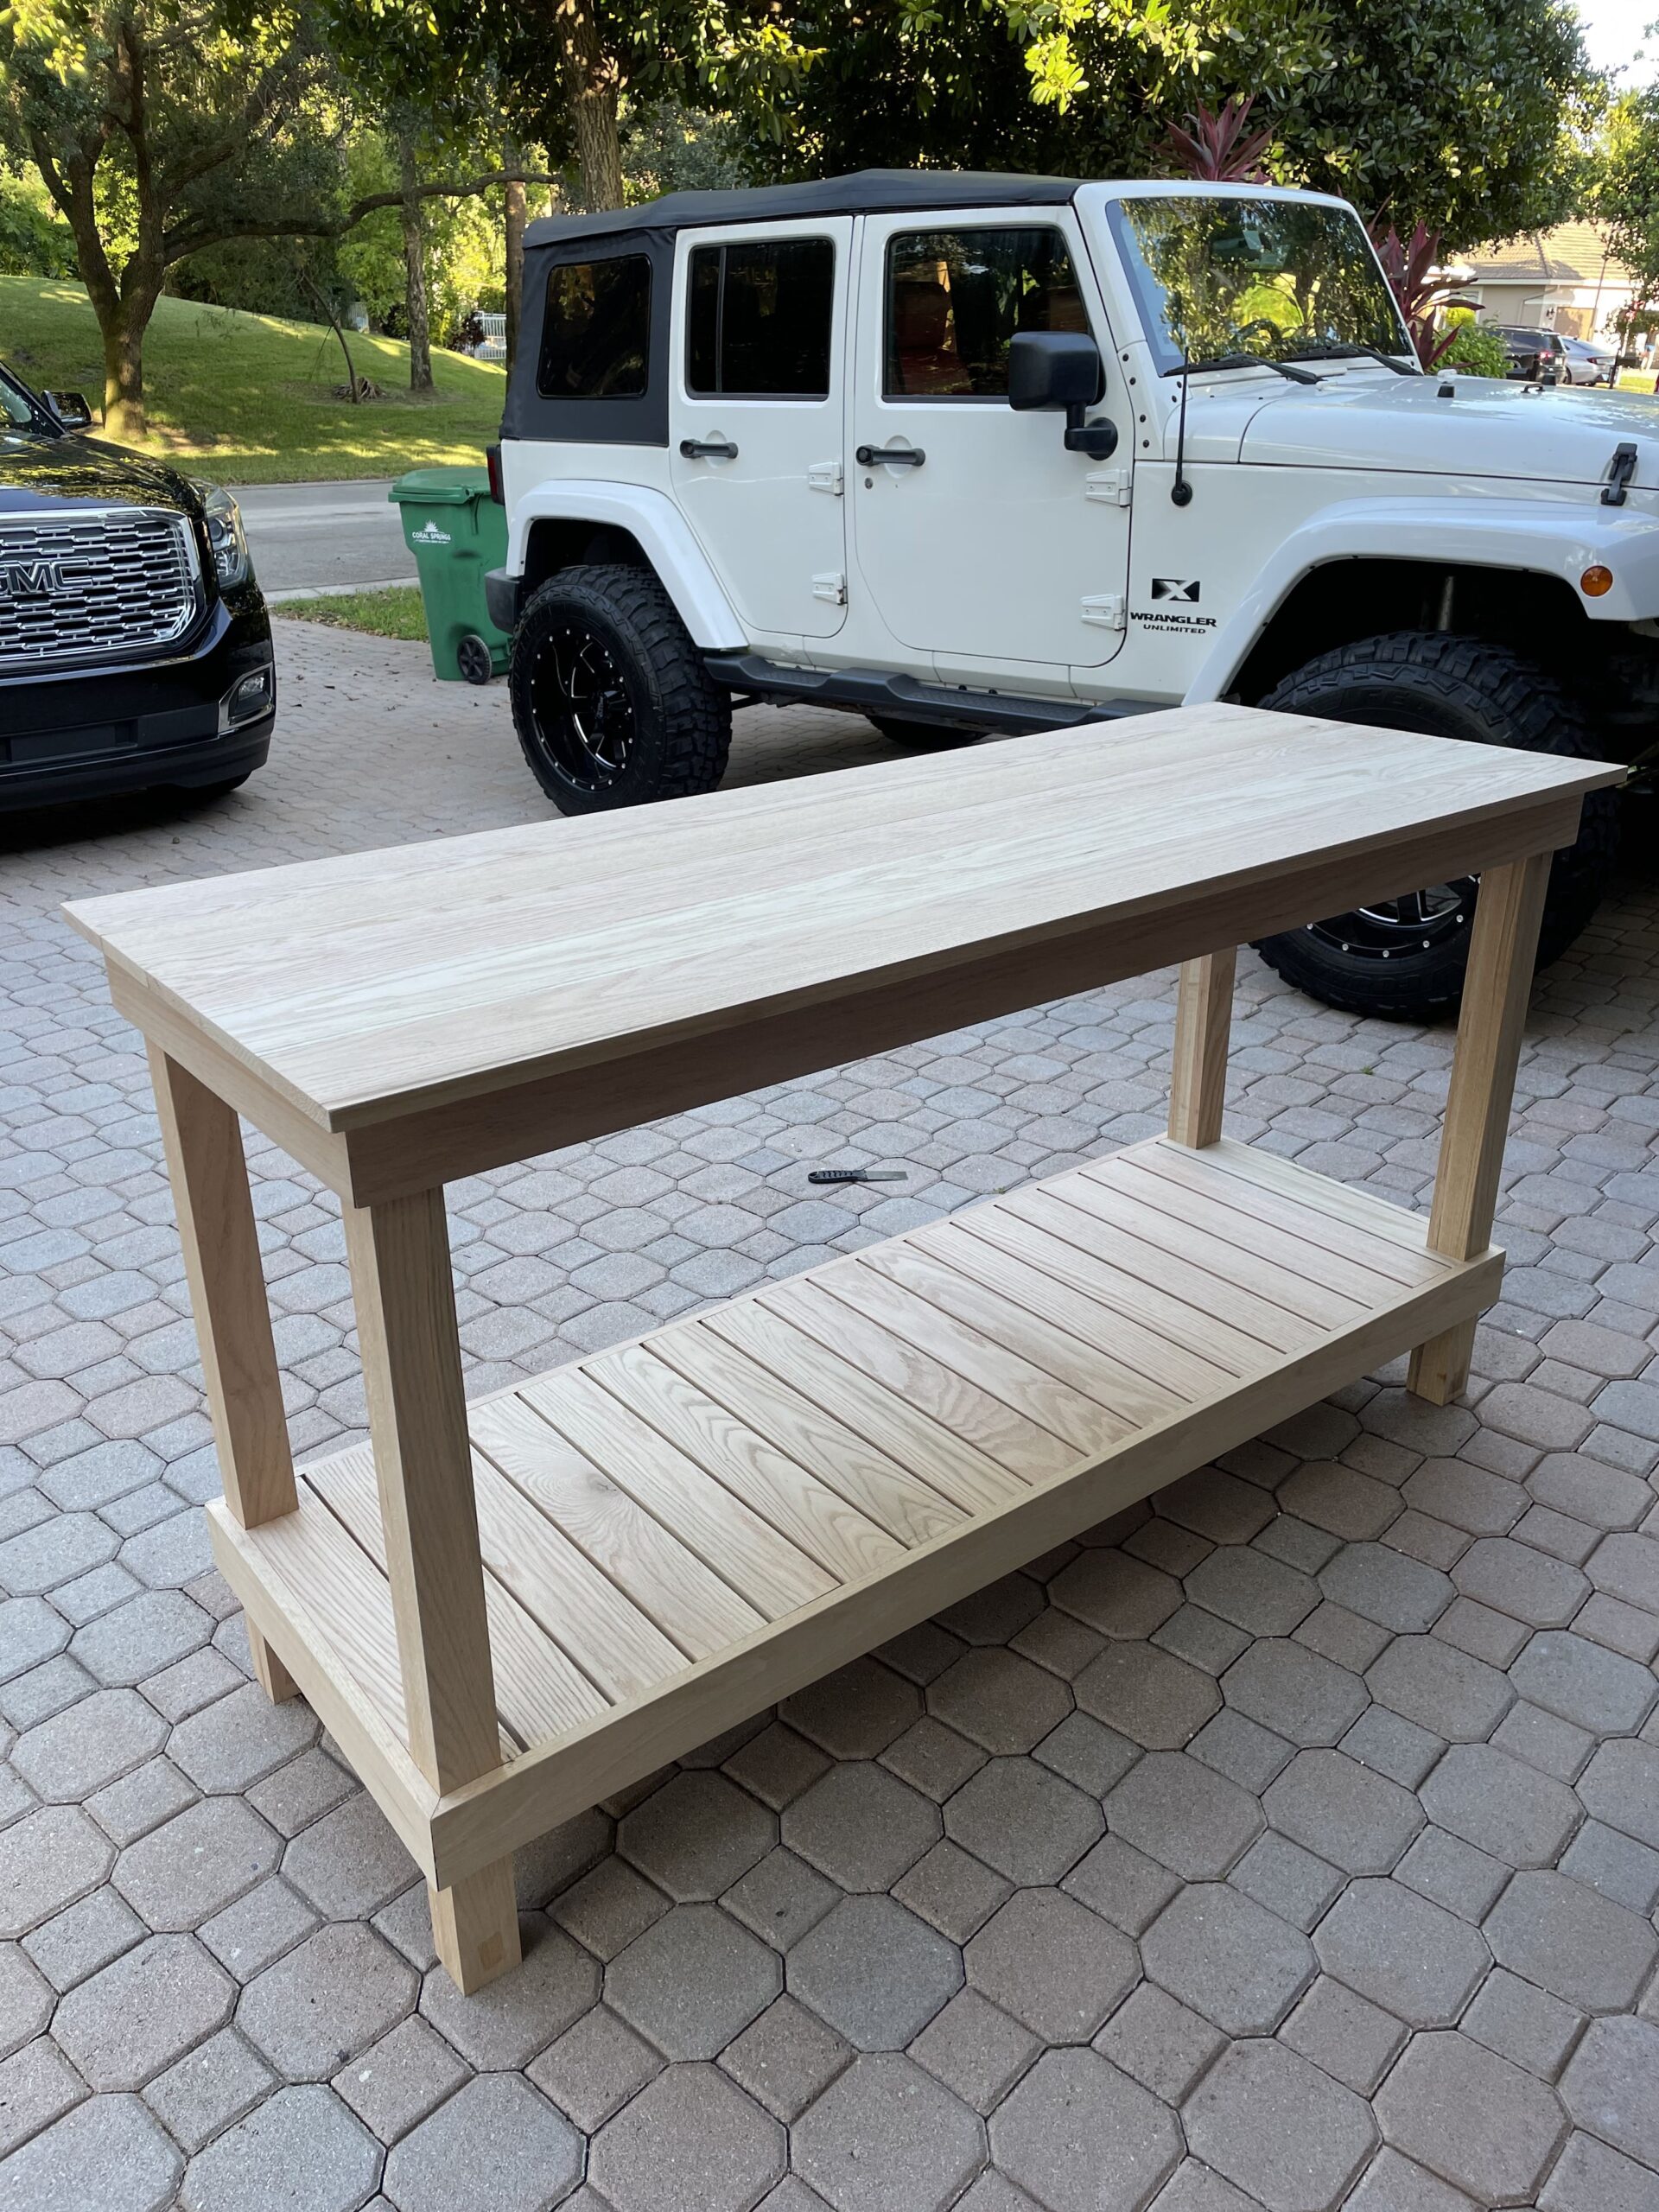
Lastly, the finishes.
Fill all of the nail holes with wood putty. Lightly sand all surfaces, edges and corners. Oak is already super smooth, however, sanding all of the edges and corners will soften up the entire craft table. You’ll want to use a super fine sanding disc. The intent of the light sanding is to simply take the sharpness out of the edges and corners to create a beautiful, finished appearance.
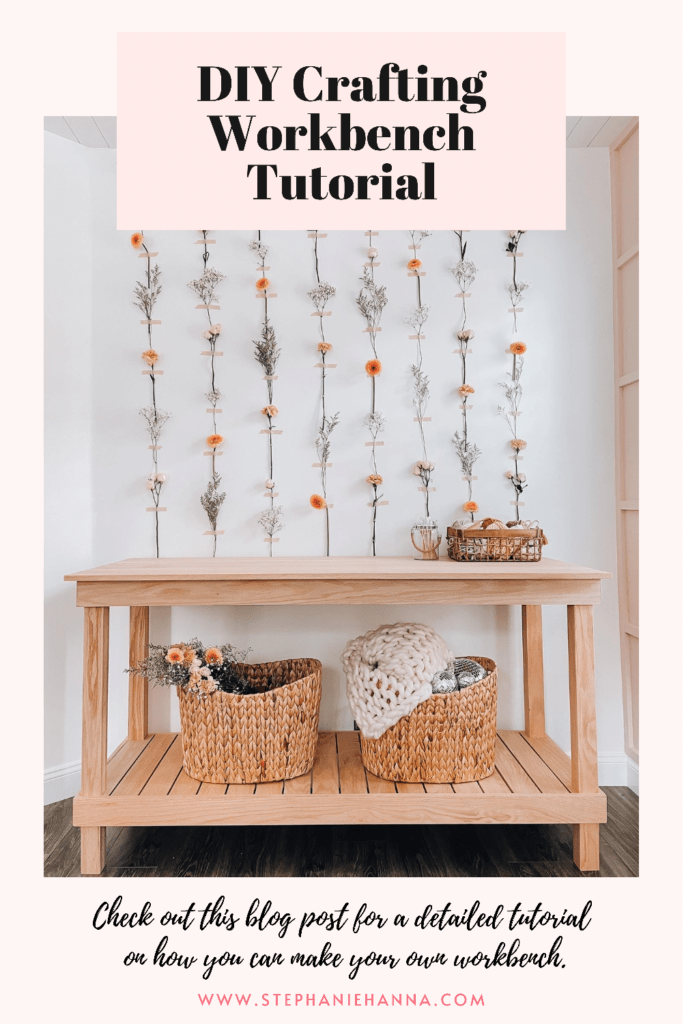
Pin this photo to save this crafting table diy tutorial and follow me on Instagram for more fun ideas and helpful tips to making the most out of your home.
I hope you enjoyed this tutorial. As always feel free to ask me any questions and if you try this yourself I would love for you to share it with me. I enjoy seeing your creations!


