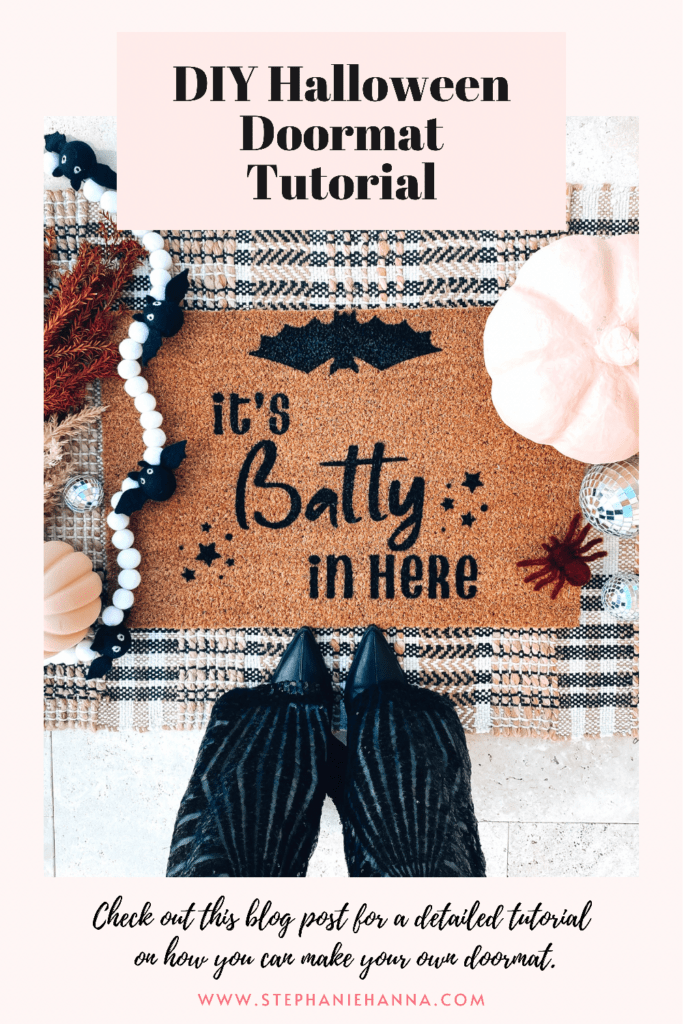
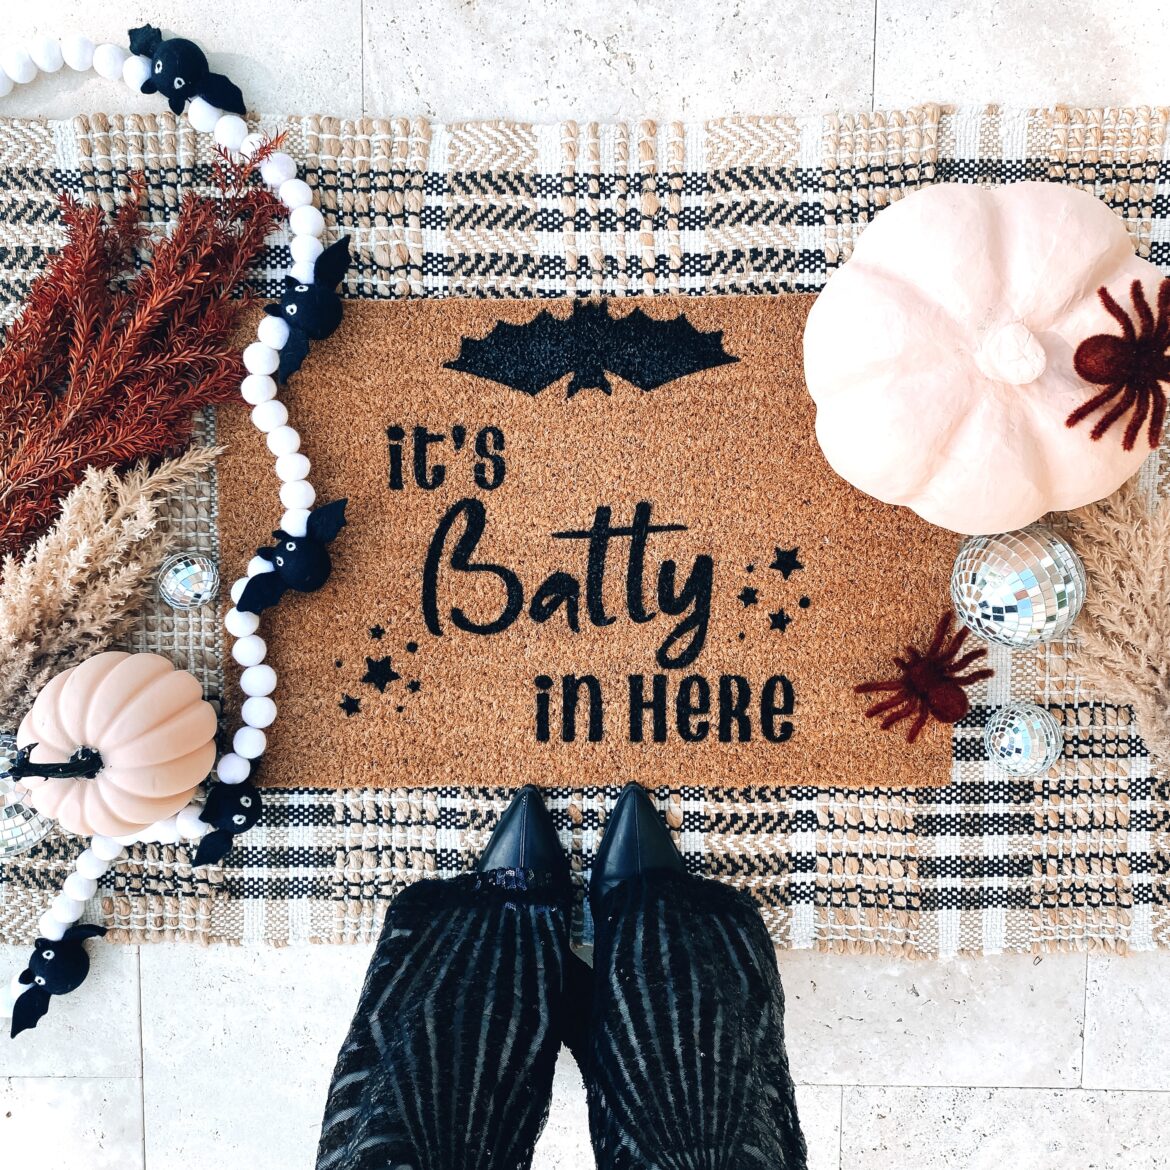
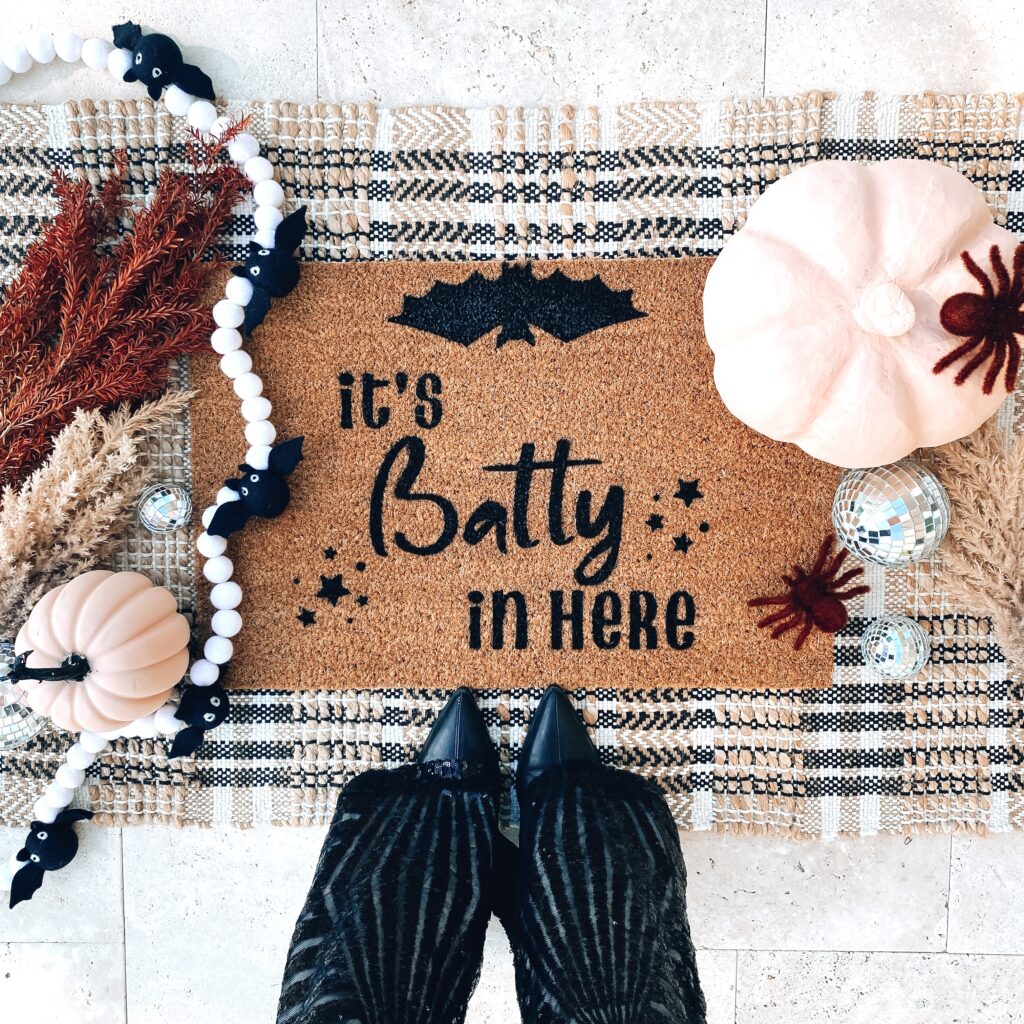
I’m excited to share with you how I made my DIY Halloween doormat. I love this time of year when I get to create and make all the spooky but cute diy fun and decor of the season. Doormats are a great way to express your creativity and get original with your sayings. It’s the first thing I make for the season to get me in the mood to decorate.
Supplies
Blank Doormat available at Target and IKEA
Permanent Vinyl available at your local craft store
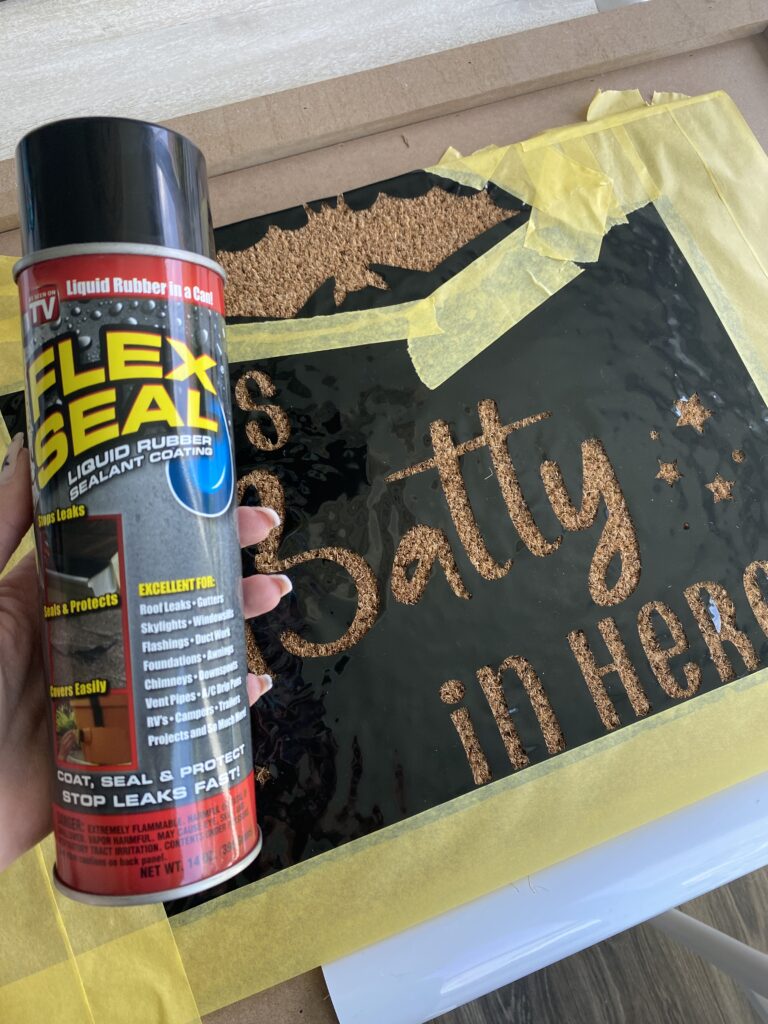
Spray Flex Seal available at Home Depot ( I used black)
Cricut machine
12X24 cutting mat (longer than the standard cricut mat)
Optional: Transfer tape
This post may contain affiliate links.
You can make a doormat without the Cricut using a stencil if you don’t own a Cricut. I love the clean crisp look of using the cricut to cut out my design and the Flexseal is durable and looks so professional.
Step #1
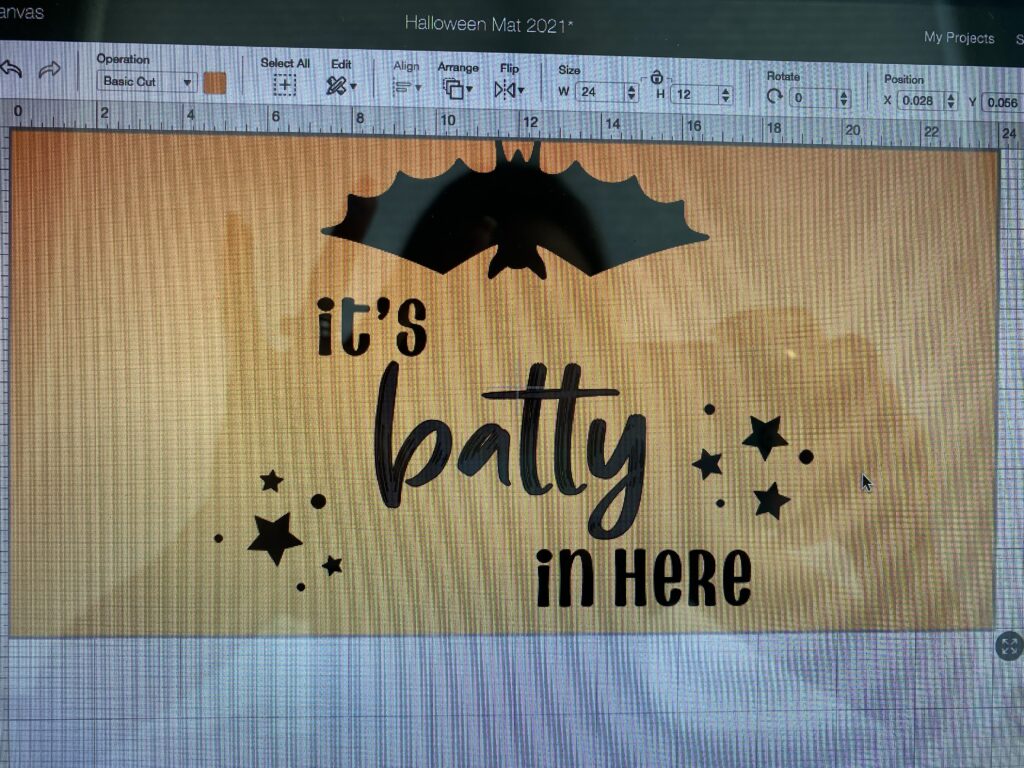
Open the Cricut Design Space on your computer and design the art work for your doormat. I used the Barty Allen font and the Don Juan font for my wording. I searched on the Cricut library to find the bat, star and circle images for decoration around my mat. Work with adjusting the sizes of your images to get your look exactly the way you want it.
Step #2
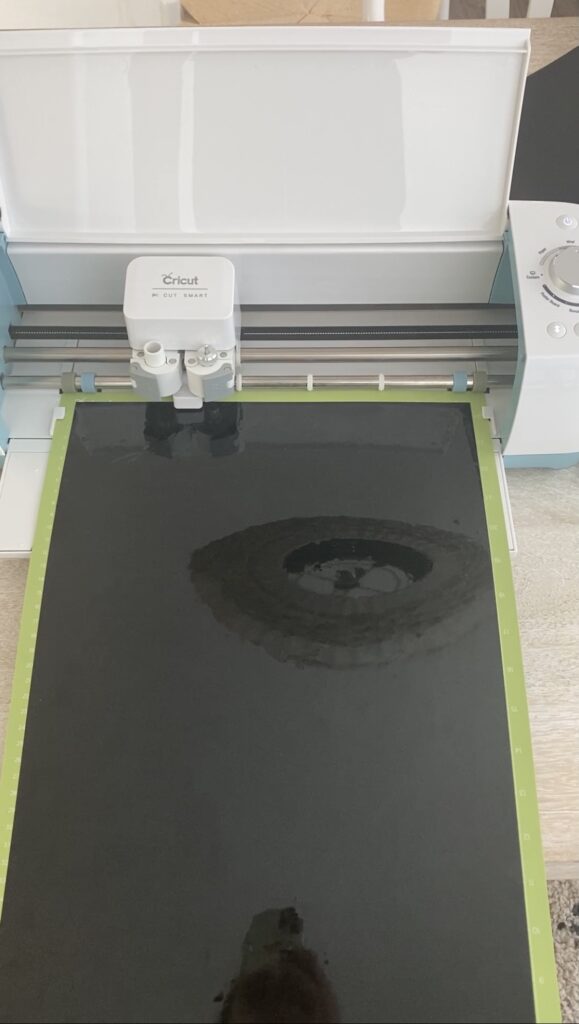
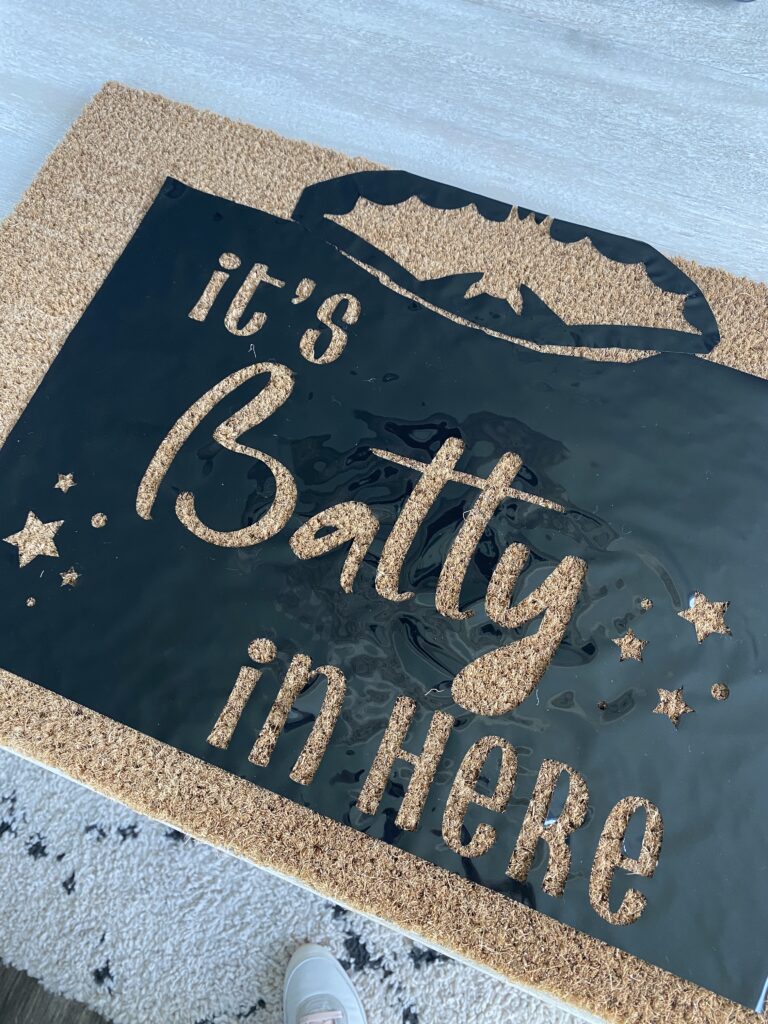
When you have your design layed out how you would like it in Cricut Design space its time to cut out your design on the permanent vinyl. Any color will do since we are just using this as a stencil for our Halloween DIY doormat. I always get nervous when cutting my design. Its so silly to get nervous but I’m always amazed by what this machine can do. Once your design is cut out you can use transfer taper to transfer your stencil over to the doormat or you can start by slowly peeling it away from the backing while holding it where you want it on the mat. The first couple times I used transfer tape but I decided this time to try it without the transfer tape and it worked great. Just go slow and have patience.
*Tip- Make sure to use permanent vinyl the temporary vinyl doesn’t stick to the doormat well and makes it really hard to work with.
Step #3
After you have the permanent vinyl on your doormat positioned how you like it, then tape off your mat. Make sure your mat is fully covered so any overspray from the Flexseal doesn’t get on your mat. I used Frog Tape. You can use any painters tape or masking tape.
Step #4
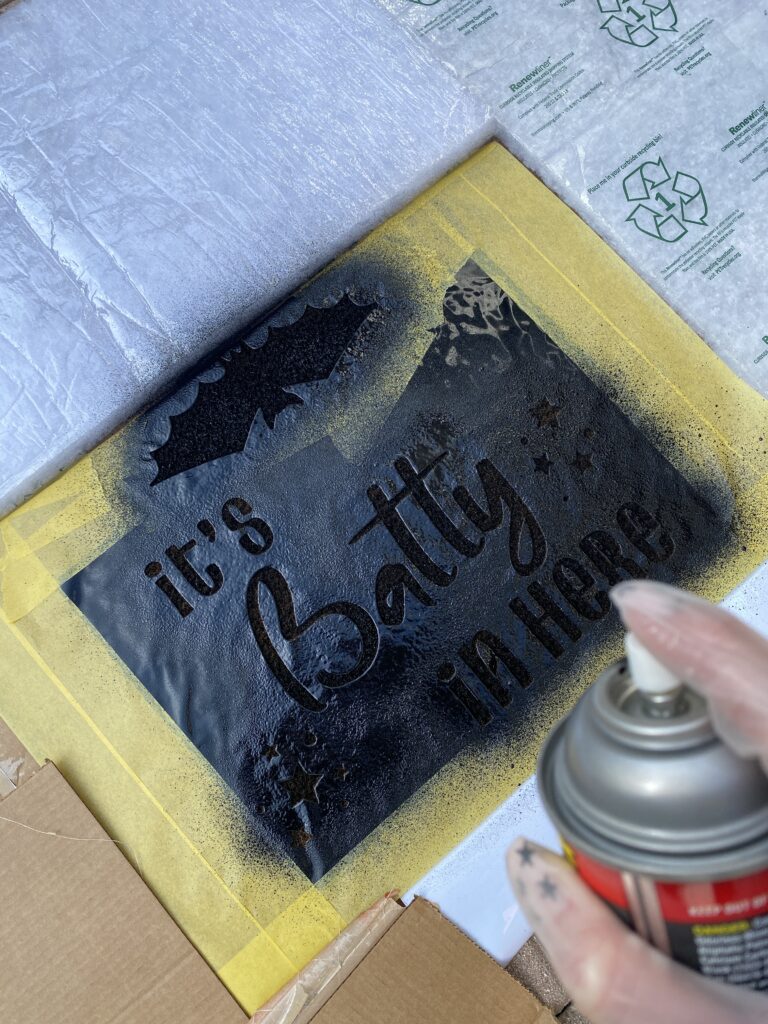
Now you are ready to paint! Take your mat outside. I press my vinyl stencil down one more time just to make sure its adhered to the mat well so no Flex seal leaks under the stencil. Spray your mat evenly straight down. I spray 3 light coats to get a crisp look.
Step #5
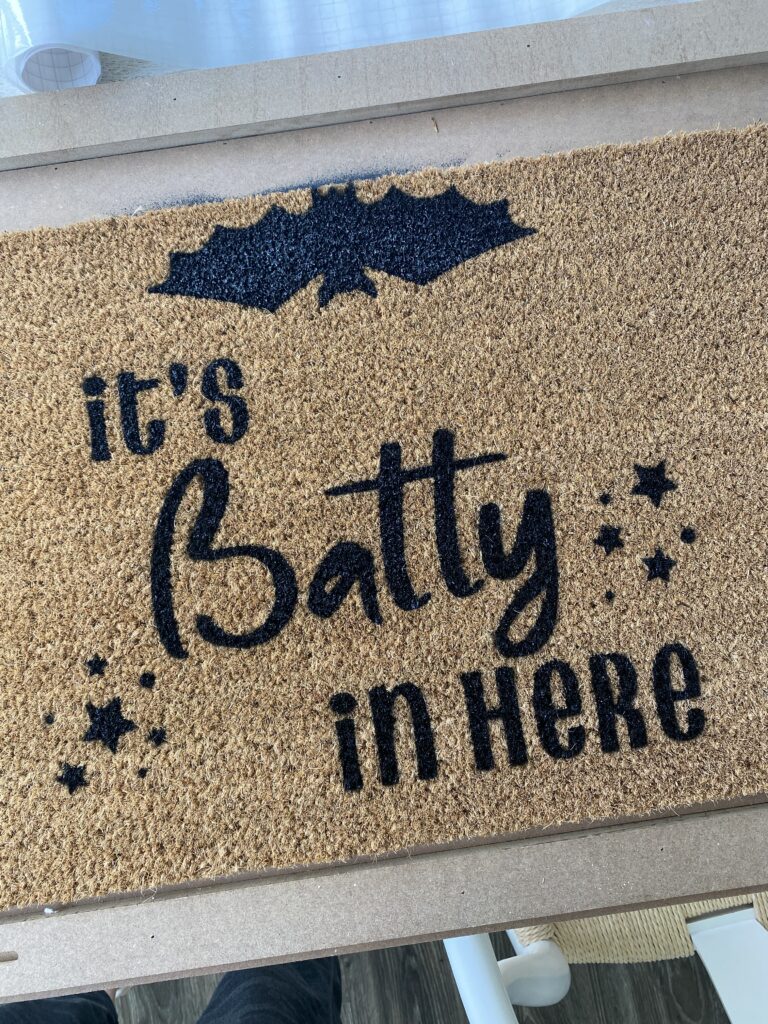
Let it dry for 20 minutes. I use gloves to pull off the stencil and tape. Do it slow and very carefully. Have a trash bag nearby that you can throw the stencil and tape into easily because it can be messy. I always pull off the stencil before it’s completely dry to prevent the stencil sticking to the mat. Try not to leave it on for too long. Your beautiful design is complete. I let mine dry overnight before putting outdoors.
Step #6
Now the really fun part! Styling your mat. I love to layer my rugs and finish it off with all the Halloween fun like disco balls, pumpkins, spiders, fall foliage, and of course a Pearl and Jane garland.
I hoped you enjoyed this! If you do try to make one please tag me on Instagram or shoot me an email I would love to see it. As always if you have any questions please email me. Pin the image below on Pinterest to save this Halloween Doormat DIY tutorial for later!
